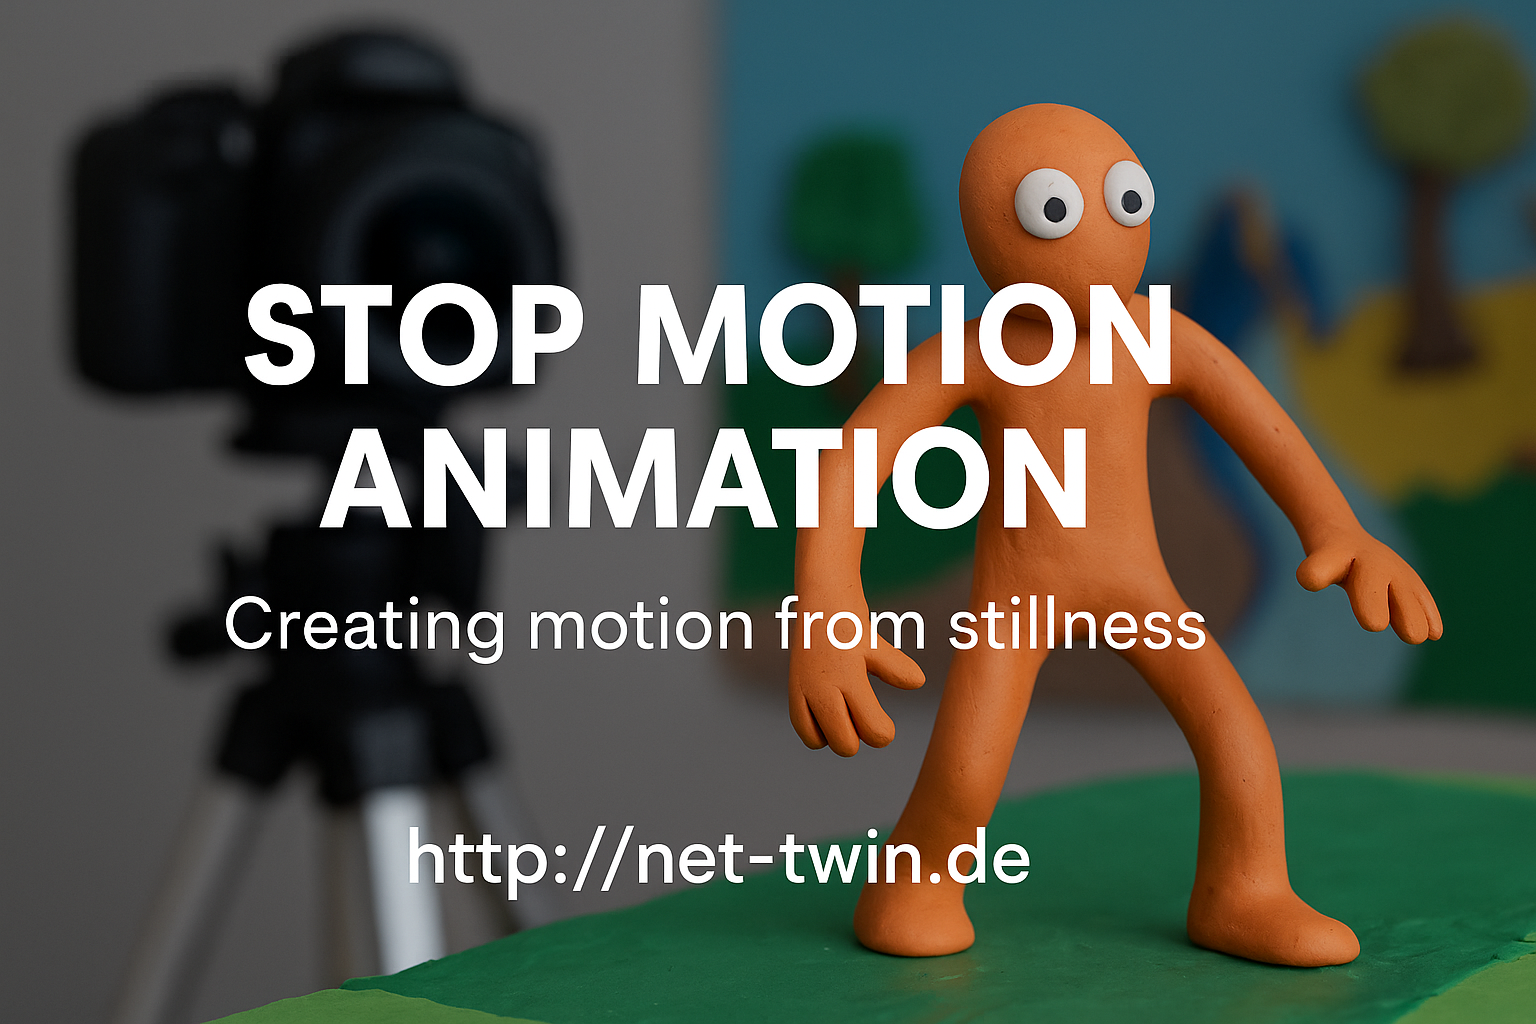
Title: Stop Motion Animation – Creating Motion from Stillness
Stop motion is one of the oldest and most magical forms of animation. It’s not about speed – it’s about rhythm, planning, and breathing life into the inanimate. Whether you animate clay figures, paper cutouts, or even kitchen utensils, this hobby is both playful and powerful.
Here’s how to get started:
1. Understand what stop motion is.
It’s a series of photos where each frame shows a tiny movement. Played back at 12–24 frames per second, it creates the illusion of life.
2. Pick your medium.
Popular choices include:
Clay (claymation)
Paper (cutout animation)
Lego or figures (brickfilms)
Everyday objects (pixilation or object animation)
Each has its own charm. Try what you already have at home!
3. Keep it steady.
Use a tripod or solid surface. Shaky shots ruin the illusion. Tape your setup down if needed. For phone cameras, try simple tripods or holders.
4. Use a stop motion app or software.
For mobile: Stop Motion Studio is great.
On desktop: Dragonframe (pro), or free options like MonkeyJam or Kdenlive for frame editing.
5. Light is everything.
Use constant light sources. Avoid windows or sunlight – shadows change quickly. Desk lamps or LED panels work best.
6. Plan your movement.
Sketch a basic storyboard. Think in “key poses” first, then fill in transitions. More frames = smoother motion, but also more effort.
7. Add sound & effects later.
Record audio separately or use royalty-free sounds. Add effects (dust, shake, filters) in post-editing to enhance the mood.
🎯 Pro Tip: Even a bouncing ball is a great starting exercise. Share your short clips and behind-the-scenes shots on net-twin.de – people love seeing the magic before it’s polished!
📌 #StopMotion #FrameByFrame #DIYAnimation #CreativeProcess #AnimationMagic #nettwin
Kind regards, Andy 🤩
-----------------------------------
Advertising that's really worth it for you!
💰 Get it now: Get a €100 voucher from Temu (new customers only)!
Step 1 - Use my voucher link: https://temu.to/m/uwsjqkbzhhl
Step 2 - Enter the following code in the search field at Temu to secure your €100!
The Code: tar37925
Title: Stop Motion Animation – Creating Motion from Stillness
Stop motion is one of the oldest and most magical forms of animation. It’s not about speed – it’s about rhythm, planning, and breathing life into the inanimate. Whether you animate clay figures, paper cutouts, or even kitchen utensils, this hobby is both playful and powerful.
Here’s how to get started:
1. Understand what stop motion is.
It’s a series of photos where each frame shows a tiny movement. Played back at 12–24 frames per second, it creates the illusion of life.
2. Pick your medium.
Popular choices include:
Clay (claymation)
Paper (cutout animation)
Lego or figures (brickfilms)
Everyday objects (pixilation or object animation)
Each has its own charm. Try what you already have at home!
3. Keep it steady.
Use a tripod or solid surface. Shaky shots ruin the illusion. Tape your setup down if needed. For phone cameras, try simple tripods or holders.
4. Use a stop motion app or software.
For mobile: Stop Motion Studio is great.
On desktop: Dragonframe (pro), or free options like MonkeyJam or Kdenlive for frame editing.
5. Light is everything.
Use constant light sources. Avoid windows or sunlight – shadows change quickly. Desk lamps or LED panels work best.
6. Plan your movement.
Sketch a basic storyboard. Think in “key poses” first, then fill in transitions. More frames = smoother motion, but also more effort.
7. Add sound & effects later.
Record audio separately or use royalty-free sounds. Add effects (dust, shake, filters) in post-editing to enhance the mood.
🎯 Pro Tip: Even a bouncing ball is a great starting exercise. Share your short clips and behind-the-scenes shots on net-twin.de – people love seeing the magic before it’s polished!
📌 #StopMotion #FrameByFrame #DIYAnimation #CreativeProcess #AnimationMagic #nettwin
Kind regards, Andy 🤩
-----------------------------------
Advertising that's really worth it for you!
💰 Get it now: Get a €100 voucher from Temu (new customers only)!
Step 1 - Use my voucher link: https://temu.to/m/uwsjqkbzhhl
Step 2 - Enter the following code in the search field at Temu to secure your €100!
The Code: tar37925