


• OVERGROWN: BLENDER STUDIO REVEALS ITS NEW FEATURE-FILM WORLD


    Blender Studio has revealed the official teaser for OVERGROWN, its upcoming feature-film project, premiered on 14 September 2026.


    For artists, animators and independent developers, this is more than another animated production. Blender Studio projects demonstrate how open-source software can support a complete professional pipeline—from modelling and rigging to animation, lighting, effects and final rendering.


    The teaser introduces a richly overgrown world where nature, character design and environmental storytelling are closely connected. Even a short preview offers useful inspiration: silhouettes guide the viewer, colour separates characters from complex environments, and lighting creates depth without explaining every detail.


    OVERGROWN is also worth following because Blender Studio productions often open a window into the creative process. Production logs, technical discussions and selected assets can turn a finished film into learning material for the wider community.


    That matters especially to smaller teams. An independent creator often moves between concept art, modelling, materials, animation and editing. Seeing how those disciplines meet in a real project can be more valuable than studying each tool in isolation.


    The project reflects a broader strength of open creative ecosystems: films can improve the software used to make them, while software development enables artists to attempt more ambitious work.


    Watch the official teaser and follow the project:
    https://studio.blender.org/blog/overgrown-teaser-premiere/


    Which part of an animated production interests you most—worldbuilding, character design, lighting, animation or the technical pipeline?


    #Blender #OVERGROWN #3DArt #Animation #OpenSource #Worldbuilding #DigitalArt #VFX #IndieCreators
    OVERGROWN: BLENDER STUDIO REVEALS ITS NEW FEATURE-FILM WORLD Blender Studio has revealed the official teaser for OVERGROWN, its upcoming feature-film project, premiered on 14 September 2026. For artists, animators and independent developers, this is more than another animated production. Blender Studio projects demonstrate how open-source software can support a complete professional pipeline—from modelling and rigging to animation, lighting, effects and final rendering. The teaser introduces a richly overgrown world where nature, character design and environmental storytelling are closely connected. Even a short preview offers useful inspiration: silhouettes guide the viewer, colour separates characters from complex environments, and lighting creates depth without explaining every detail. OVERGROWN is also worth following because Blender Studio productions often open a window into the creative process. Production logs, technical discussions and selected assets can turn a finished film into learning material for the wider community. That matters especially to smaller teams. An independent creator often moves between concept art, modelling, materials, animation and editing. Seeing how those disciplines meet in a real project can be more valuable than studying each tool in isolation. The project reflects a broader strength of open creative ecosystems: films can improve the software used to make them, while software development enables artists to attempt more ambitious work. Watch the official teaser and follow the project: https://studio.blender.org/blog/overgrown-teaser-premiere/ Which part of an animated production interests you most—worldbuilding, character design, lighting, animation or the technical pipeline? #Blender #OVERGROWN #3DArt #Animation #OpenSource #Worldbuilding #DigitalArt #VFX #IndieCreators

    STUDIO.BLENDER.ORG
    OVERGROWN Teaser Premiere - Blender Studio
    Let's take a stroll into the world of OVERGROWN.
    Love
    1
    1 Comments 0 Shares 359 Views 0 Reviews
  • HOW TO PHOTOGRAPH HANDMADE OBJECTS WITH ONE LIGHT AND A PHONE


    You do not need an expensive camera or a complete studio to create strong photographs of handmade work. A smartphone, one light and a few simple materials are enough.


    1. PREPARE THE OBJECT
    Remove dust, fingerprints and polishing residue. Cameras reveal marks that are easy to miss with the naked eye. Place sharp tools securely and keep the cutting edge facing away from your hands.


    2. CHOOSE A SIMPLE BACKGROUND
    Wood, dark paper, linen, stone or a neutral workbench can all work well. Include no more than two or three supporting elements so they do not compete with the subject.


    3. SOFTEN THE LIGHT
    Place tracing paper or thin white fabric between an LED lamp and the object. Keep any diffuser away from hot bulbs. Position the light at roughly 45 degrees to reveal texture, grind lines and wood grain.


    4. CONTROL REFLECTIONS
    Polished surfaces reflect their surroundings. Place white card just outside the frame to create a clean highlight. Black card can define an edge and add contrast.


    5. STABILISE THE PHONE
    Use a small tripod or lean the phone against something solid. Activate the timer and avoid digital zoom—move physically closer instead. Tap the main detail to focus and reduce exposure slightly if bright metal loses detail.


    6. CAPTURE FOUR ANGLES
    • A clean overview
    • A close-up of the best detail
    • A side view showing proportions
    • An atmospheric workshop image


    7. EDIT GENTLY
    Correct brightness, white balance and cropping, but keep the real colours and materials believable. The goal is not to disguise the object—it is to help people notice the work already in it.


    Further visual guide:
    https://www.youtube.com/watch?v=Q1b365iSh2o


    What handmade project would you like to photograph next?


    #ProductPhotography #CreativePhotography #Handmade #Craftsmanship #Maker #KnifeMaking #Woodworking #CreativeHobbies #PhotographyTips
    HOW TO PHOTOGRAPH HANDMADE OBJECTS WITH ONE LIGHT AND A PHONE You do not need an expensive camera or a complete studio to create strong photographs of handmade work. A smartphone, one light and a few simple materials are enough. 1. PREPARE THE OBJECT Remove dust, fingerprints and polishing residue. Cameras reveal marks that are easy to miss with the naked eye. Place sharp tools securely and keep the cutting edge facing away from your hands. 2. CHOOSE A SIMPLE BACKGROUND Wood, dark paper, linen, stone or a neutral workbench can all work well. Include no more than two or three supporting elements so they do not compete with the subject. 3. SOFTEN THE LIGHT Place tracing paper or thin white fabric between an LED lamp and the object. Keep any diffuser away from hot bulbs. Position the light at roughly 45 degrees to reveal texture, grind lines and wood grain. 4. CONTROL REFLECTIONS Polished surfaces reflect their surroundings. Place white card just outside the frame to create a clean highlight. Black card can define an edge and add contrast. 5. STABILISE THE PHONE Use a small tripod or lean the phone against something solid. Activate the timer and avoid digital zoom—move physically closer instead. Tap the main detail to focus and reduce exposure slightly if bright metal loses detail. 6. CAPTURE FOUR ANGLES • A clean overview • A close-up of the best detail • A side view showing proportions • An atmospheric workshop image 7. EDIT GENTLY Correct brightness, white balance and cropping, but keep the real colours and materials believable. The goal is not to disguise the object—it is to help people notice the work already in it. Further visual guide: https://www.youtube.com/watch?v=Q1b365iSh2o What handmade project would you like to photograph next? #ProductPhotography #CreativePhotography #Handmade #Craftsmanship #Maker #KnifeMaking #Woodworking #CreativeHobbies #PhotographyTips
    Like
    1
    0 Comments 0 Shares 382 Views 0 Reviews
  • 🎆 Happy New Year to the Net-Twin Community

    As the year comes to an end, we would like to take a moment to say thank you.

    Net-Twin exists because of the people who choose to share their ideas, their creativity, their thoughts, and their time here. Over the past year, this community has grown steadily — not just in numbers, but in depth, diversity, and quality of exchange.

    In a digital world that is often loud, rushed, and driven by attention economics, Net-Twin continues to follow a different path:
    less noise, more meaning.


    Looking ahea
    ------------

    The new year is an opportunity to slow down where needed, to focus where it matters, and to continue building something that feels genuine rather than optimized for algorithms.

    For the coming year, we wish you:

    - creativity that feels honest and fulfilling

    - curiosity that leads to new skills and perspectives

    - meaningful connections instead of empty reach

    - and the courage to share work that matters to you

    Net-Twin will continue to grow — carefully and thoughtfully — with new features, improvements, and ideas, always guided by the same core values: respect, openness, and authenticity.


    Thank you for being here
    -----------------------

    Whether you post regularly, comment quietly, or simply read along — you are part of what makes this place what it is.

    We’re glad you’re here.
    And we’re looking forward to another year of creating, learning, and growing together.

    Happy New Year,
    Andreas and the Net-Twin Team ✨
    🎆 Happy New Year to the Net-Twin Community As the year comes to an end, we would like to take a moment to say thank you. Net-Twin exists because of the people who choose to share their ideas, their creativity, their thoughts, and their time here. Over the past year, this community has grown steadily — not just in numbers, but in depth, diversity, and quality of exchange. In a digital world that is often loud, rushed, and driven by attention economics, Net-Twin continues to follow a different path: less noise, more meaning. Looking ahea ------------ The new year is an opportunity to slow down where needed, to focus where it matters, and to continue building something that feels genuine rather than optimized for algorithms. For the coming year, we wish you: - creativity that feels honest and fulfilling - curiosity that leads to new skills and perspectives - meaningful connections instead of empty reach - and the courage to share work that matters to you Net-Twin will continue to grow — carefully and thoughtfully — with new features, improvements, and ideas, always guided by the same core values: respect, openness, and authenticity. Thank you for being here ----------------------- Whether you post regularly, comment quietly, or simply read along — you are part of what makes this place what it is. We’re glad you’re here. And we’re looking forward to another year of creating, learning, and growing together. Happy New Year, Andreas and the Net-Twin Team ✨
    Like
    Wow
    5
    0 Comments 0 Shares 17K Views 0 Reviews
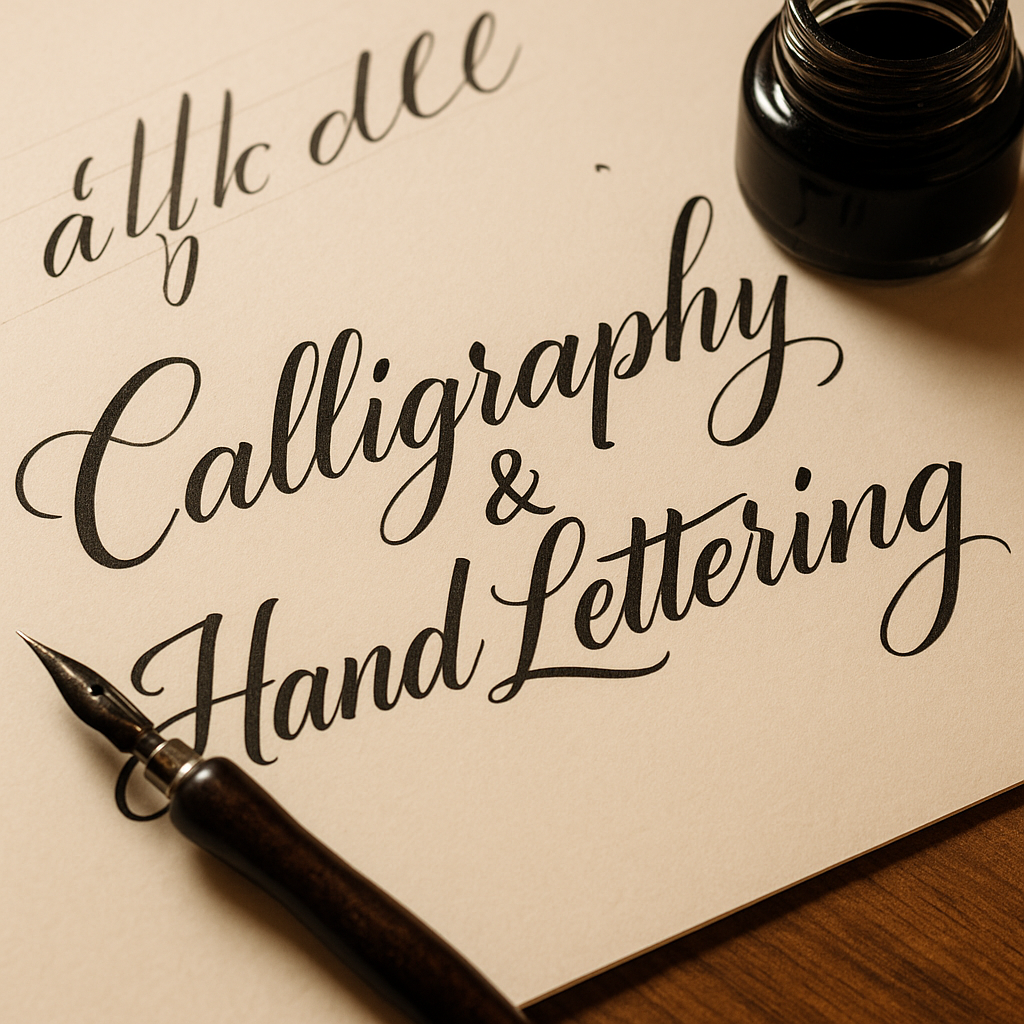
  • Title: Calligraphy & Hand Lettering – Drawing Letters with Personality


    Calligraphy isn’t just writing – it’s the art of giving letters rhythm, weight, and soul. Whether you're aiming for classic copperplate scripts or playful modern lettering, this hobby combines fine motor skills with expressive design.


    Let’s dive into how you can get started with calligraphy and hand lettering:


    1. Know the difference.

    Calligraphy is about writing – you use tools like nib pens or brushes to form letters in real time, with variation in pressure and stroke.

    Hand lettering is about drawing letters – each shape is crafted like an illustration.

    Both are deeply artistic and often overlap in style and technique.


    2. Start with basic tools.
    For beginners:

    Calligraphy: a dip pen + nib + ink (or brush pens for ease)

    Hand lettering: pencils, fineliners, and brush pens (Tombow, Fudenosuke, etc.)

    Smooth paper that won’t bleed or feather

    Digital tools like the Apple Pencil + Procreate are also great alternatives.


    3. Learn the strokes, not just the alphabet.
    Practice basic strokes: upstrokes (light), downstrokes (heavy), loops, ovals. Master these before you form letters – they’re the building blocks of every script.


    4. Focus on spacing and balance.
    Beautiful lettering is more about consistency than perfection. Watch for even spacing, similar angles, and good rhythm between letters.


    5. Use guidelines.
    Draw pencil guides for baseline, x-height, ascenders, and descenders. It’s not cheating – it’s essential.


    6. Don’t rush.
    Speed kills style. Take your time. Breath, write slowly, and enjoy the flow. Good calligraphy feels meditative.


    7. Explore different styles.
    Try gothic blackletter, italic, Roman capitals, modern script… or create your own. Mixing styles can add personality to your projects.


    🎯 Pro Tip: Post your progress and practice sheets on net-twin.de
    – our creative community loves beautiful lines, mindful craft, and expressive inkwork.

    📌 #Calligraphy #HandLettering #ModernScript #CreativeWriting #InkArt #nettwin


    Kind regards, Andy 🤩

    -----------------------------------
    Advertising that's really worth it for you!

    Get it now: Get a €100 voucher from Temu (new customers only)!

    Step 1 - Use my voucher link: https://temu.to/m/uwsjqkbzhhl
    Step 2 - Enter the following code in the search field at Temu to secure your €100!
    The Code: tar37925
    Title: Calligraphy & Hand Lettering – Drawing Letters with Personality Calligraphy isn’t just writing – it’s the art of giving letters rhythm, weight, and soul. Whether you're aiming for classic copperplate scripts or playful modern lettering, this hobby combines fine motor skills with expressive design. Let’s dive into how you can get started with calligraphy and hand lettering: 1. Know the difference. Calligraphy is about writing – you use tools like nib pens or brushes to form letters in real time, with variation in pressure and stroke. Hand lettering is about drawing letters – each shape is crafted like an illustration. Both are deeply artistic and often overlap in style and technique. 2. Start with basic tools. For beginners: Calligraphy: a dip pen + nib + ink (or brush pens for ease) Hand lettering: pencils, fineliners, and brush pens (Tombow, Fudenosuke, etc.) Smooth paper that won’t bleed or feather Digital tools like the Apple Pencil + Procreate are also great alternatives. 3. Learn the strokes, not just the alphabet. Practice basic strokes: upstrokes (light), downstrokes (heavy), loops, ovals. Master these before you form letters – they’re the building blocks of every script. 4. Focus on spacing and balance. Beautiful lettering is more about consistency than perfection. Watch for even spacing, similar angles, and good rhythm between letters. 5. Use guidelines. Draw pencil guides for baseline, x-height, ascenders, and descenders. It’s not cheating – it’s essential. 6. Don’t rush. Speed kills style. Take your time. Breath, write slowly, and enjoy the flow. Good calligraphy feels meditative. 7. Explore different styles. Try gothic blackletter, italic, Roman capitals, modern script… or create your own. Mixing styles can add personality to your projects. 🎯 Pro Tip: Post your progress and practice sheets on net-twin.de – our creative community loves beautiful lines, mindful craft, and expressive inkwork. 📌 #Calligraphy #HandLettering #ModernScript #CreativeWriting #InkArt #nettwin Kind regards, Andy 🤩 ----------------------------------- Advertising that's really worth it for you! Get it now: Get a €100 voucher from Temu (new customers only)! Step 1 - Use my voucher link: https://temu.to/m/uwsjqkbzhhl Step 2 - Enter the following code in the search field at Temu to secure your €100! The Code: tar37925
    Wow
    Like
    3
    0 Comments 0 Shares 23K Views 0 Reviews
  • Title: Graphic Design for Beginners – Make Ideas Look Brilliant

    Graphic design isn’t just decoration – it’s communication. Whether you're designing a poster, logo, website banner or album cover, design helps ideas shine. Getting started is easier than you think – you just need an eye for clarity and a few basic principles.


    Here’s your first creative toolkit:

    1. Understand visual hierarchy.
    Design isn’t just what you show, but how. Use font size, color, spacing, and alignment to guide the viewer’s eye. Big title, medium subhead, small body text – that’s your foundation.


    2. Pick a simple color palette.
    Use no more than 2–3 main colors. Use contrast wisely: dark vs. light, warm vs. cool. Try palette generators like Coolors.co for inspiration.


    3. Fonts matter more than you think.
    Choose readable fonts that match your message. Pair a strong header font (like Bebas Neue or Playfair Display) with a simple body font (like Lato or Roboto). Avoid using more than two fonts per design.


    4. Use grids and alignment.
    Good layout = invisible structure. Align your elements, keep spacing even, and avoid clutter. White space is your friend – it gives your content room to breathe.


    5. Less is (almost) always more.
    Remove anything that doesn’t add value. Ask: Does this element serve a purpose? Clean, minimal designs are more effective than noisy, overloaded ones.


    6. Learn by copying (for now).
    Recreate posters or ads you love just for practice. Don’t publish them, but reverse-engineering is one of the fastest ways to learn what works.


    7. Use free tools to get started.
    Try Canva, Figma, or Photopea. You’ll find templates, stock assets, and easy-to-use interfaces – perfect for learning layout, branding, and content creation.


    🎯 Pro Tip: Share your layouts and WIPs on net-twin.de – other creatives can offer tips on color, type, or flow. Feedback is the secret weapon of every designer.

    📌 #GraphicDesign #BeginnerDesigners #DesignTips #VisualStorytelling #CreativeSkills #nettwin


    Kind regards, Andy 🤩


    -----------------------------------
    Advertising that's really worth it for you!

    💰Get it now: Get a €100 voucher from Temu (new customers only)!

    Step 1 - Use my voucher link: https://temu.to/m/uwsjqkbzhhl
    Step 2 - Enter the following code in the search field at Temu to secure your €100!
    The Code: tar37925
    Title: Graphic Design for Beginners – Make Ideas Look Brilliant Graphic design isn’t just decoration – it’s communication. Whether you're designing a poster, logo, website banner or album cover, design helps ideas shine. Getting started is easier than you think – you just need an eye for clarity and a few basic principles. Here’s your first creative toolkit: 1. Understand visual hierarchy. Design isn’t just what you show, but how. Use font size, color, spacing, and alignment to guide the viewer’s eye. Big title, medium subhead, small body text – that’s your foundation. 2. Pick a simple color palette. Use no more than 2–3 main colors. Use contrast wisely: dark vs. light, warm vs. cool. Try palette generators like Coolors.co for inspiration. 3. Fonts matter more than you think. Choose readable fonts that match your message. Pair a strong header font (like Bebas Neue or Playfair Display) with a simple body font (like Lato or Roboto). Avoid using more than two fonts per design. 4. Use grids and alignment. Good layout = invisible structure. Align your elements, keep spacing even, and avoid clutter. White space is your friend – it gives your content room to breathe. 5. Less is (almost) always more. Remove anything that doesn’t add value. Ask: Does this element serve a purpose? Clean, minimal designs are more effective than noisy, overloaded ones. 6. Learn by copying (for now). Recreate posters or ads you love just for practice. Don’t publish them, but reverse-engineering is one of the fastest ways to learn what works. 7. Use free tools to get started. Try Canva, Figma, or Photopea. You’ll find templates, stock assets, and easy-to-use interfaces – perfect for learning layout, branding, and content creation. 🎯 Pro Tip: Share your layouts and WIPs on net-twin.de – other creatives can offer tips on color, type, or flow. Feedback is the secret weapon of every designer. 📌 #GraphicDesign #BeginnerDesigners #DesignTips #VisualStorytelling #CreativeSkills #nettwin Kind regards, Andy 🤩 ----------------------------------- Advertising that's really worth it for you! 💰Get it now: Get a €100 voucher from Temu (new customers only)! Step 1 - Use my voucher link: https://temu.to/m/uwsjqkbzhhl Step 2 - Enter the following code in the search field at Temu to secure your €100! The Code: tar37925
    Like
    Wow
    2
    0 Comments 0 Shares 22K Views 0 Reviews
  • Title: Papercraft & Origami – Turning Flat Sheets into 3D Wonders

    Papercraft is the art of turning something fragile and ordinary – paper – into models, masks, sculptures, or even full-blown architectural scenes. Origami, its meditative cousin, thrives on simplicity and elegance. Both train your hands and mind – and offer endless creative paths.


    Let’s explore how to get started with this refined and relaxing hobby:

    1. Choose your paper wisely.
    Not all paper is equal. Use printer paper for basic models, cardstock for strength, and specialty origami paper for fine folding. Experiment with recycled pages, maps, and patterns for texture and flair.


    2. Learn basic folds.
    Valley fold, mountain fold, squash fold – these form the foundation of most models. Origami guides often use standardized symbols; once you learn them, you can follow instructions from any language.


    3. Start with simple forms.
    Begin with boxes, cranes, or cubes. Even building a dice or a lotus flower helps you understand how folds create volume. Don’t rush – precision is key.


    4. Papercraft needs planning.
    Use printable templates (PDFs or SVGs) for more complex 3D builds. Score fold lines with a blunt knife and ruler, then cut cleanly and glue with patience.


    5. Think modular.
    Many larger models are built from repeating pieces. Learn how tabs connect and how to strengthen internal structure subtly using layering techniques.


    6. Get crafty with colors.
    Use watercolor, markers, or printed textures to add flair. A simple white mask becomes haunting with a splash of red or metallic paint.


    7. Storage & display matter.
    Protect your creations from humidity and light. Clear boxes or display domes keep your papercraft safe and visible.


    🎯 Pro Tip: Share your builds and templates on net-twin.de – whether it’s a dragon head or a geometric lamp, our community loves seeing paper come to life.


    📌 #Papercraft #OrigamiArt #PaperDesign #CraftingCommunity #DIYProjects #nettwin


    Kind regards, Andy 😃
    Title: Papercraft & Origami – Turning Flat Sheets into 3D Wonders Papercraft is the art of turning something fragile and ordinary – paper – into models, masks, sculptures, or even full-blown architectural scenes. Origami, its meditative cousin, thrives on simplicity and elegance. Both train your hands and mind – and offer endless creative paths. Let’s explore how to get started with this refined and relaxing hobby: 1. Choose your paper wisely. Not all paper is equal. Use printer paper for basic models, cardstock for strength, and specialty origami paper for fine folding. Experiment with recycled pages, maps, and patterns for texture and flair. 2. Learn basic folds. Valley fold, mountain fold, squash fold – these form the foundation of most models. Origami guides often use standardized symbols; once you learn them, you can follow instructions from any language. 3. Start with simple forms. Begin with boxes, cranes, or cubes. Even building a dice or a lotus flower helps you understand how folds create volume. Don’t rush – precision is key. 4. Papercraft needs planning. Use printable templates (PDFs or SVGs) for more complex 3D builds. Score fold lines with a blunt knife and ruler, then cut cleanly and glue with patience. 5. Think modular. Many larger models are built from repeating pieces. Learn how tabs connect and how to strengthen internal structure subtly using layering techniques. 6. Get crafty with colors. Use watercolor, markers, or printed textures to add flair. A simple white mask becomes haunting with a splash of red or metallic paint. 7. Storage & display matter. Protect your creations from humidity and light. Clear boxes or display domes keep your papercraft safe and visible. 🎯 Pro Tip: Share your builds and templates on net-twin.de – whether it’s a dragon head or a geometric lamp, our community loves seeing paper come to life. 📌 #Papercraft #OrigamiArt #PaperDesign #CraftingCommunity #DIYProjects #nettwin Kind regards, Andy 😃
    Wow
    2
    0 Comments 0 Shares 16K Views 0 Reviews
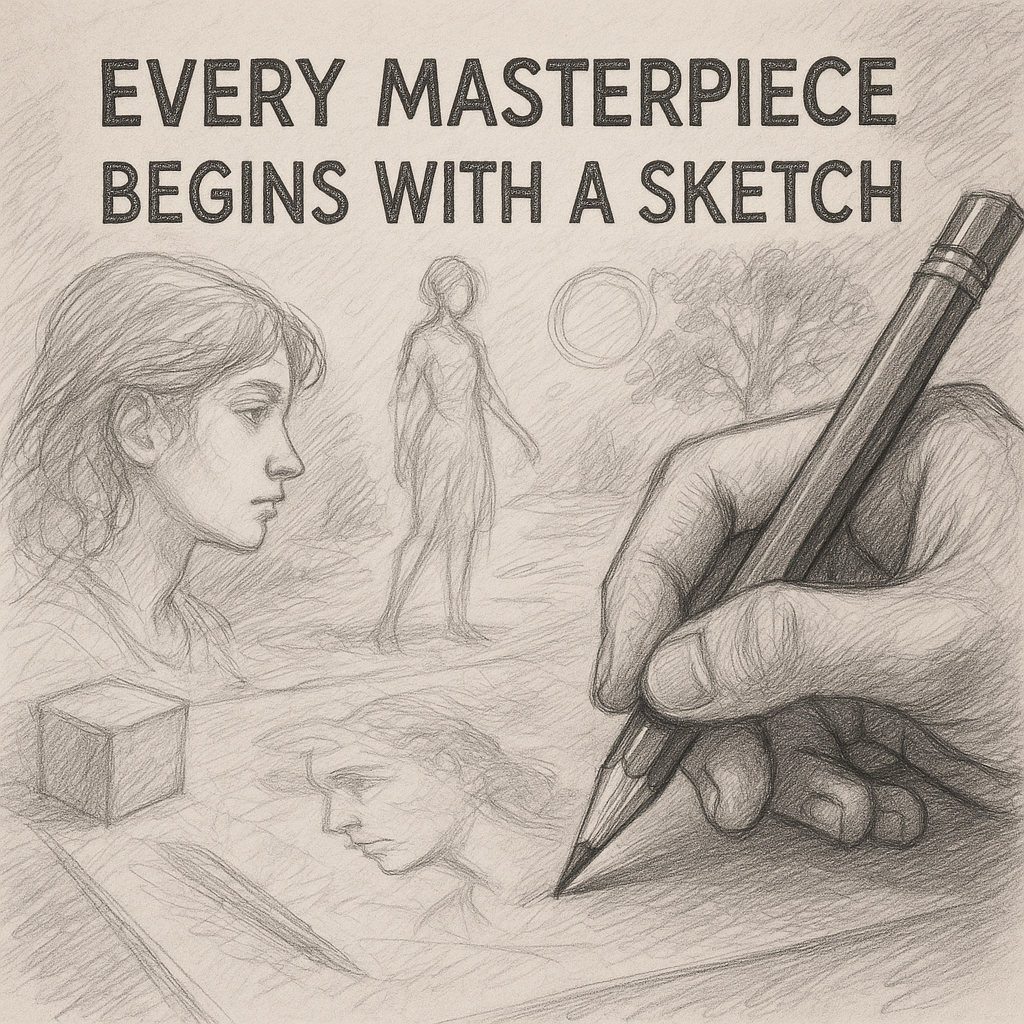
  • Title: Sketching for Creatives – Build Ideas with Pencil and Paper

    Sketching isn’t just drawing. It’s thinking visually. It’s planning, experimenting, and feeling your way into a creative idea. Whether you dream of digital painting, comics, design, or just want to relax – sketching sharpens your skills and imagination.


    Here’s a deeper guide to getting started:

    1. Get comfortable with imperfection.
    Sketching is not about making perfect art. It’s raw, quick, and sometimes messy. That’s its charm. Don’t erase every line – learn to embrace construction lines and looseness.


    2. Choose the right tools.
    A basic HB or 2B pencil and a sketchbook with decent paper are enough. Add a kneaded eraser and a fineliner later, but don’t overthink your materials.


    3. Warm-up before you draw.
    Like musicians, artists benefit from warm-ups. Fill a page with circles, lines, or shapes. This gets your hand used to motion and builds control.


    4. Master gesture drawing.
    Gesture sketches capture movement and flow in under 30 seconds. They train you to see the action, not the detail. Use real-life people, photos, or animals as references.


    5. Study form and perspective.
    Learn to break down complex objects into simple 3D shapes: cubes, spheres, cones. This will help you draw from imagination later on. Perspective (1-point, 2-point) is a game-changer for environments and depth.


    6. Build a daily habit.
    Even 10 minutes a day makes a huge difference. Draw your coffee mug. Sketch people on the train. Keep it light and enjoyable. Improvement comes through consistency, not pressure.


    7. Capture ideas on the go.
    Your sketchbook is also your idea vault. Jot down concepts, weird creatures, sword hilts, fantasy armor – whatever pops into your head. No censorship, no perfectionism.


    🎯 Pro Tip: Share your sketches on net-twin.de – feedback from fellow creatives can give you new eyes for your own work.

    And don’t forget: Every epic artwork once looked like a weird little doodle!

    Kind regards, Andy 🤩
    Title: Sketching for Creatives – Build Ideas with Pencil and Paper Sketching isn’t just drawing. It’s thinking visually. It’s planning, experimenting, and feeling your way into a creative idea. Whether you dream of digital painting, comics, design, or just want to relax – sketching sharpens your skills and imagination. Here’s a deeper guide to getting started: 1. Get comfortable with imperfection. Sketching is not about making perfect art. It’s raw, quick, and sometimes messy. That’s its charm. Don’t erase every line – learn to embrace construction lines and looseness. 2. Choose the right tools. A basic HB or 2B pencil and a sketchbook with decent paper are enough. Add a kneaded eraser and a fineliner later, but don’t overthink your materials. 3. Warm-up before you draw. Like musicians, artists benefit from warm-ups. Fill a page with circles, lines, or shapes. This gets your hand used to motion and builds control. 4. Master gesture drawing. Gesture sketches capture movement and flow in under 30 seconds. They train you to see the action, not the detail. Use real-life people, photos, or animals as references. 5. Study form and perspective. Learn to break down complex objects into simple 3D shapes: cubes, spheres, cones. This will help you draw from imagination later on. Perspective (1-point, 2-point) is a game-changer for environments and depth. 6. Build a daily habit. Even 10 minutes a day makes a huge difference. Draw your coffee mug. Sketch people on the train. Keep it light and enjoyable. Improvement comes through consistency, not pressure. 7. Capture ideas on the go. Your sketchbook is also your idea vault. Jot down concepts, weird creatures, sword hilts, fantasy armor – whatever pops into your head. No censorship, no perfectionism. 🎯 Pro Tip: Share your sketches on net-twin.de – feedback from fellow creatives can give you new eyes for your own work. And don’t forget: Every epic artwork once looked like a weird little doodle! Kind regards, Andy 🤩
    Love
    Wow
    2
    0 Comments 0 Shares 14K Views 0 Reviews
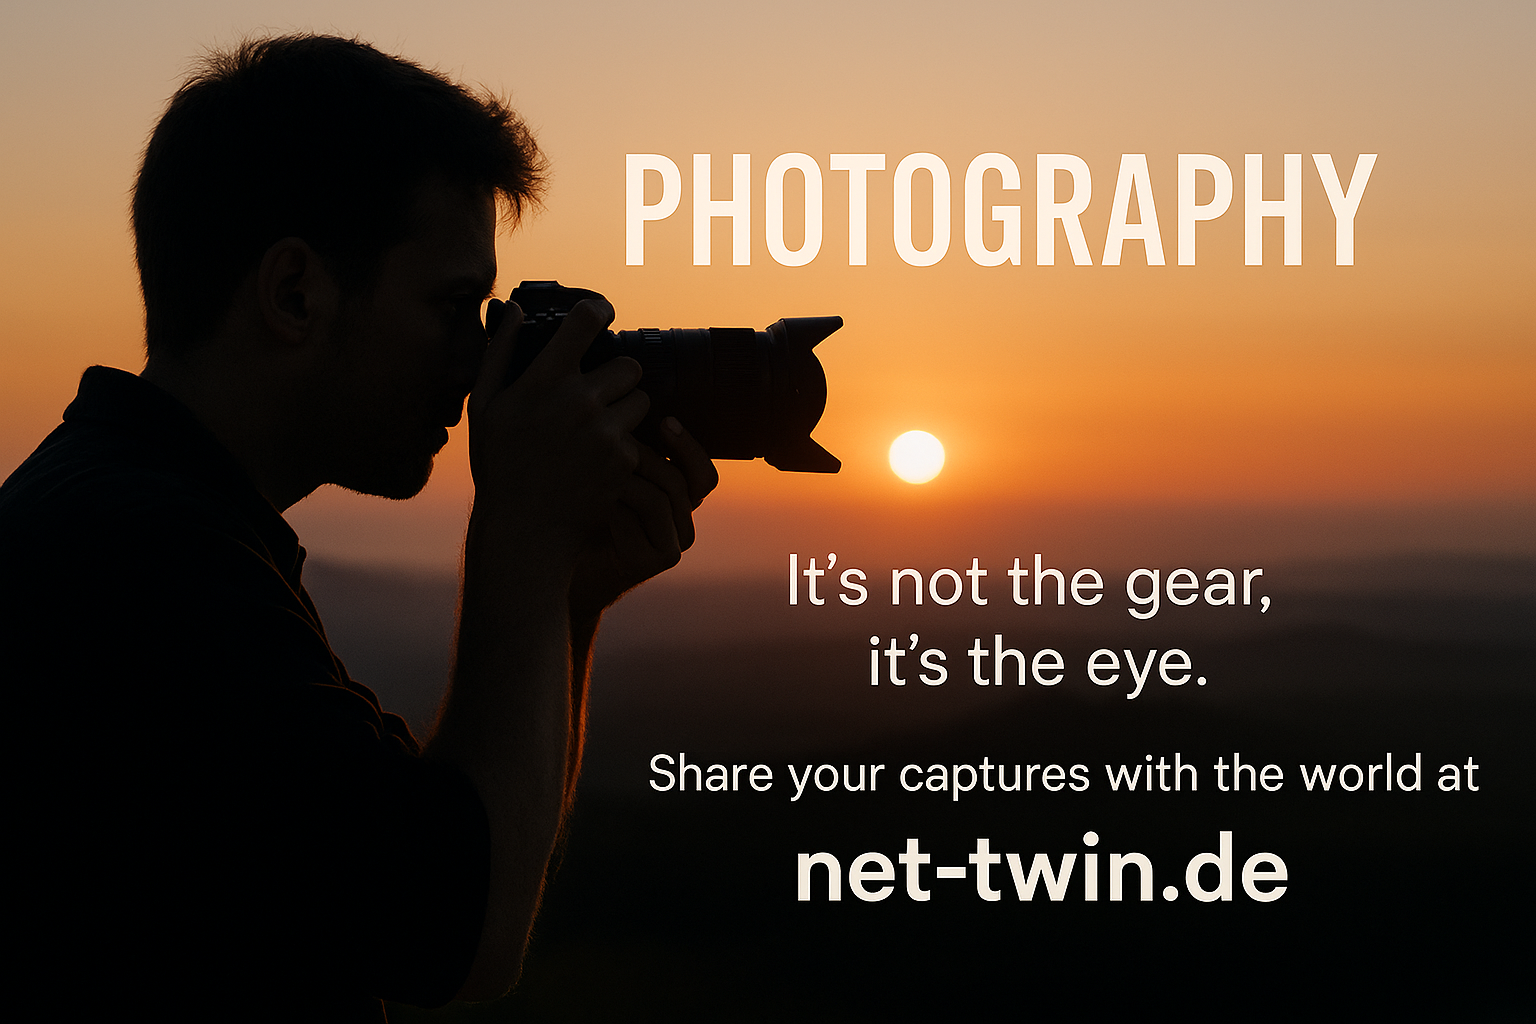
  • Title: #Photography for Beginners – Learn to See Before You Shoot

    You don’t need an expensive camera to take stunning photos. What you do need is the ability to observe. Here's how to start your photography journey:

    Use what you have.
    Whether it’s a #DSLR or a smartphone – the best #camera is the one you have with you.

    Master the light.
    Good lighting makes or breaks a photo. Early morning and late afternoon offer the softest natural light – perfect for portraits and landscapes.

    Learn composition basics.
    Follow the rule of thirds: place your subject off-center for more dynamic shots. Use leading lines, symmetry, and framing to guide the viewer’s eye.

    Don’t fear manual mode.
    Start experimenting with ISO, aperture, and shutter speed. Each setting is a creative tool.

    Tell a story.
    A great photo doesn’t just look good – it says something. Capture emotions, contrast, tension, or serenity.

    🎯 Tip: Upload your favorite shots to net-twin.de – get inspired, get feedback, and connect with fellow photography lovers!

    Kind regards, Andy 🤩

    -----------------------------------
    Advertising that's really worth it for you!

    💰Get it now: Get a €100 voucher from Temu (new customers only)!

    Step 1 - Use my voucher link: https://temu.to/m/uwsjqkbzhhl
    Step 2 - Enter the following code in the search field at Temu to secure your €100!
    The Code: tar37925
    Title: #Photography for Beginners – Learn to See Before You Shoot You don’t need an expensive camera to take stunning photos. What you do need is the ability to observe. Here's how to start your photography journey: Use what you have. Whether it’s a #DSLR or a smartphone – the best #camera is the one you have with you. Master the light. Good lighting makes or breaks a photo. Early morning and late afternoon offer the softest natural light – perfect for portraits and landscapes. Learn composition basics. Follow the rule of thirds: place your subject off-center for more dynamic shots. Use leading lines, symmetry, and framing to guide the viewer’s eye. Don’t fear manual mode. Start experimenting with ISO, aperture, and shutter speed. Each setting is a creative tool. Tell a story. A great photo doesn’t just look good – it says something. Capture emotions, contrast, tension, or serenity. 🎯 Tip: Upload your favorite shots to net-twin.de – get inspired, get feedback, and connect with fellow photography lovers! Kind regards, Andy 🤩 ----------------------------------- Advertising that's really worth it for you! 💰Get it now: Get a €100 voucher from Temu (new customers only)! Step 1 - Use my voucher link: https://temu.to/m/uwsjqkbzhhl Step 2 - Enter the following code in the search field at Temu to secure your €100! The Code: tar37925
    Like
    Wow
    2
    0 Comments 0 Shares 8K Views 0 Reviews
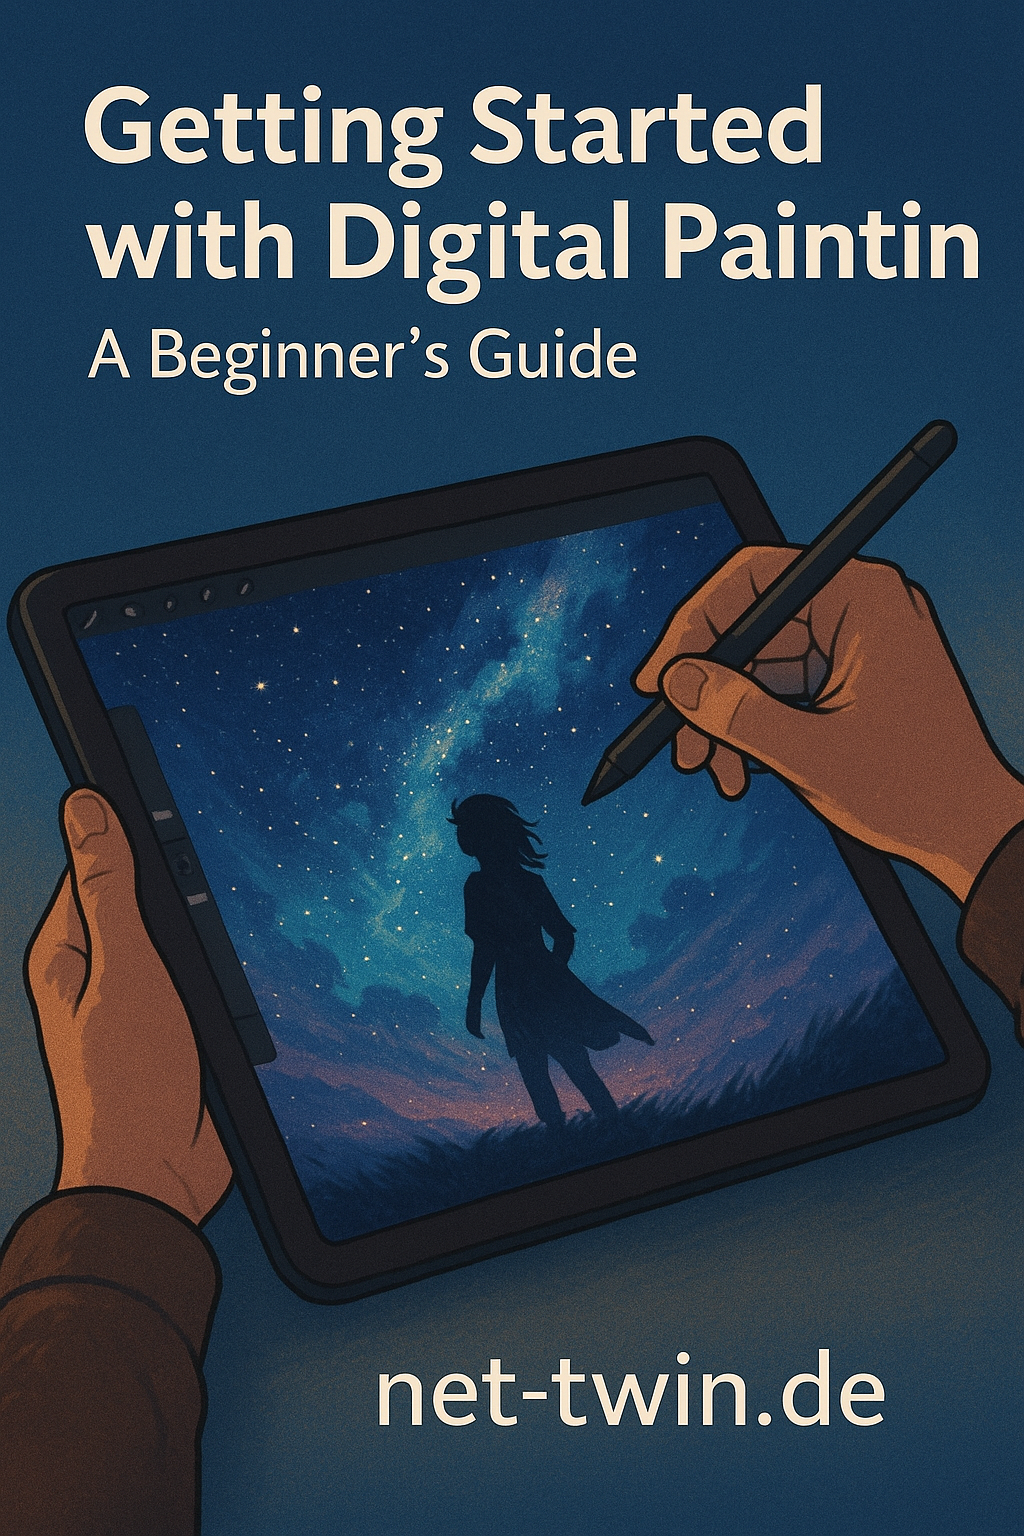
  • Title: Getting Started with Digital Painting – A Beginner’s Guide

    So, you want to paint digitally? Great choice. Digital painting combines the freedom of traditional art with the power of modern tools. Here's how to get started:

    Choose your software.
    Beginners often go with Procreate (iPad), Krita (free), or Photoshop (pro-grade). Pick one that feels intuitive.

    Get a stylus and tablet.
    A drawing tablet (like Wacom or XP-Pen) is essential for pressure sensitivity and precision. iPad with Apple Pencil works wonders too.

    Start with sketching.
    Rough outlines help you build composition. Use basic pencil or ink brushes, and don’t aim for perfection yet.

    Add color in layers.
    Use separate layers for shadows, highlights, and midtones. That way you can tweak things later without a mess.

    Experiment, undo, repeat.
    The best part of digital art? No ruined canvases. Use Ctrl+Z, play with brushes, and discover your style.

    🎯 Tip: Share your progress on net-twin.de and get feedback from other artists. Creativity grows when it’s shared!

    Kind regards, Andy 🤩
    Title: Getting Started with Digital Painting – A Beginner’s Guide So, you want to paint digitally? Great choice. Digital painting combines the freedom of traditional art with the power of modern tools. Here's how to get started: Choose your software. Beginners often go with Procreate (iPad), Krita (free), or Photoshop (pro-grade). Pick one that feels intuitive. Get a stylus and tablet. A drawing tablet (like Wacom or XP-Pen) is essential for pressure sensitivity and precision. iPad with Apple Pencil works wonders too. Start with sketching. Rough outlines help you build composition. Use basic pencil or ink brushes, and don’t aim for perfection yet. Add color in layers. Use separate layers for shadows, highlights, and midtones. That way you can tweak things later without a mess. Experiment, undo, repeat. The best part of digital art? No ruined canvases. Use Ctrl+Z, play with brushes, and discover your style. 🎯 Tip: Share your progress on net-twin.de and get feedback from other artists. Creativity grows when it’s shared! Kind regards, Andy 🤩
    Wow
    1
    0 Comments 0 Shares 10K Views 0 Reviews
  • How to Start Knife Making as a Hobby (Beginner's Guide)

    Knife making isn't just about steel – it’s about passion, patience, and precision. If you’ve ever thought of forging your own blade, here’s how to get started:

    Start with stock removal.
    Forget the forge (for now). Begin with a simple high-carbon steel flat bar (like 80CrV2) and shape your knife with files and an angle grinder.

    Choose the right handle material.
    Stabilized wood, micarta, or even antler can give your knife both style and grip.

    Heat treating is crucial.
    Even without a full forge, a simple propane torch and oil quench can give you a decently hardened blade. Temper in the oven at 200°C for 2 hours.

    Finish with finesse.
    Sand and polish your blade, then seal your handle. You’ll be amazed how rewarding it feels to hold your own creation.

    🎯 Tip: Document your builds on net-twin.de and connect with fellow makers to grow your skills!
    How to Start Knife Making as a Hobby (Beginner's Guide) Knife making isn't just about steel – it’s about passion, patience, and precision. If you’ve ever thought of forging your own blade, here’s how to get started: Start with stock removal. Forget the forge (for now). Begin with a simple high-carbon steel flat bar (like 80CrV2) and shape your knife with files and an angle grinder. Choose the right handle material. Stabilized wood, micarta, or even antler can give your knife both style and grip. Heat treating is crucial. Even without a full forge, a simple propane torch and oil quench can give you a decently hardened blade. Temper in the oven at 200°C for 2 hours. Finish with finesse. Sand and polish your blade, then seal your handle. You’ll be amazed how rewarding it feels to hold your own creation. 🎯 Tip: Document your builds on net-twin.de and connect with fellow makers to grow your skills!
    Like
    1
    0 Comments 0 Shares 7K Views 0 Reviews
More Results