


• OVERGROWN: BLENDER STUDIO REVEALS ITS NEW FEATURE-FILM WORLD


    Blender Studio has revealed the official teaser for OVERGROWN, its upcoming feature-film project, premiered on 14 September 2026.


    For artists, animators and independent developers, this is more than another animated production. Blender Studio projects demonstrate how open-source software can support a complete professional pipeline—from modelling and rigging to animation, lighting, effects and final rendering.


    The teaser introduces a richly overgrown world where nature, character design and environmental storytelling are closely connected. Even a short preview offers useful inspiration: silhouettes guide the viewer, colour separates characters from complex environments, and lighting creates depth without explaining every detail.


    OVERGROWN is also worth following because Blender Studio productions often open a window into the creative process. Production logs, technical discussions and selected assets can turn a finished film into learning material for the wider community.


    That matters especially to smaller teams. An independent creator often moves between concept art, modelling, materials, animation and editing. Seeing how those disciplines meet in a real project can be more valuable than studying each tool in isolation.


    The project reflects a broader strength of open creative ecosystems: films can improve the software used to make them, while software development enables artists to attempt more ambitious work.


    Watch the official teaser and follow the project:
    https://studio.blender.org/blog/overgrown-teaser-premiere/


    Which part of an animated production interests you most—worldbuilding, character design, lighting, animation or the technical pipeline?


    #Blender #OVERGROWN #3DArt #Animation #OpenSource #Worldbuilding #DigitalArt #VFX #IndieCreators
    OVERGROWN: BLENDER STUDIO REVEALS ITS NEW FEATURE-FILM WORLD Blender Studio has revealed the official teaser for OVERGROWN, its upcoming feature-film project, premiered on 14 September 2026. For artists, animators and independent developers, this is more than another animated production. Blender Studio projects demonstrate how open-source software can support a complete professional pipeline—from modelling and rigging to animation, lighting, effects and final rendering. The teaser introduces a richly overgrown world where nature, character design and environmental storytelling are closely connected. Even a short preview offers useful inspiration: silhouettes guide the viewer, colour separates characters from complex environments, and lighting creates depth without explaining every detail. OVERGROWN is also worth following because Blender Studio productions often open a window into the creative process. Production logs, technical discussions and selected assets can turn a finished film into learning material for the wider community. That matters especially to smaller teams. An independent creator often moves between concept art, modelling, materials, animation and editing. Seeing how those disciplines meet in a real project can be more valuable than studying each tool in isolation. The project reflects a broader strength of open creative ecosystems: films can improve the software used to make them, while software development enables artists to attempt more ambitious work. Watch the official teaser and follow the project: https://studio.blender.org/blog/overgrown-teaser-premiere/ Which part of an animated production interests you most—worldbuilding, character design, lighting, animation or the technical pipeline? #Blender #OVERGROWN #3DArt #Animation #OpenSource #Worldbuilding #DigitalArt #VFX #IndieCreators

    STUDIO.BLENDER.ORG
    OVERGROWN Teaser Premiere - Blender Studio
    Let's take a stroll into the world of OVERGROWN.
    Love
    1
    1 Comments 0 Shares 1K Views 0 Reviews
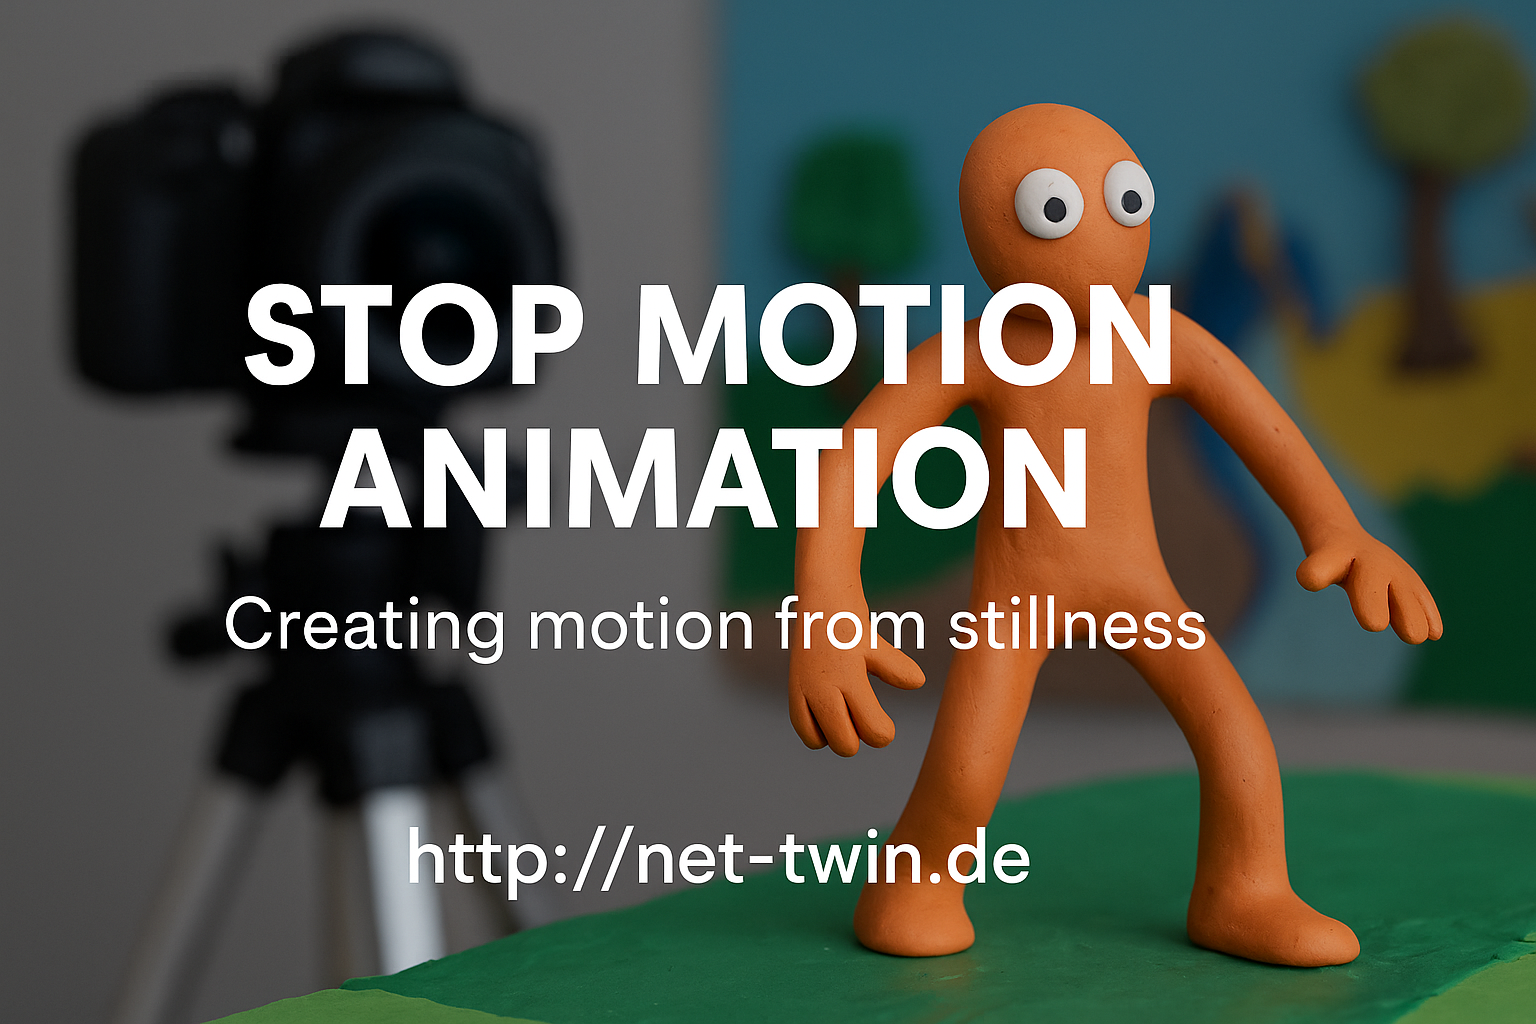
  • Title: Stop Motion Animation – Creating Motion from Stillness


    Stop motion is one of the oldest and most magical forms of animation. It’s not about speed – it’s about rhythm, planning, and breathing life into the inanimate. Whether you animate clay figures, paper cutouts, or even kitchen utensils, this hobby is both playful and powerful.

    Here’s how to get started:

    1. Understand what stop motion is.
    It’s a series of photos where each frame shows a tiny movement. Played back at 12–24 frames per second, it creates the illusion of life.

    2. Pick your medium.
    Popular choices include:

    Clay (claymation)

    Paper (cutout animation)

    Lego or figures (brickfilms)

    Everyday objects (pixilation or object animation)

    Each has its own charm. Try what you already have at home!

    3. Keep it steady.
    Use a tripod or solid surface. Shaky shots ruin the illusion. Tape your setup down if needed. For phone cameras, try simple tripods or holders.

    4. Use a stop motion app or software.
    For mobile: Stop Motion Studio is great.
    On desktop: Dragonframe (pro), or free options like MonkeyJam or Kdenlive for frame editing.

    5. Light is everything.
    Use constant light sources. Avoid windows or sunlight – shadows change quickly. Desk lamps or LED panels work best.

    6. Plan your movement.
    Sketch a basic storyboard. Think in “key poses” first, then fill in transitions. More frames = smoother motion, but also more effort.

    7. Add sound & effects later.
    Record audio separately or use royalty-free sounds. Add effects (dust, shake, filters) in post-editing to enhance the mood.

    🎯 Pro Tip: Even a bouncing ball is a great starting exercise. Share your short clips and behind-the-scenes shots on net-twin.de – people love seeing the magic before it’s polished!

    📌 #StopMotion #FrameByFrame #DIYAnimation #CreativeProcess #AnimationMagic #nettwin


    Kind regards, Andy 🤩

    -----------------------------------
    Advertising that's really worth it for you!

    💰 Get it now: Get a €100 voucher from Temu (new customers only)!

    Step 1 - Use my voucher link: https://temu.to/m/uwsjqkbzhhl
    Step 2 - Enter the following code in the search field at Temu to secure your €100!
    The Code: tar37925
    Title: Stop Motion Animation – Creating Motion from Stillness Stop motion is one of the oldest and most magical forms of animation. It’s not about speed – it’s about rhythm, planning, and breathing life into the inanimate. Whether you animate clay figures, paper cutouts, or even kitchen utensils, this hobby is both playful and powerful. Here’s how to get started: 1. Understand what stop motion is. It’s a series of photos where each frame shows a tiny movement. Played back at 12–24 frames per second, it creates the illusion of life. 2. Pick your medium. Popular choices include: Clay (claymation) Paper (cutout animation) Lego or figures (brickfilms) Everyday objects (pixilation or object animation) Each has its own charm. Try what you already have at home! 3. Keep it steady. Use a tripod or solid surface. Shaky shots ruin the illusion. Tape your setup down if needed. For phone cameras, try simple tripods or holders. 4. Use a stop motion app or software. For mobile: Stop Motion Studio is great. On desktop: Dragonframe (pro), or free options like MonkeyJam or Kdenlive for frame editing. 5. Light is everything. Use constant light sources. Avoid windows or sunlight – shadows change quickly. Desk lamps or LED panels work best. 6. Plan your movement. Sketch a basic storyboard. Think in “key poses” first, then fill in transitions. More frames = smoother motion, but also more effort. 7. Add sound & effects later. Record audio separately or use royalty-free sounds. Add effects (dust, shake, filters) in post-editing to enhance the mood. 🎯 Pro Tip: Even a bouncing ball is a great starting exercise. Share your short clips and behind-the-scenes shots on net-twin.de – people love seeing the magic before it’s polished! 📌 #StopMotion #FrameByFrame #DIYAnimation #CreativeProcess #AnimationMagic #nettwin Kind regards, Andy 🤩 ----------------------------------- Advertising that's really worth it for you! 💰 Get it now: Get a €100 voucher from Temu (new customers only)! Step 1 - Use my voucher link: https://temu.to/m/uwsjqkbzhhl Step 2 - Enter the following code in the search field at Temu to secure your €100! The Code: tar37925
    Wow
    2
    0 Comments 0 Shares 19K Views 0 Reviews
  • Title: Pixel Art Basics – How to Create Retro Magic, Pixel by Pixel

    Pixel art isn’t just about old-school looks – it’s a discipline in limitation and clarity. With a few carefully placed pixels, you can build entire worlds, characters, and emotions. Here’s a deeper dive into the craft of pixel art for beginners:


    1. Understand the spirit of pixel art.
    Pixel art originated from hardware limitations, but today it’s a stylistic choice. It rewards patience, simplicity, and clever visual storytelling. Think "less is more."


    2. Choose the right canvas size.
    Start with something small – 32×32 or 64×64 pixels is ideal for beginners. This keeps things manageable and forces you to focus on shape and form.


    3. Use a limited color palette.
    Old-school pixel art often used 8 to 16 colors. Restricting your palette helps maintain visual consistency and builds discipline. Sites like Lospec offer curated palettes perfect for retro vibes.


    4. Master basic shading and outlines.
    Use darker colors for shadows and lighter for highlights. Avoid gradients – instead, dither (checkerboard shading) or block your tones. Use outlines to give your forms clarity, but adjust them to the light source when needed.


    5. Zoom in – but don’t forget to zoom out.
    Pixel art is made under a microscope – but should look balanced from a distance. Always zoom out to check the readability of your image at 1x or 2x scale.


    6. Animate with intent.
    If you plan to animate, start with basic loops like blinking, walking, or idle stances. Stick to 2–4 frames to keep it manageable at the start.


    7. Use the right tools.
    Tools like Aseprite (paid), Piskel (free), or even Photoshop can get the job done. Look for a pixel grid, palette control, and onion skinning (for animation).


    🎯 Pro Tip: Post your work-in-progress on net-twin.de to connect with fellow pixel lovers. Even the best sprites start with a few shaky pixels!


    Kind regards, Andy 😍

    -----------------------------------
    Advertising that's really worth it for you!

    💰Get it now: Get a €100 voucher from Temu (new customers only)!

    Step 1 - Use my voucher link: https://temu.to/m/uwsjqkbzhhl
    Step 2 - Enter the following code in the search field at Temu to secure your €100!
    The Code: tar37925
    Title: Pixel Art Basics – How to Create Retro Magic, Pixel by Pixel Pixel art isn’t just about old-school looks – it’s a discipline in limitation and clarity. With a few carefully placed pixels, you can build entire worlds, characters, and emotions. Here’s a deeper dive into the craft of pixel art for beginners: 1. Understand the spirit of pixel art. Pixel art originated from hardware limitations, but today it’s a stylistic choice. It rewards patience, simplicity, and clever visual storytelling. Think "less is more." 2. Choose the right canvas size. Start with something small – 32×32 or 64×64 pixels is ideal for beginners. This keeps things manageable and forces you to focus on shape and form. 3. Use a limited color palette. Old-school pixel art often used 8 to 16 colors. Restricting your palette helps maintain visual consistency and builds discipline. Sites like Lospec offer curated palettes perfect for retro vibes. 4. Master basic shading and outlines. Use darker colors for shadows and lighter for highlights. Avoid gradients – instead, dither (checkerboard shading) or block your tones. Use outlines to give your forms clarity, but adjust them to the light source when needed. 5. Zoom in – but don’t forget to zoom out. Pixel art is made under a microscope – but should look balanced from a distance. Always zoom out to check the readability of your image at 1x or 2x scale. 6. Animate with intent. If you plan to animate, start with basic loops like blinking, walking, or idle stances. Stick to 2–4 frames to keep it manageable at the start. 7. Use the right tools. Tools like Aseprite (paid), Piskel (free), or even Photoshop can get the job done. Look for a pixel grid, palette control, and onion skinning (for animation). 🎯 Pro Tip: Post your work-in-progress on net-twin.de to connect with fellow pixel lovers. Even the best sprites start with a few shaky pixels! Kind regards, Andy 😍 ----------------------------------- Advertising that's really worth it for you! 💰Get it now: Get a €100 voucher from Temu (new customers only)! Step 1 - Use my voucher link: https://temu.to/m/uwsjqkbzhhl Step 2 - Enter the following code in the search field at Temu to secure your €100! The Code: tar37925
    Love
    Wow
    2
    0 Comments 0 Shares 7K Views 0 Reviews