


• ๐ŸŽจ How to Write Better AI Image Prompts – A Quick Guide for Beginners

    Want to create stunning AI-generated images, but not sure how to describe what you have in mind? Here’s a simple guide to help you craft better prompts – and get results that actually match your vision.

    ๐Ÿ”น 1. Be Specific, Not Vague
    Bad prompt: "A dragon"
    Better prompt: "A fierce red dragon flying over a burning medieval village at night, detailed scales, cinematic lighting"

    โœ”๏ธ Use adjectives (color, mood, style), verbs (what’s happening?), and context (where/when?).

    ๐Ÿ”น 2. Use Simple, Natural Language
    You don’t need fancy terms. Just write like you’re explaining the image to a friend.
    Example: "A cozy cabin in a snowy forest, smoke rising from the chimney, warm light glowing through the windows"

    ๐Ÿ”น 3. Add Art Style or Medium
    Want a painting? A photo? A sketch? Say it!
    Examples:

    "In the style of a vintage oil painting"

    "Black and white pencil sketch of a wolf"

    "Photo-realistic portrait with soft lighting"

    ๐Ÿ”น 4. Include Composition Tips
    Want a close-up? A wide shot? Add that!
    Examples:

    "Top-down view of a Japanese garden"

    "Portrait, centered, soft depth of field"

    ๐Ÿ”น 5. Use Negative Prompts (if possible)
    Some AI tools let you tell it what to avoid.
    Example:

    "A knight in armor, realistic –– no text, no watermark, no blurriness"

    ๐Ÿ’ก Pro Tip: Try tools like Lexica, PromptHero, or Krea.ai to explore other people’s prompts and see how they shape the final image.

    ๐ŸŽฏ Summary – Prompt Formula:
    [Subject] + [Action or Situation] + [Style/Medium] + [Lighting/Composition] + [Optional: What to avoid]

    Example:
    "A lonely lighthouse on a rocky shore during a storm, waves crashing, dramatic lighting, cinematic photo style"

    Have fun exploring your creativity! Got prompt ideas or cool images? Share them with the community on net-twin.de! ๐Ÿš€
    Let’s inspire each other.
    ๐ŸŽจ How to Write Better AI Image Prompts – A Quick Guide for Beginners Want to create stunning AI-generated images, but not sure how to describe what you have in mind? Here’s a simple guide to help you craft better prompts – and get results that actually match your vision. ๐Ÿ”น 1. Be Specific, Not Vague Bad prompt: "A dragon" Better prompt: "A fierce red dragon flying over a burning medieval village at night, detailed scales, cinematic lighting" โœ”๏ธ Use adjectives (color, mood, style), verbs (what’s happening?), and context (where/when?). ๐Ÿ”น 2. Use Simple, Natural Language You don’t need fancy terms. Just write like you’re explaining the image to a friend. Example: "A cozy cabin in a snowy forest, smoke rising from the chimney, warm light glowing through the windows" ๐Ÿ”น 3. Add Art Style or Medium Want a painting? A photo? A sketch? Say it! Examples: "In the style of a vintage oil painting" "Black and white pencil sketch of a wolf" "Photo-realistic portrait with soft lighting" ๐Ÿ”น 4. Include Composition Tips Want a close-up? A wide shot? Add that! Examples: "Top-down view of a Japanese garden" "Portrait, centered, soft depth of field" ๐Ÿ”น 5. Use Negative Prompts (if possible) Some AI tools let you tell it what to avoid. Example: "A knight in armor, realistic –– no text, no watermark, no blurriness" ๐Ÿ’ก Pro Tip: Try tools like Lexica, PromptHero, or Krea.ai to explore other people’s prompts and see how they shape the final image. ๐ŸŽฏ Summary – Prompt Formula: [Subject] + [Action or Situation] + [Style/Medium] + [Lighting/Composition] + [Optional: What to avoid] Example: "A lonely lighthouse on a rocky shore during a storm, waves crashing, dramatic lighting, cinematic photo style" Have fun exploring your creativity! Got prompt ideas or cool images? Share them with the community on net-twin.de! ๐Ÿš€ Let’s inspire each other.
    Love
    1
    0 Comments 0 Shares 9K Views 0 Reviews
  • Do you like a bit crazy techno music? Please like and share with your friends to support the artist. Here you go:

    https://on.soundcloud.com/Oo64XB68EHhZIsoX2V
    Do you like a bit crazy techno music? Please like and share with your friends to support the artist. Here you go: https://on.soundcloud.com/Oo64XB68EHhZIsoX2V
    Wow
    1
    0 Comments 0 Shares 3K Views 0 Reviews
  • ๐ŸŽจ Quick Tutorial: How to Create Your Own DIY Stamps for Crafting ๐Ÿ–‹๏ธ

    Looking for a simple but satisfying project to boost your creativity? Making your own custom stamps is not only fun — it adds a personal touch to your journals, packaging, greeting cards, and art projects!


    Here’s a quick guide to get you started:

    ๐Ÿงฐ What You’ll Need:

    Soft carving block or eraser

    Pencil & paper

    Linoleum carving tool or X-Acto knife

    Ink pad

    Optional: wood block for mounting


    โœ๏ธ Step-by-Step Guide:

    Sketch Your Design
    Start by drawing your idea on paper. Keep it simple — bold lines and clear shapes work best.

    Transfer the Design
    Rub the back of your drawing with pencil, place it face-down on the carving block, and trace over it to transfer.

    Carve It Out
    Carefully carve around your lines. Remove the negative space — everything you don't want to be inked.

    Test It!
    Press the stamp into an ink pad and stamp it on scrap paper. Make adjustments if needed.

    Optional: Mount It
    Glue your finished stamp onto a wooden block for better handling.


    โœจ Creative Ideas:

    Make a custom signature stamp

    Create botanical or nature patterns

    Design your own emojis or symbols

    Use them to personalize gift wrap or fabric


    Let your imagination lead the way — and don't forget to share your stamp creations with the community! ๐Ÿงก

    #DIY #StampMaking #CreativeHobbies #Tutorial #Makers


    Have a nice day, Andy ๐Ÿคฉ
    ๐ŸŽจ Quick Tutorial: How to Create Your Own DIY Stamps for Crafting ๐Ÿ–‹๏ธ Looking for a simple but satisfying project to boost your creativity? Making your own custom stamps is not only fun — it adds a personal touch to your journals, packaging, greeting cards, and art projects! Here’s a quick guide to get you started: ๐Ÿงฐ What You’ll Need: Soft carving block or eraser Pencil & paper Linoleum carving tool or X-Acto knife Ink pad Optional: wood block for mounting โœ๏ธ Step-by-Step Guide: Sketch Your Design Start by drawing your idea on paper. Keep it simple — bold lines and clear shapes work best. Transfer the Design Rub the back of your drawing with pencil, place it face-down on the carving block, and trace over it to transfer. Carve It Out Carefully carve around your lines. Remove the negative space — everything you don't want to be inked. Test It! Press the stamp into an ink pad and stamp it on scrap paper. Make adjustments if needed. Optional: Mount It Glue your finished stamp onto a wooden block for better handling. โœจ Creative Ideas: Make a custom signature stamp Create botanical or nature patterns Design your own emojis or symbols Use them to personalize gift wrap or fabric Let your imagination lead the way — and don't forget to share your stamp creations with the community! ๐Ÿงก #DIY #StampMaking #CreativeHobbies #Tutorial #Makers Have a nice day, Andy ๐Ÿคฉ
    Wow
    1
    0 Comments 0 Shares 15K Views 0 Reviews
  • Knife Making / DIY Crafts

    If you're starting your journey into knife making, one of the most important decisions you'll make is choosing the right steel. It can feel overwhelming at first — but don't worry, we’ve got your back.

    80CrV2 is a fantastic choice for beginners. It’s a tough, high-carbon tool steel that’s forgiving during heat treatment, takes a sharp edge, and holds it well. Many professional bladesmiths swear by it for its reliability and balance between hardness and flexibility.

    ๐Ÿ’ก Why it's great for first-timers:

    Easy to work with (grinds and shapes well)

    Readily available and affordable

    Strong edge retention and toughness

    Tip: Keep your first blade design simple — a small drop-point or utility shape is perfect to learn the basics.

    Want more tips or ready to share your own creations?
    โžก๏ธ Join the discussion on net-twin.de and connect with other makers like you!
    Knife Making / DIY Crafts If you're starting your journey into knife making, one of the most important decisions you'll make is choosing the right steel. It can feel overwhelming at first — but don't worry, we’ve got your back. 80CrV2 is a fantastic choice for beginners. It’s a tough, high-carbon tool steel that’s forgiving during heat treatment, takes a sharp edge, and holds it well. Many professional bladesmiths swear by it for its reliability and balance between hardness and flexibility. ๐Ÿ’ก Why it's great for first-timers: Easy to work with (grinds and shapes well) Readily available and affordable Strong edge retention and toughness Tip: Keep your first blade design simple — a small drop-point or utility shape is perfect to learn the basics. Want more tips or ready to share your own creations? โžก๏ธ Join the discussion on net-twin.de and connect with other makers like you!
    Wow
    1
    0 Comments 0 Shares 7K Views 0 Reviews
  • How to Start Knife Making as a Hobby (Beginner's Guide)

    Knife making isn't just about steel – it’s about passion, patience, and precision. If you’ve ever thought of forging your own blade, here’s how to get started:

    Start with stock removal.
    Forget the forge (for now). Begin with a simple high-carbon steel flat bar (like 80CrV2) and shape your knife with files and an angle grinder.

    Choose the right handle material.
    Stabilized wood, micarta, or even antler can give your knife both style and grip.

    Heat treating is crucial.
    Even without a full forge, a simple propane torch and oil quench can give you a decently hardened blade. Temper in the oven at 200°C for 2 hours.

    Finish with finesse.
    Sand and polish your blade, then seal your handle. You’ll be amazed how rewarding it feels to hold your own creation.

    ๐ŸŽฏ Tip: Document your builds on net-twin.de and connect with fellow makers to grow your skills!
    How to Start Knife Making as a Hobby (Beginner's Guide) Knife making isn't just about steel – it’s about passion, patience, and precision. If you’ve ever thought of forging your own blade, here’s how to get started: Start with stock removal. Forget the forge (for now). Begin with a simple high-carbon steel flat bar (like 80CrV2) and shape your knife with files and an angle grinder. Choose the right handle material. Stabilized wood, micarta, or even antler can give your knife both style and grip. Heat treating is crucial. Even without a full forge, a simple propane torch and oil quench can give you a decently hardened blade. Temper in the oven at 200°C for 2 hours. Finish with finesse. Sand and polish your blade, then seal your handle. You’ll be amazed how rewarding it feels to hold your own creation. ๐ŸŽฏ Tip: Document your builds on net-twin.de and connect with fellow makers to grow your skills!
    Like
    1
    0 Comments 0 Shares 7K Views 0 Reviews
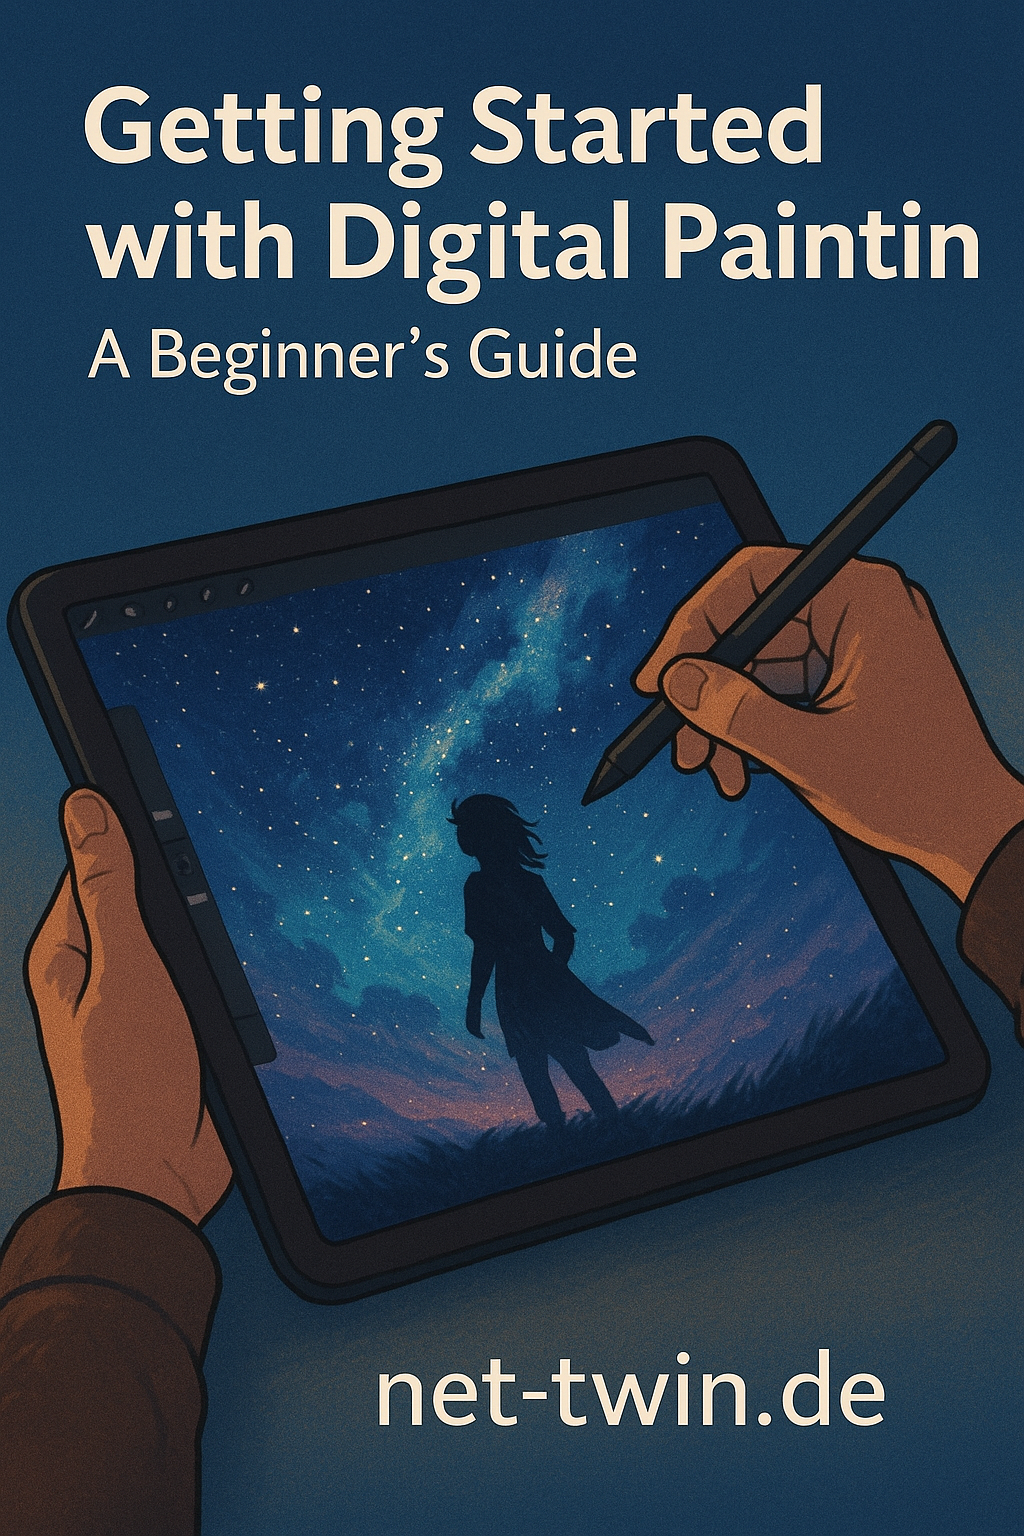
  • Title: Getting Started with Digital Painting – A Beginner’s Guide

    So, you want to paint digitally? Great choice. Digital painting combines the freedom of traditional art with the power of modern tools. Here's how to get started:

    Choose your software.
    Beginners often go with Procreate (iPad), Krita (free), or Photoshop (pro-grade). Pick one that feels intuitive.

    Get a stylus and tablet.
    A drawing tablet (like Wacom or XP-Pen) is essential for pressure sensitivity and precision. iPad with Apple Pencil works wonders too.

    Start with sketching.
    Rough outlines help you build composition. Use basic pencil or ink brushes, and don’t aim for perfection yet.

    Add color in layers.
    Use separate layers for shadows, highlights, and midtones. That way you can tweak things later without a mess.

    Experiment, undo, repeat.
    The best part of digital art? No ruined canvases. Use Ctrl+Z, play with brushes, and discover your style.

    ๐ŸŽฏ Tip: Share your progress on net-twin.de and get feedback from other artists. Creativity grows when it’s shared!

    Kind regards, Andy ๐Ÿคฉ
    Title: Getting Started with Digital Painting – A Beginner’s Guide So, you want to paint digitally? Great choice. Digital painting combines the freedom of traditional art with the power of modern tools. Here's how to get started: Choose your software. Beginners often go with Procreate (iPad), Krita (free), or Photoshop (pro-grade). Pick one that feels intuitive. Get a stylus and tablet. A drawing tablet (like Wacom or XP-Pen) is essential for pressure sensitivity and precision. iPad with Apple Pencil works wonders too. Start with sketching. Rough outlines help you build composition. Use basic pencil or ink brushes, and don’t aim for perfection yet. Add color in layers. Use separate layers for shadows, highlights, and midtones. That way you can tweak things later without a mess. Experiment, undo, repeat. The best part of digital art? No ruined canvases. Use Ctrl+Z, play with brushes, and discover your style. ๐ŸŽฏ Tip: Share your progress on net-twin.de and get feedback from other artists. Creativity grows when it’s shared! Kind regards, Andy ๐Ÿคฉ
    Wow
    1
    0 Comments 0 Shares 9K Views 0 Reviews
  • Title: #Photography for Beginners – Learn to See Before You Shoot

    You don’t need an expensive camera to take stunning photos. What you do need is the ability to observe. Here's how to start your photography journey:

    Use what you have.
    Whether it’s a #DSLR or a smartphone – the best #camera is the one you have with you.

    Master the light.
    Good lighting makes or breaks a photo. Early morning and late afternoon offer the softest natural light – perfect for portraits and landscapes.

    Learn composition basics.
    Follow the rule of thirds: place your subject off-center for more dynamic shots. Use leading lines, symmetry, and framing to guide the viewer’s eye.

    Don’t fear manual mode.
    Start experimenting with ISO, aperture, and shutter speed. Each setting is a creative tool.

    Tell a story.
    A great photo doesn’t just look good – it says something. Capture emotions, contrast, tension, or serenity.

    ๐ŸŽฏ Tip: Upload your favorite shots to net-twin.de – get inspired, get feedback, and connect with fellow photography lovers!

    Kind regards, Andy ๐Ÿคฉ

    -----------------------------------
    Advertising that's really worth it for you!

    ๐Ÿ’ฐGet it now: Get a €100 voucher from Temu (new customers only)!

    Step 1 - Use my voucher link: https://temu.to/m/uwsjqkbzhhl
    Step 2 - Enter the following code in the search field at Temu to secure your €100!
    The Code: tar37925
    Title: #Photography for Beginners – Learn to See Before You Shoot You don’t need an expensive camera to take stunning photos. What you do need is the ability to observe. Here's how to start your photography journey: Use what you have. Whether it’s a #DSLR or a smartphone – the best #camera is the one you have with you. Master the light. Good lighting makes or breaks a photo. Early morning and late afternoon offer the softest natural light – perfect for portraits and landscapes. Learn composition basics. Follow the rule of thirds: place your subject off-center for more dynamic shots. Use leading lines, symmetry, and framing to guide the viewer’s eye. Don’t fear manual mode. Start experimenting with ISO, aperture, and shutter speed. Each setting is a creative tool. Tell a story. A great photo doesn’t just look good – it says something. Capture emotions, contrast, tension, or serenity. ๐ŸŽฏ Tip: Upload your favorite shots to net-twin.de – get inspired, get feedback, and connect with fellow photography lovers! Kind regards, Andy ๐Ÿคฉ ----------------------------------- Advertising that's really worth it for you! ๐Ÿ’ฐGet it now: Get a €100 voucher from Temu (new customers only)! Step 1 - Use my voucher link: https://temu.to/m/uwsjqkbzhhl Step 2 - Enter the following code in the search field at Temu to secure your €100! The Code: tar37925
    Like
    Wow
    2
    0 Comments 0 Shares 8K Views 0 Reviews
  • Topic: Woodworking for Beginners – Crafting with Your Hands and Heart

    There’s something deeply satisfying about shaping wood – its texture, scent, and warmth offer a grounding creative experience. Here's how to get started:

    Start small.
    Choose an easy project like a candle holder, phone stand, or simple box. Focus on clean cuts and solid joints.

    Know your tools.
    A basic toolkit includes a handsaw, clamps, chisels, a hammer, a drill, and sandpaper. You don’t need power tools to begin – just patience.

    Choose the right wood.
    Softwoods like pine or fir are beginner-friendly. Avoid plywood for now – it’s harder to work and finish nicely.

    Measure twice, cut once.
    Accuracy matters. Always mark your measurements clearly and use a square to keep cuts straight.

    Finish with care.
    Sand thoroughly and choose a simple finish – oil, beeswax, or a clear coat will enhance the natural beauty of the wood.

    ๐ŸŽฏ Tip: Upload your wooden creations to net-twin.de – every knot and grain tells your story!

    Kind regards, Andy ๐Ÿคฉ

    -----------------------------------
    Advertising that's really worth it for you!

    ๐Ÿ’ฐGet it now: Get a €100 voucher from Temu (new customers only)!

    Step 1 - Use my voucher link: https://temu.to/m/uwsjqkbzhhl
    Step 2 - Enter the following code in the search field at Temu to secure your €100!
    The Code: tar37925
    Topic: Woodworking for Beginners – Crafting with Your Hands and Heart There’s something deeply satisfying about shaping wood – its texture, scent, and warmth offer a grounding creative experience. Here's how to get started: Start small. Choose an easy project like a candle holder, phone stand, or simple box. Focus on clean cuts and solid joints. Know your tools. A basic toolkit includes a handsaw, clamps, chisels, a hammer, a drill, and sandpaper. You don’t need power tools to begin – just patience. Choose the right wood. Softwoods like pine or fir are beginner-friendly. Avoid plywood for now – it’s harder to work and finish nicely. Measure twice, cut once. Accuracy matters. Always mark your measurements clearly and use a square to keep cuts straight. Finish with care. Sand thoroughly and choose a simple finish – oil, beeswax, or a clear coat will enhance the natural beauty of the wood. ๐ŸŽฏ Tip: Upload your wooden creations to net-twin.de – every knot and grain tells your story! Kind regards, Andy ๐Ÿคฉ ----------------------------------- Advertising that's really worth it for you! ๐Ÿ’ฐGet it now: Get a €100 voucher from Temu (new customers only)! Step 1 - Use my voucher link: https://temu.to/m/uwsjqkbzhhl Step 2 - Enter the following code in the search field at Temu to secure your €100! The Code: tar37925
    Wow
    1
    0 Comments 0 Shares 5K Views 0 Reviews
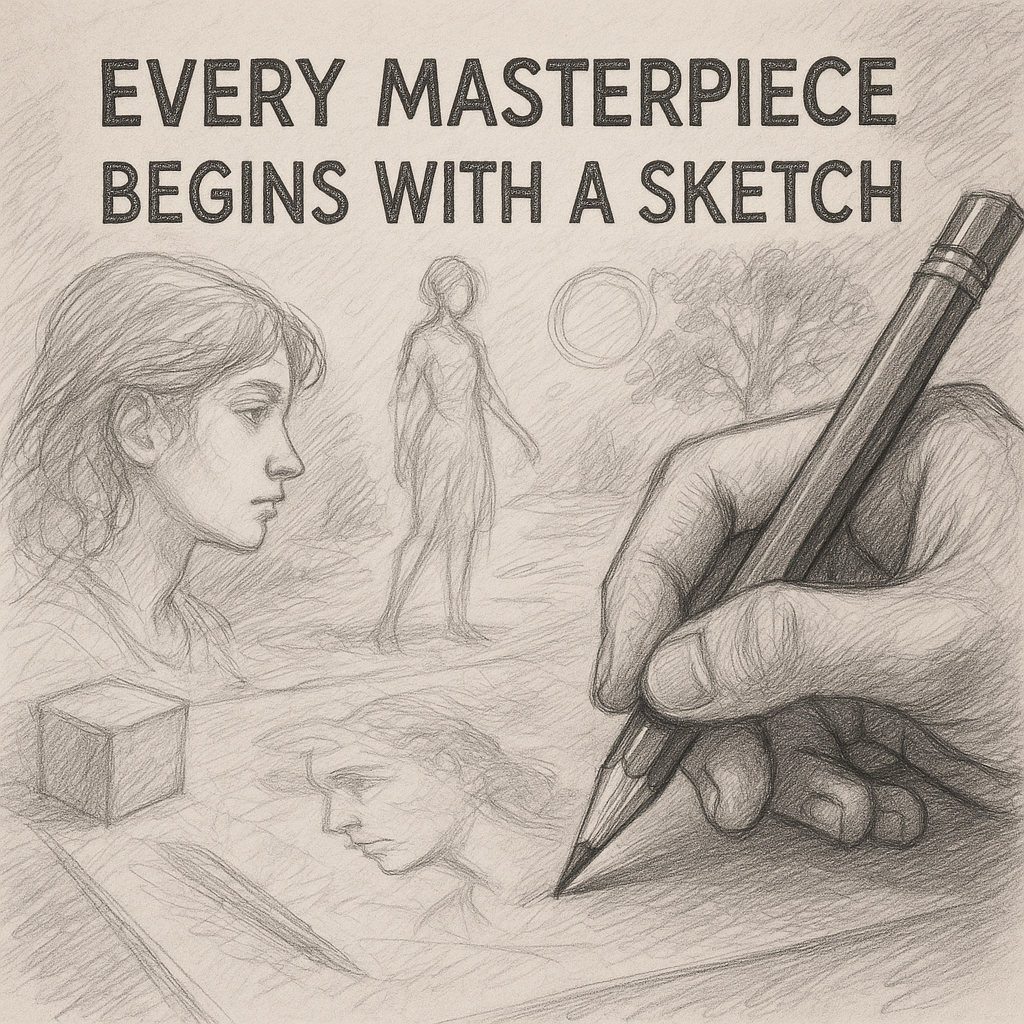
  • Title: Sketching for Creatives – Build Ideas with Pencil and Paper

    Sketching isn’t just drawing. It’s thinking visually. It’s planning, experimenting, and feeling your way into a creative idea. Whether you dream of digital painting, comics, design, or just want to relax – sketching sharpens your skills and imagination.


    Here’s a deeper guide to getting started:

    1. Get comfortable with imperfection.
    Sketching is not about making perfect art. It’s raw, quick, and sometimes messy. That’s its charm. Don’t erase every line – learn to embrace construction lines and looseness.


    2. Choose the right tools.
    A basic HB or 2B pencil and a sketchbook with decent paper are enough. Add a kneaded eraser and a fineliner later, but don’t overthink your materials.


    3. Warm-up before you draw.
    Like musicians, artists benefit from warm-ups. Fill a page with circles, lines, or shapes. This gets your hand used to motion and builds control.


    4. Master gesture drawing.
    Gesture sketches capture movement and flow in under 30 seconds. They train you to see the action, not the detail. Use real-life people, photos, or animals as references.


    5. Study form and perspective.
    Learn to break down complex objects into simple 3D shapes: cubes, spheres, cones. This will help you draw from imagination later on. Perspective (1-point, 2-point) is a game-changer for environments and depth.


    6. Build a daily habit.
    Even 10 minutes a day makes a huge difference. Draw your coffee mug. Sketch people on the train. Keep it light and enjoyable. Improvement comes through consistency, not pressure.


    7. Capture ideas on the go.
    Your sketchbook is also your idea vault. Jot down concepts, weird creatures, sword hilts, fantasy armor – whatever pops into your head. No censorship, no perfectionism.


    ๐ŸŽฏ Pro Tip: Share your sketches on net-twin.de – feedback from fellow creatives can give you new eyes for your own work.

    And don’t forget: Every epic artwork once looked like a weird little doodle!

    Kind regards, Andy ๐Ÿคฉ
    Title: Sketching for Creatives – Build Ideas with Pencil and Paper Sketching isn’t just drawing. It’s thinking visually. It’s planning, experimenting, and feeling your way into a creative idea. Whether you dream of digital painting, comics, design, or just want to relax – sketching sharpens your skills and imagination. Here’s a deeper guide to getting started: 1. Get comfortable with imperfection. Sketching is not about making perfect art. It’s raw, quick, and sometimes messy. That’s its charm. Don’t erase every line – learn to embrace construction lines and looseness. 2. Choose the right tools. A basic HB or 2B pencil and a sketchbook with decent paper are enough. Add a kneaded eraser and a fineliner later, but don’t overthink your materials. 3. Warm-up before you draw. Like musicians, artists benefit from warm-ups. Fill a page with circles, lines, or shapes. This gets your hand used to motion and builds control. 4. Master gesture drawing. Gesture sketches capture movement and flow in under 30 seconds. They train you to see the action, not the detail. Use real-life people, photos, or animals as references. 5. Study form and perspective. Learn to break down complex objects into simple 3D shapes: cubes, spheres, cones. This will help you draw from imagination later on. Perspective (1-point, 2-point) is a game-changer for environments and depth. 6. Build a daily habit. Even 10 minutes a day makes a huge difference. Draw your coffee mug. Sketch people on the train. Keep it light and enjoyable. Improvement comes through consistency, not pressure. 7. Capture ideas on the go. Your sketchbook is also your idea vault. Jot down concepts, weird creatures, sword hilts, fantasy armor – whatever pops into your head. No censorship, no perfectionism. ๐ŸŽฏ Pro Tip: Share your sketches on net-twin.de – feedback from fellow creatives can give you new eyes for your own work. And don’t forget: Every epic artwork once looked like a weird little doodle! Kind regards, Andy ๐Ÿคฉ
    Love
    Wow
    2
    0 Comments 0 Shares 13K Views 0 Reviews
  • Title: Pixel Art Basics – How to Create Retro Magic, Pixel by Pixel

    Pixel art isn’t just about old-school looks – it’s a discipline in limitation and clarity. With a few carefully placed pixels, you can build entire worlds, characters, and emotions. Here’s a deeper dive into the craft of pixel art for beginners:


    1. Understand the spirit of pixel art.
    Pixel art originated from hardware limitations, but today it’s a stylistic choice. It rewards patience, simplicity, and clever visual storytelling. Think "less is more."


    2. Choose the right canvas size.
    Start with something small – 32×32 or 64×64 pixels is ideal for beginners. This keeps things manageable and forces you to focus on shape and form.


    3. Use a limited color palette.
    Old-school pixel art often used 8 to 16 colors. Restricting your palette helps maintain visual consistency and builds discipline. Sites like Lospec offer curated palettes perfect for retro vibes.


    4. Master basic shading and outlines.
    Use darker colors for shadows and lighter for highlights. Avoid gradients – instead, dither (checkerboard shading) or block your tones. Use outlines to give your forms clarity, but adjust them to the light source when needed.


    5. Zoom in – but don’t forget to zoom out.
    Pixel art is made under a microscope – but should look balanced from a distance. Always zoom out to check the readability of your image at 1x or 2x scale.


    6. Animate with intent.
    If you plan to animate, start with basic loops like blinking, walking, or idle stances. Stick to 2–4 frames to keep it manageable at the start.


    7. Use the right tools.
    Tools like Aseprite (paid), Piskel (free), or even Photoshop can get the job done. Look for a pixel grid, palette control, and onion skinning (for animation).


    ๐ŸŽฏ Pro Tip: Post your work-in-progress on net-twin.de to connect with fellow pixel lovers. Even the best sprites start with a few shaky pixels!


    Kind regards, Andy ๐Ÿ˜

    -----------------------------------
    Advertising that's really worth it for you!

    ๐Ÿ’ฐGet it now: Get a €100 voucher from Temu (new customers only)!

    Step 1 - Use my voucher link: https://temu.to/m/uwsjqkbzhhl
    Step 2 - Enter the following code in the search field at Temu to secure your €100!
    The Code: tar37925
    Title: Pixel Art Basics – How to Create Retro Magic, Pixel by Pixel Pixel art isn’t just about old-school looks – it’s a discipline in limitation and clarity. With a few carefully placed pixels, you can build entire worlds, characters, and emotions. Here’s a deeper dive into the craft of pixel art for beginners: 1. Understand the spirit of pixel art. Pixel art originated from hardware limitations, but today it’s a stylistic choice. It rewards patience, simplicity, and clever visual storytelling. Think "less is more." 2. Choose the right canvas size. Start with something small – 32×32 or 64×64 pixels is ideal for beginners. This keeps things manageable and forces you to focus on shape and form. 3. Use a limited color palette. Old-school pixel art often used 8 to 16 colors. Restricting your palette helps maintain visual consistency and builds discipline. Sites like Lospec offer curated palettes perfect for retro vibes. 4. Master basic shading and outlines. Use darker colors for shadows and lighter for highlights. Avoid gradients – instead, dither (checkerboard shading) or block your tones. Use outlines to give your forms clarity, but adjust them to the light source when needed. 5. Zoom in – but don’t forget to zoom out. Pixel art is made under a microscope – but should look balanced from a distance. Always zoom out to check the readability of your image at 1x or 2x scale. 6. Animate with intent. If you plan to animate, start with basic loops like blinking, walking, or idle stances. Stick to 2–4 frames to keep it manageable at the start. 7. Use the right tools. Tools like Aseprite (paid), Piskel (free), or even Photoshop can get the job done. Look for a pixel grid, palette control, and onion skinning (for animation). ๐ŸŽฏ Pro Tip: Post your work-in-progress on net-twin.de to connect with fellow pixel lovers. Even the best sprites start with a few shaky pixels! Kind regards, Andy ๐Ÿ˜ ----------------------------------- Advertising that's really worth it for you! ๐Ÿ’ฐGet it now: Get a €100 voucher from Temu (new customers only)! Step 1 - Use my voucher link: https://temu.to/m/uwsjqkbzhhl Step 2 - Enter the following code in the search field at Temu to secure your €100! The Code: tar37925
    Love
    Wow
    2
    0 Comments 0 Shares 7K Views 0 Reviews