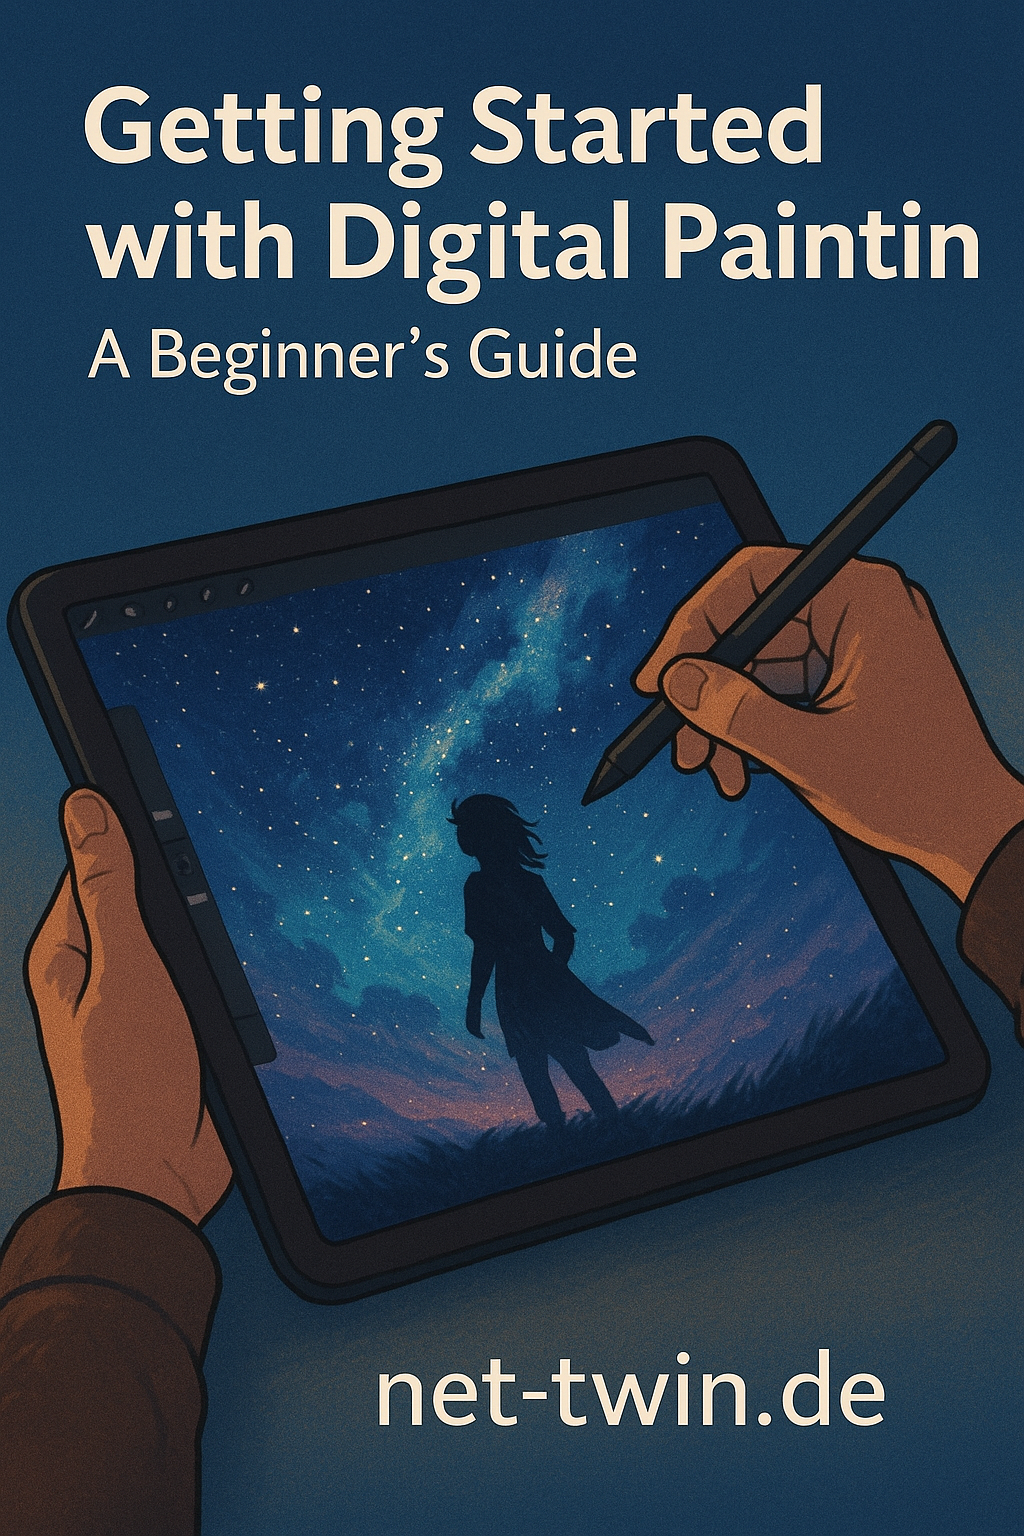
• Title: Getting Started with Digital Painting – A Beginner’s Guide

    So, you want to paint digitally? Great choice. Digital painting combines the freedom of traditional art with the power of modern tools. Here's how to get started:

    Choose your software.
    Beginners often go with Procreate (iPad), Krita (free), or Photoshop (pro-grade). Pick one that feels intuitive.

    Get a stylus and tablet.
    A drawing tablet (like Wacom or XP-Pen) is essential for pressure sensitivity and precision. iPad with Apple Pencil works wonders too.

    Start with sketching.
    Rough outlines help you build composition. Use basic pencil or ink brushes, and don’t aim for perfection yet.

    Add color in layers.
    Use separate layers for shadows, highlights, and midtones. That way you can tweak things later without a mess.

    Experiment, undo, repeat.
    The best part of digital art? No ruined canvases. Use Ctrl+Z, play with brushes, and discover your style.

    Tip: Share your progress on net-twin.de and get feedback from other artists. Creativity grows when it’s shared!

    Kind regards, Andy
    Title: Getting Started with Digital Painting – A Beginner’s Guide So, you want to paint digitally? Great choice. Digital painting combines the freedom of traditional art with the power of modern tools. Here's how to get started: Choose your software. Beginners often go with Procreate (iPad), Krita (free), or Photoshop (pro-grade). Pick one that feels intuitive. Get a stylus and tablet. A drawing tablet (like Wacom or XP-Pen) is essential for pressure sensitivity and precision. iPad with Apple Pencil works wonders too. Start with sketching. Rough outlines help you build composition. Use basic pencil or ink brushes, and don’t aim for perfection yet. Add color in layers. Use separate layers for shadows, highlights, and midtones. That way you can tweak things later without a mess. Experiment, undo, repeat. The best part of digital art? No ruined canvases. Use Ctrl+Z, play with brushes, and discover your style. 🎯 Tip: Share your progress on net-twin.de and get feedback from other artists. Creativity grows when it’s shared! Kind regards, Andy 🤩
    Wow
    1
    0 Kommentare 0 Geteilt 1KB Ansichten 0 Bewertungen
  • Quick Tutorial: How to Create Your Own DIY Stamps for Crafting

    Looking for a simple but satisfying project to boost your creativity? Making your own custom stamps is not only fun — it adds a personal touch to your journals, packaging, greeting cards, and art projects!


    Here’s a quick guide to get you started:

    What You’ll Need:

    Soft carving block or eraser

    Pencil & paper

    Linoleum carving tool or X-Acto knife

    Ink pad

    Optional: wood block for mounting


    Step-by-Step Guide:

    Sketch Your Design
    Start by drawing your idea on paper. Keep it simple — bold lines and clear shapes work best.

    Transfer the Design
    Rub the back of your drawing with pencil, place it face-down on the carving block, and trace over it to transfer.

    Carve It Out
    Carefully carve around your lines. Remove the negative space — everything you don't want to be inked.

    Test It!
    Press the stamp into an ink pad and stamp it on scrap paper. Make adjustments if needed.

    Optional: Mount It
    Glue your finished stamp onto a wooden block for better handling.


    Creative Ideas:

    Make a custom signature stamp

    Create botanical or nature patterns

    Design your own emojis or symbols

    Use them to personalize gift wrap or fabric


    Let your imagination lead the way — and don't forget to share your stamp creations with the community!

    #DIY #StampMaking #CreativeHobbies #Tutorial #Makers


    Have a nice day, Andy
    🎨 Quick Tutorial: How to Create Your Own DIY Stamps for Crafting 🖋️ Looking for a simple but satisfying project to boost your creativity? Making your own custom stamps is not only fun — it adds a personal touch to your journals, packaging, greeting cards, and art projects! Here’s a quick guide to get you started: 🧰 What You’ll Need: Soft carving block or eraser Pencil & paper Linoleum carving tool or X-Acto knife Ink pad Optional: wood block for mounting ✍️ Step-by-Step Guide: Sketch Your Design Start by drawing your idea on paper. Keep it simple — bold lines and clear shapes work best. Transfer the Design Rub the back of your drawing with pencil, place it face-down on the carving block, and trace over it to transfer. Carve It Out Carefully carve around your lines. Remove the negative space — everything you don't want to be inked. Test It! Press the stamp into an ink pad and stamp it on scrap paper. Make adjustments if needed. Optional: Mount It Glue your finished stamp onto a wooden block for better handling. ✨ Creative Ideas: Make a custom signature stamp Create botanical or nature patterns Design your own emojis or symbols Use them to personalize gift wrap or fabric Let your imagination lead the way — and don't forget to share your stamp creations with the community! 🧡 #DIY #StampMaking #CreativeHobbies #Tutorial #Makers Have a nice day, Andy 🤩
    Wow
    1
    0 Kommentare 0 Geteilt 2KB Ansichten 0 Bewertungen
  • How to Write Better AI Image Prompts – A Quick Guide for Beginners

    Want to create stunning AI-generated images, but not sure how to describe what you have in mind? Here’s a simple guide to help you craft better prompts – and get results that actually match your vision.

    1. Be Specific, Not Vague
    Bad prompt: "A dragon"
    Better prompt: "A fierce red dragon flying over a burning medieval village at night, detailed scales, cinematic lighting"

    Use adjectives (color, mood, style), verbs (what’s happening?), and context (where/when?).

    2. Use Simple, Natural Language
    You don’t need fancy terms. Just write like you’re explaining the image to a friend.
    Example: "A cozy cabin in a snowy forest, smoke rising from the chimney, warm light glowing through the windows"

    3. Add Art Style or Medium
    Want a painting? A photo? A sketch? Say it!
    Examples:

    "In the style of a vintage oil painting"

    "Black and white pencil sketch of a wolf"

    "Photo-realistic portrait with soft lighting"

    4. Include Composition Tips
    Want a close-up? A wide shot? Add that!
    Examples:

    "Top-down view of a Japanese garden"

    "Portrait, centered, soft depth of field"

    5. Use Negative Prompts (if possible)
    Some AI tools let you tell it what to avoid.
    Example:

    "A knight in armor, realistic –– no text, no watermark, no blurriness"

    Pro Tip: Try tools like Lexica, PromptHero, or Krea.ai to explore other people’s prompts and see how they shape the final image.

    Summary – Prompt Formula:
    [Subject] + [Action or Situation] + [Style/Medium] + [Lighting/Composition] + [Optional: What to avoid]

    Example:
    "A lonely lighthouse on a rocky shore during a storm, waves crashing, dramatic lighting, cinematic photo style"

    Have fun exploring your creativity! Got prompt ideas or cool images? Share them with the community on net-twin.de!
    Let’s inspire each other.
    🎨 How to Write Better AI Image Prompts – A Quick Guide for Beginners Want to create stunning AI-generated images, but not sure how to describe what you have in mind? Here’s a simple guide to help you craft better prompts – and get results that actually match your vision. 🔹 1. Be Specific, Not Vague Bad prompt: "A dragon" Better prompt: "A fierce red dragon flying over a burning medieval village at night, detailed scales, cinematic lighting" ✔️ Use adjectives (color, mood, style), verbs (what’s happening?), and context (where/when?). 🔹 2. Use Simple, Natural Language You don’t need fancy terms. Just write like you’re explaining the image to a friend. Example: "A cozy cabin in a snowy forest, smoke rising from the chimney, warm light glowing through the windows" 🔹 3. Add Art Style or Medium Want a painting? A photo? A sketch? Say it! Examples: "In the style of a vintage oil painting" "Black and white pencil sketch of a wolf" "Photo-realistic portrait with soft lighting" 🔹 4. Include Composition Tips Want a close-up? A wide shot? Add that! Examples: "Top-down view of a Japanese garden" "Portrait, centered, soft depth of field" 🔹 5. Use Negative Prompts (if possible) Some AI tools let you tell it what to avoid. Example: "A knight in armor, realistic –– no text, no watermark, no blurriness" 💡 Pro Tip: Try tools like Lexica, PromptHero, or Krea.ai to explore other people’s prompts and see how they shape the final image. 🎯 Summary – Prompt Formula: [Subject] + [Action or Situation] + [Style/Medium] + [Lighting/Composition] + [Optional: What to avoid] Example: "A lonely lighthouse on a rocky shore during a storm, waves crashing, dramatic lighting, cinematic photo style" Have fun exploring your creativity! Got prompt ideas or cool images? Share them with the community on net-twin.de! 🚀 Let’s inspire each other.
    Love
    1
    0 Kommentare 0 Geteilt 1KB Ansichten 0 Bewertungen
  • **How to Create Effective AI Image Prompts**

    Creating high-quality image prompts for AI image generators requires a mix of clarity, detail, and creativity. AI models interpret text descriptions to generate images, so crafting the perfect prompt is essential for getting the desired results. Here’s how to create the best AI image prompts:


    ### 1. Be Specific and Detailed
    AI models perform better when given detailed descriptions. Instead of writing "a house," describe it more precisely: *"A cozy wooden cabin in a snowy forest with smoke coming from the chimney and warm glowing windows."* This ensures the AI captures the exact vision you have in mind.


    ### 2. Use Descriptive Adjectives
    Adjectives add depth and texture to your prompt. Words like "vibrant," "mystical," "ancient," "futuristic," or "serene" help define the mood and aesthetic of the image.


    ### 3. Mention the Style and Medium
    If you want a specific artistic style or medium, include it in your prompt. For example:

    - *"A cyberpunk city at night, neon lights glowing, in a digital painting style."*
    - *"A hand-drawn pencil sketch of a medieval knight in armor."*


    ### 4. Include Perspective and Composition
    Specifying angles, lighting, and framing can make a big difference. Consider:

    - *"Close-up portrait of a wise old man with a long white beard, dramatic lighting."*
    - *"Aerial view of a tropical island with crystal-clear waters and palm trees."*

    ### 5. Avoid Ambiguous or Contradictory Terms
    Conflicting descriptions can confuse the AI. For example, "a small, towering castle" is contradictory. Instead, clarify: "A towering castle in the distance, appearing small due to perspective."


    ### 6. Experiment and Iterate
    AI image generation is not always perfect on the first attempt. Experiment with variations and tweak your prompt until you achieve the desired outcome.


    ### 7. Use Keywords Smartly
    Some AI models work well with keyword-driven prompts, like: *"hyper-realistic, ultra-detailed, 8K resolution, dramatic lighting."* Using relevant keywords can significantly enhance the output.


    ### 8. Specify a Time Period or Setting
    If your image should reflect a particular era or setting, include it:

    - *"A Victorian-era ballroom with elegantly dressed dancers."*
    - *"A futuristic space station orbiting a distant planet."*


    ### Conclusion
    Crafting effective AI image prompts is an art in itself. The key is to be as specific, descriptive, and structured as possible while leaving room for AI interpretation. With practice, you can refine your prompts to consistently produce stunning AI-generated images.

    ---
    Try experimenting with different styles and descriptions to discover the full potential of AI image generation!

    Kind regards, Andreas
    **How to Create Effective AI Image Prompts** Creating high-quality image prompts for AI image generators requires a mix of clarity, detail, and creativity. AI models interpret text descriptions to generate images, so crafting the perfect prompt is essential for getting the desired results. Here’s how to create the best AI image prompts: ### 1. Be Specific and Detailed AI models perform better when given detailed descriptions. Instead of writing "a house," describe it more precisely: *"A cozy wooden cabin in a snowy forest with smoke coming from the chimney and warm glowing windows."* This ensures the AI captures the exact vision you have in mind. ### 2. Use Descriptive Adjectives Adjectives add depth and texture to your prompt. Words like "vibrant," "mystical," "ancient," "futuristic," or "serene" help define the mood and aesthetic of the image. ### 3. Mention the Style and Medium If you want a specific artistic style or medium, include it in your prompt. For example: - *"A cyberpunk city at night, neon lights glowing, in a digital painting style."* - *"A hand-drawn pencil sketch of a medieval knight in armor."* ### 4. Include Perspective and Composition Specifying angles, lighting, and framing can make a big difference. Consider: - *"Close-up portrait of a wise old man with a long white beard, dramatic lighting."* - *"Aerial view of a tropical island with crystal-clear waters and palm trees."* ### 5. Avoid Ambiguous or Contradictory Terms Conflicting descriptions can confuse the AI. For example, "a small, towering castle" is contradictory. Instead, clarify: "A towering castle in the distance, appearing small due to perspective." ### 6. Experiment and Iterate AI image generation is not always perfect on the first attempt. Experiment with variations and tweak your prompt until you achieve the desired outcome. ### 7. Use Keywords Smartly Some AI models work well with keyword-driven prompts, like: *"hyper-realistic, ultra-detailed, 8K resolution, dramatic lighting."* Using relevant keywords can significantly enhance the output. ### 8. Specify a Time Period or Setting If your image should reflect a particular era or setting, include it: - *"A Victorian-era ballroom with elegantly dressed dancers."* - *"A futuristic space station orbiting a distant planet."* ### Conclusion Crafting effective AI image prompts is an art in itself. The key is to be as specific, descriptive, and structured as possible while leaving room for AI interpretation. With practice, you can refine your prompts to consistently produce stunning AI-generated images. --- Try experimenting with different styles and descriptions to discover the full potential of AI image generation! Kind regards, Andreas 🤩
    Love
    1
    0 Kommentare 0 Geteilt 3KB Ansichten 0 Bewertungen
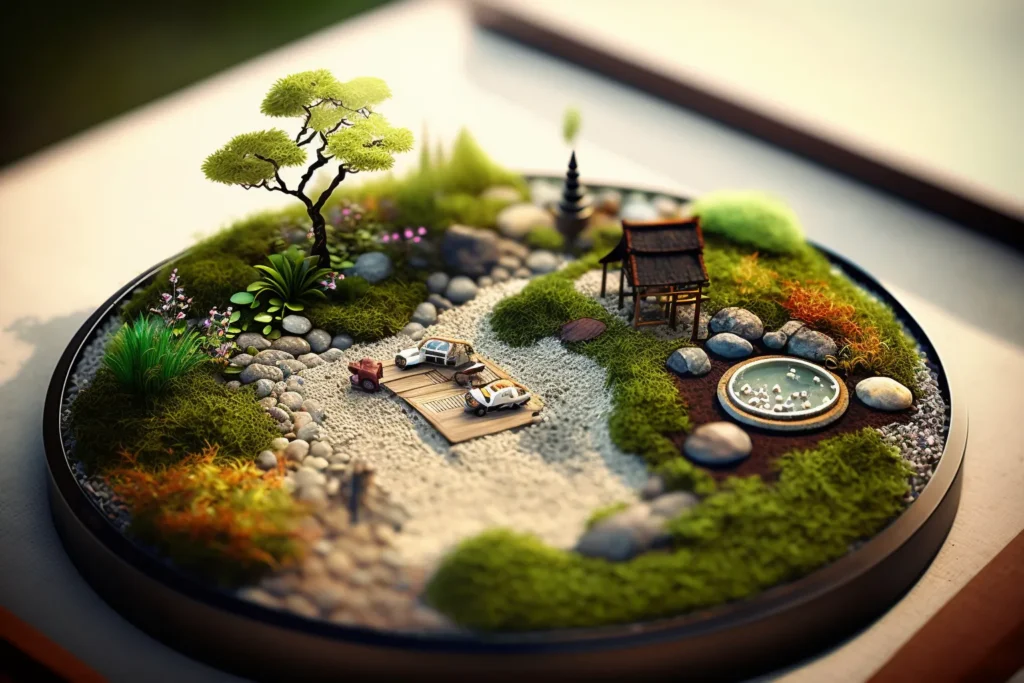
  • How to Create a Miniature Zen Garden for Relaxation

    Unleash your creativity and bring tranquility to your space with this simple, artistic project!

    Step 1: Gather Your Materials
    You’ll need:

    A shallow container (wooden, ceramic, or glass).
    Fine sand (white or colored).
    Small stones, pebbles, or crystals.
    Miniature rake (or make one with toothpicks and glue).
    Optional: small plants, figurines, or shells for decoration.


    Step 2: Prepare the Base

    Fill your container with fine sand to create a flat, even surface.
    Shake the container gently to level the sand or smooth it with your hand.


    Step 3: Arrange the Stones

    Place stones or pebbles in your sand to represent islands or mountains.
    Experiment with groupings to achieve balance and harmony.


    Step 4: Add Decorative Elements (Optional)

    Include small air plants, moss, or figurines like a Buddha or animal to personalize your garden.
    Ensure the design feels calming and uncluttered.


    Step 5: Create Patterns

    Use the miniature rake or a fork to draw patterns in the sand.
    Experiment with swirls, straight lines, or concentric circles around the stones.
    Smooth and redraw as often as you like—it’s part of the Zen process!


    Step 6: Find the Perfect Spot

    Place your Zen garden in a quiet area where you can interact with it.
    Use it to relax, focus, or find inspiration during your day.


    Why It’s Amazing:

    A miniature Zen garden is not only a creative project but also a meditative tool that helps you unwind and spark new ideas. Plus, it’s a beautiful addition to any desk or shelf!

    I hope you like my tutorial.
    Kind regards and have a nice day,

    Andy

    How to Create a Miniature Zen Garden for Relaxation Unleash your creativity and bring tranquility to your space with this simple, artistic project! Step 1: Gather Your Materials You’ll need: A shallow container (wooden, ceramic, or glass). Fine sand (white or colored). Small stones, pebbles, or crystals. Miniature rake (or make one with toothpicks and glue). Optional: small plants, figurines, or shells for decoration. Step 2: Prepare the Base Fill your container with fine sand to create a flat, even surface. Shake the container gently to level the sand or smooth it with your hand. Step 3: Arrange the Stones Place stones or pebbles in your sand to represent islands or mountains. Experiment with groupings to achieve balance and harmony. Step 4: Add Decorative Elements (Optional) Include small air plants, moss, or figurines like a Buddha or animal to personalize your garden. Ensure the design feels calming and uncluttered. Step 5: Create Patterns Use the miniature rake or a fork to draw patterns in the sand. Experiment with swirls, straight lines, or concentric circles around the stones. Smooth and redraw as often as you like—it’s part of the Zen process! Step 6: Find the Perfect Spot Place your Zen garden in a quiet area where you can interact with it. Use it to relax, focus, or find inspiration during your day. Why It’s Amazing: A miniature Zen garden is not only a creative project but also a meditative tool that helps you unwind and spark new ideas. Plus, it’s a beautiful addition to any desk or shelf! I hope you like my tutorial. Kind regards and have a nice day, Andy 😆
    Love
    1
    0 Kommentare 0 Geteilt 3KB Ansichten 0 Bewertungen
  • You can join me at: https://civitai.com/user/WebCrew

    At Civit AI you can create outstanding #AI generated images, but #Creativity is also necessary here because every #picture that you want to have created requires a precise written description beforehand and that is not as easy as you think. I'm actually a classic artist who likes to draw with pens and watercolors, but I also have fun with AI generated images. What about you - show us your creations please and dont be shy

    Kind regards, Andreas :)

    You can join me at: https://civitai.com/user/WebCrew At Civit AI you can create outstanding #AI generated images, but #Creativity is also necessary here because every #picture that you want to have created requires a precise written description beforehand and that is not as easy as you think. I'm actually a classic artist who likes to draw with pens and watercolors, but I also have fun with AI generated images. What about you - show us your creations please and dont be shy 🤩 Kind regards, Andreas :)
    Wow
    1
    0 Kommentare 0 Geteilt 3KB Ansichten 0 Bewertungen
  • Introducing Net-Twin.de, a online community for creative individuals worldwide. Whether you're an #artist, #writer, #designer, or simply passionate about unleashing your creativity, our platform provides the perfect space for you to connect, collaborate, and showcase your work. Join a growing community of like-minded individuals, exchange ideas, gain inspiration, and nurture your talent.
    Introducing Net-Twin.de, a online community for creative individuals worldwide. Whether you're an #artist, #writer, #designer, or simply passionate about unleashing your creativity, our platform provides the perfect space for you to connect, collaborate, and showcase your work. Join a growing community of like-minded individuals, exchange ideas, gain inspiration, and nurture your talent. 🤩
    Love
    1
    0 Kommentare 0 Geteilt 4KB Ansichten 0 Bewertungen
  • It's a good time to let your #creativity run free. Otherwise, with all the bad news and war and chaos, you get completely #depressed.

    Let's create a community together where we can all take a deep breath and talk about more colourful, beautiful topics.

    Join us today please.
    It's a good time to let your #creativity run free. Otherwise, with all the bad news and war and chaos, you get completely #depressed. Let's create a community together where we can all take a deep breath and talk about more colourful, beautiful topics. 🤩 Join us today please. 😍
    Love
    1
    0 Kommentare 0 Geteilt 3KB Ansichten 0 Bewertungen