


• HOW TO PHOTOGRAPH HANDMADE OBJECTS WITH ONE LIGHT AND A PHONE


    You do not need an expensive camera or a complete studio to create strong photographs of handmade work. A smartphone, one light and a few simple materials are enough.


    1. PREPARE THE OBJECT
    Remove dust, fingerprints and polishing residue. Cameras reveal marks that are easy to miss with the naked eye. Place sharp tools securely and keep the cutting edge facing away from your hands.


    2. CHOOSE A SIMPLE BACKGROUND
    Wood, dark paper, linen, stone or a neutral workbench can all work well. Include no more than two or three supporting elements so they do not compete with the subject.


    3. SOFTEN THE LIGHT
    Place tracing paper or thin white fabric between an LED lamp and the object. Keep any diffuser away from hot bulbs. Position the light at roughly 45 degrees to reveal texture, grind lines and wood grain.


    4. CONTROL REFLECTIONS
    Polished surfaces reflect their surroundings. Place white card just outside the frame to create a clean highlight. Black card can define an edge and add contrast.


    5. STABILISE THE PHONE
    Use a small tripod or lean the phone against something solid. Activate the timer and avoid digital zoom—move physically closer instead. Tap the main detail to focus and reduce exposure slightly if bright metal loses detail.


    6. CAPTURE FOUR ANGLES
    • A clean overview
    • A close-up of the best detail
    • A side view showing proportions
    • An atmospheric workshop image


    7. EDIT GENTLY
    Correct brightness, white balance and cropping, but keep the real colours and materials believable. The goal is not to disguise the object—it is to help people notice the work already in it.


    Further visual guide:
    https://www.youtube.com/watch?v=Q1b365iSh2o


    What handmade project would you like to photograph next?


    #ProductPhotography #CreativePhotography #Handmade #Craftsmanship #Maker #KnifeMaking #Woodworking #CreativeHobbies #PhotographyTips
    HOW TO PHOTOGRAPH HANDMADE OBJECTS WITH ONE LIGHT AND A PHONE You do not need an expensive camera or a complete studio to create strong photographs of handmade work. A smartphone, one light and a few simple materials are enough. 1. PREPARE THE OBJECT Remove dust, fingerprints and polishing residue. Cameras reveal marks that are easy to miss with the naked eye. Place sharp tools securely and keep the cutting edge facing away from your hands. 2. CHOOSE A SIMPLE BACKGROUND Wood, dark paper, linen, stone or a neutral workbench can all work well. Include no more than two or three supporting elements so they do not compete with the subject. 3. SOFTEN THE LIGHT Place tracing paper or thin white fabric between an LED lamp and the object. Keep any diffuser away from hot bulbs. Position the light at roughly 45 degrees to reveal texture, grind lines and wood grain. 4. CONTROL REFLECTIONS Polished surfaces reflect their surroundings. Place white card just outside the frame to create a clean highlight. Black card can define an edge and add contrast. 5. STABILISE THE PHONE Use a small tripod or lean the phone against something solid. Activate the timer and avoid digital zoom—move physically closer instead. Tap the main detail to focus and reduce exposure slightly if bright metal loses detail. 6. CAPTURE FOUR ANGLES • A clean overview • A close-up of the best detail • A side view showing proportions • An atmospheric workshop image 7. EDIT GENTLY Correct brightness, white balance and cropping, but keep the real colours and materials believable. The goal is not to disguise the object—it is to help people notice the work already in it. Further visual guide: https://www.youtube.com/watch?v=Q1b365iSh2o What handmade project would you like to photograph next? #ProductPhotography #CreativePhotography #Handmade #Craftsmanship #Maker #KnifeMaking #Woodworking #CreativeHobbies #PhotographyTips

    Like
    1
    0 Comments 0 Shares 451 Views 0 Reviews
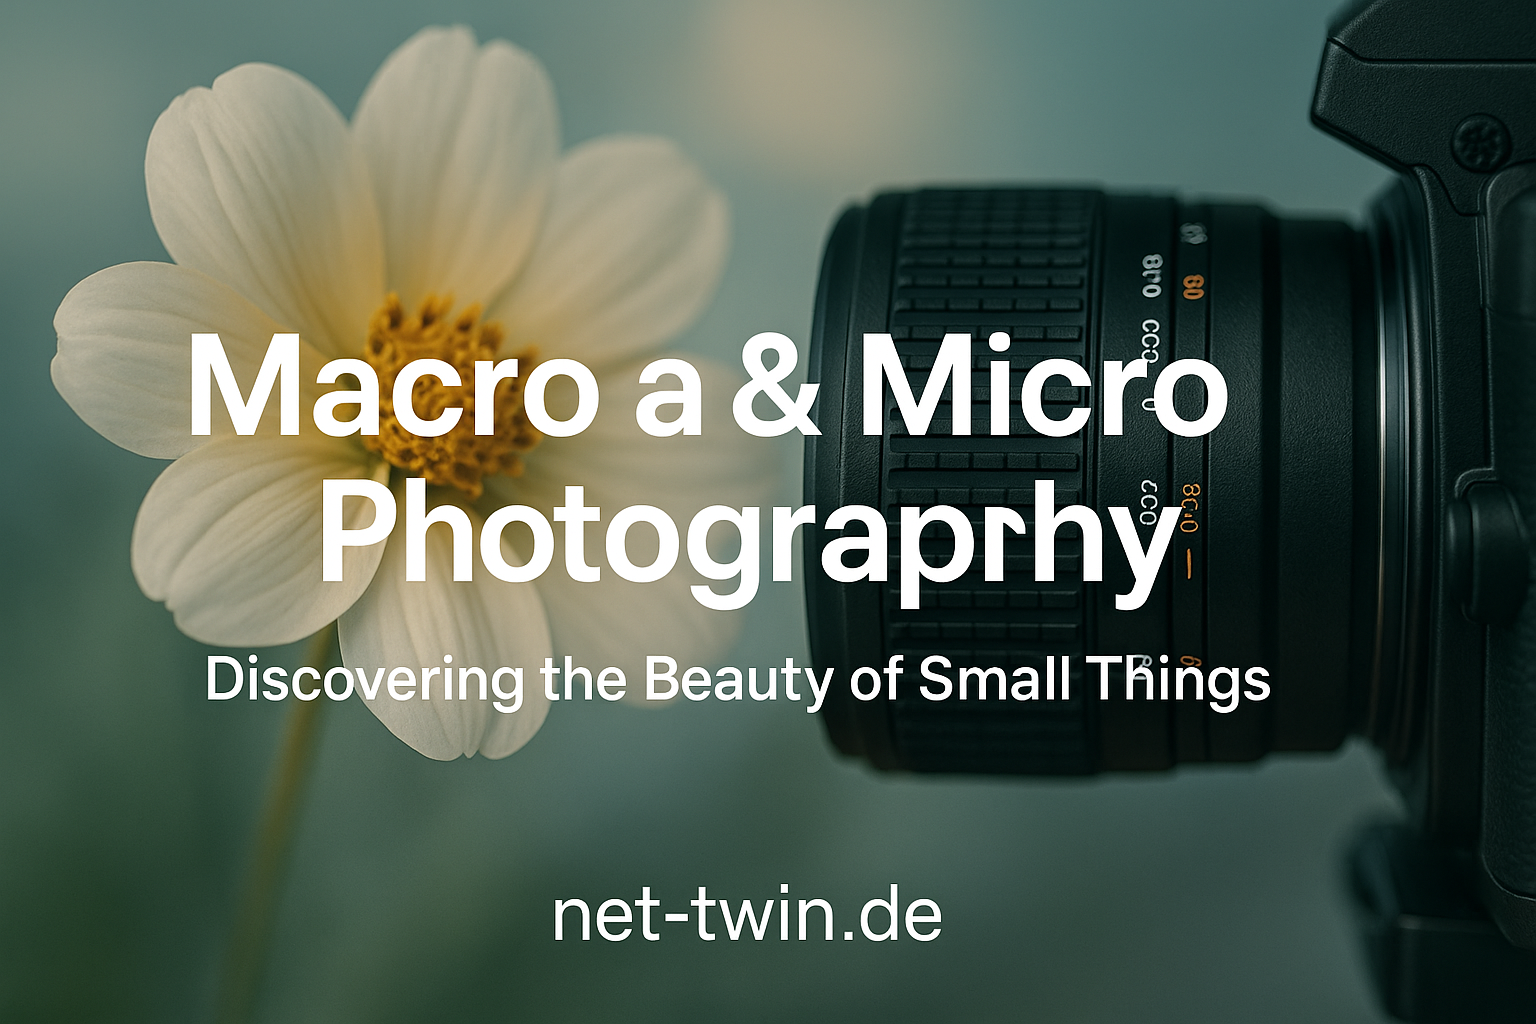
  • Title: Macro & Micro Photography – Discovering the Beauty of Small Things

    There’s an entire universe just below the threshold of the naked eye – textures, patterns, creatures, and structures most people overlook. Macro and micro photography bring this world into focus, one detail at a time.


    Here’s how you can start exploring it with your lens:


    1. Know the difference.

    Macro photography deals with small subjects at close range – like insects, textures, or plants – usually at a 1:1 magnification or higher.

    Micro photography (or photomicrography) involves microscopes to photograph what’s otherwise invisible – like crystals, cells, or microfibers.


    2. Start with what you have.
    Many smartphones today offer decent macro modes. Clip-on macro lenses are inexpensive and can produce surprising results. For DSLRs or mirrorless cameras, a dedicated macro lens (like a 100mm f/2.8) is ideal.


    3. Stabilization is key.
    At this scale, even the tiniest movement ruins the shot. Use a tripod, remote shutter, and delay timer. For extreme close-ups, consider a focusing rail for precision.


    4. Light your subject well.
    Natural light can work, but artificial light gives you control. Use LED rings, soft diffused light, or even a flashlight with a diffuser. Avoid harsh shadows and reflections.


    5. Mind your depth of field.
    At macro scale, depth of field is razor thin. Shoot at f/8–f/16, and use focus stacking (multiple shots with different focus points) to get your entire subject sharp.


    6. Subject ideas to start with:

    Textures: leaves, fabrics, wood grain

    Water droplets

    Bugs and insects (if they stay still!)

    Everyday objects like salt, match heads, coins

    Crystals, sand, spices, feathers


    7. Edit with care.
    Sharpening, contrast, and color adjustments can enhance details – but don’t overdo it. Highlight the natural beauty of the micro world.


    🎯 Pro Tip: Upload your discoveries to net-twin.de
    – whether it’s a bug’s eye or a dew-covered thread, your lens reveals what others miss.


    📌 #MacroPhotography #MicroWorlds #CloseUpMagic #CreativeVision #TinyDetails #nettwin


    Kind regards, Andy 🤩


    -----------------------------------
    Advertising that's really worth it for you!

    Get it now: Get a €100 voucher from Temu (new customers only)!

    Step 1 - Use my voucher link: https://temu.to/m/uwsjqkbzhhl
    Step 2 - Enter the following code in the search field at Temu to secure your €100!
    The Code: tar37925
    Title: Macro & Micro Photography – Discovering the Beauty of Small Things There’s an entire universe just below the threshold of the naked eye – textures, patterns, creatures, and structures most people overlook. Macro and micro photography bring this world into focus, one detail at a time. Here’s how you can start exploring it with your lens: 1. Know the difference. Macro photography deals with small subjects at close range – like insects, textures, or plants – usually at a 1:1 magnification or higher. Micro photography (or photomicrography) involves microscopes to photograph what’s otherwise invisible – like crystals, cells, or microfibers. 2. Start with what you have. Many smartphones today offer decent macro modes. Clip-on macro lenses are inexpensive and can produce surprising results. For DSLRs or mirrorless cameras, a dedicated macro lens (like a 100mm f/2.8) is ideal. 3. Stabilization is key. At this scale, even the tiniest movement ruins the shot. Use a tripod, remote shutter, and delay timer. For extreme close-ups, consider a focusing rail for precision. 4. Light your subject well. Natural light can work, but artificial light gives you control. Use LED rings, soft diffused light, or even a flashlight with a diffuser. Avoid harsh shadows and reflections. 5. Mind your depth of field. At macro scale, depth of field is razor thin. Shoot at f/8–f/16, and use focus stacking (multiple shots with different focus points) to get your entire subject sharp. 6. Subject ideas to start with: Textures: leaves, fabrics, wood grain Water droplets Bugs and insects (if they stay still!) Everyday objects like salt, match heads, coins Crystals, sand, spices, feathers 7. Edit with care. Sharpening, contrast, and color adjustments can enhance details – but don’t overdo it. Highlight the natural beauty of the micro world. 🎯 Pro Tip: Upload your discoveries to net-twin.de – whether it’s a bug’s eye or a dew-covered thread, your lens reveals what others miss. 📌 #MacroPhotography #MicroWorlds #CloseUpMagic #CreativeVision #TinyDetails #nettwin Kind regards, Andy 🤩 ----------------------------------- Advertising that's really worth it for you! Get it now: Get a €100 voucher from Temu (new customers only)! Step 1 - Use my voucher link: https://temu.to/m/uwsjqkbzhhl Step 2 - Enter the following code in the search field at Temu to secure your €100! The Code: tar37925
    Love
    1
    0 Comments 0 Shares 20K Views 0 Reviews
  • Title: #Photography for Beginners – Learn to See Before You Shoot

    You don’t need an expensive camera to take stunning photos. What you do need is the ability to observe. Here's how to start your photography journey:

    Use what you have.
    Whether it’s a #DSLR or a smartphone – the best #camera is the one you have with you.

    Master the light.
    Good lighting makes or breaks a photo. Early morning and late afternoon offer the softest natural light – perfect for portraits and landscapes.

    Learn composition basics.
    Follow the rule of thirds: place your subject off-center for more dynamic shots. Use leading lines, symmetry, and framing to guide the viewer’s eye.

    Don’t fear manual mode.
    Start experimenting with ISO, aperture, and shutter speed. Each setting is a creative tool.

    Tell a story.
    A great photo doesn’t just look good – it says something. Capture emotions, contrast, tension, or serenity.

    🎯 Tip: Upload your favorite shots to net-twin.de – get inspired, get feedback, and connect with fellow photography lovers!

    Kind regards, Andy 🤩

    -----------------------------------
    Advertising that's really worth it for you!

    💰Get it now: Get a €100 voucher from Temu (new customers only)!

    Step 1 - Use my voucher link: https://temu.to/m/uwsjqkbzhhl
    Step 2 - Enter the following code in the search field at Temu to secure your €100!
    The Code: tar37925
    Title: #Photography for Beginners – Learn to See Before You Shoot You don’t need an expensive camera to take stunning photos. What you do need is the ability to observe. Here's how to start your photography journey: Use what you have. Whether it’s a #DSLR or a smartphone – the best #camera is the one you have with you. Master the light. Good lighting makes or breaks a photo. Early morning and late afternoon offer the softest natural light – perfect for portraits and landscapes. Learn composition basics. Follow the rule of thirds: place your subject off-center for more dynamic shots. Use leading lines, symmetry, and framing to guide the viewer’s eye. Don’t fear manual mode. Start experimenting with ISO, aperture, and shutter speed. Each setting is a creative tool. Tell a story. A great photo doesn’t just look good – it says something. Capture emotions, contrast, tension, or serenity. 🎯 Tip: Upload your favorite shots to net-twin.de – get inspired, get feedback, and connect with fellow photography lovers! Kind regards, Andy 🤩 ----------------------------------- Advertising that's really worth it for you! 💰Get it now: Get a €100 voucher from Temu (new customers only)! Step 1 - Use my voucher link: https://temu.to/m/uwsjqkbzhhl Step 2 - Enter the following code in the search field at Temu to secure your €100! The Code: tar37925
    Like
    Wow
    2
    0 Comments 0 Shares 8K Views 0 Reviews