

PNG vs Vector: What Print Shops Actually Need From Your Artwork File
I have lost count of how many times someone has sent me a tiny logo from a website and asked if it is ready for printing. It looks perfectly fine in software programs, but that doesn’t tell me much about how it will look on a shirt, sign, decal, or other printed item. When the artwork needs rebuilding, a png to vector image can give the designer something much more useful to work with, and a vector tracing service helps when the original file is no longer available.
The best part is that you don’t need to understand every design term before sending artwork to a print shop. You mainly need to know what kind of image you have, how large the final artwork will be, and what the shop plans to do with it. Those three things usually tell us whether a PNG is enough or whether the artwork needs a cleaner vector file.
What is the Difference Between PNG and Vector Files?
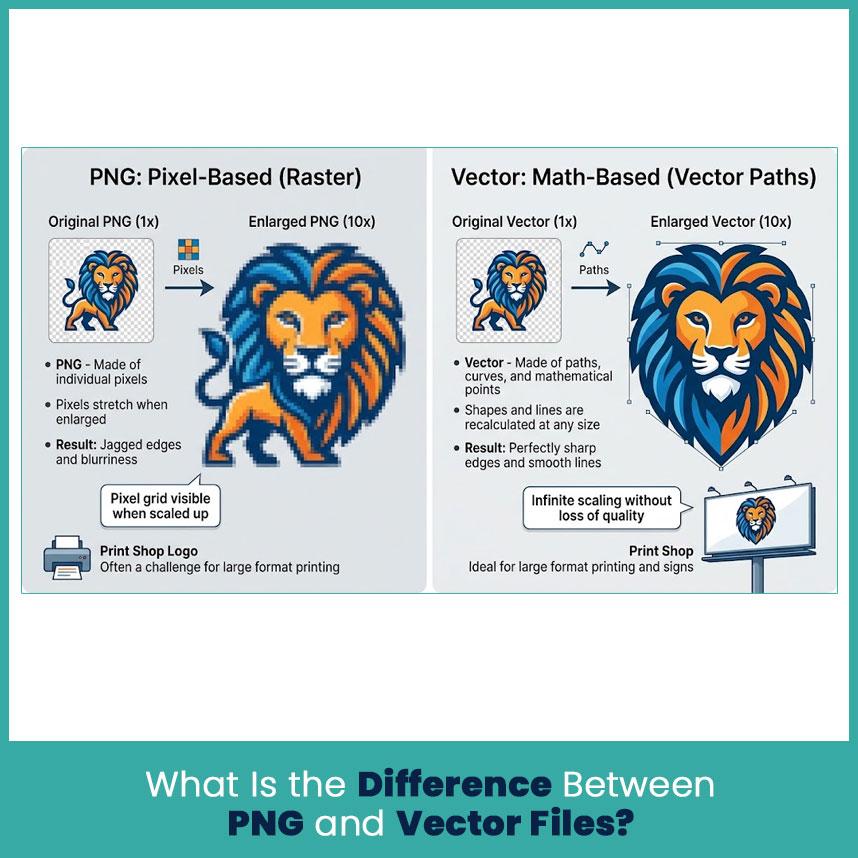
The easiest way to understand the difference is to look at what happens when you make the artwork bigger.
A PNG is made from pixels. A vector file is built from paths, curves, and shapes. If you enlarge a small PNG too much, the pixels have to stretch across a larger area. A vector does not have that same problem because the shapes get calculated again at the new size.
That difference may not matter for a small image on a website. It matters a lot when a print shop has to turn a 3 inch logo into a 12 inch design.
How PNG Files Work (Pixel Based)
Think of a PNG as a picture made from a very large collection of tiny colored squares. When you look at the complete image, your eyes blend those squares together and you see a logo, photograph, or illustration.
This makes PNG a useful format for many digital images. It also handles transparent backgrounds, which makes it popular for logos and graphics that need to sit over another color.
The trouble starts when the main image is small.
For example, someone may right click a logo from a website and save it as an image. That file might look sharp on a laptop because the logo only appears a few hundred pixels wide. If the print shop needs the same logo much larger, those pixels become much easier to see.
I check the actual image dimensions before judging a PNG. A file can say “high quality” and still have too few pixels for the size the customer wants.
How Vector Files Work (Math Based)
Vector artwork works differently. Instead of storing every tiny colored square, it stores information about lines, curves, shapes, and their relationships.
That’s why the same vector logo can be used on a business card and then enlarged for a storefront sign without becoming pixelated.
A clean vector file also gives a designer much more control. Individual shapes can be moved, colors can be changed, and lettering can be adjusted without rebuilding the whole image from scratch.
This becomes especially useful with logos.
I have worked with logos that looked simple until I opened the artwork and found several overlapping shapes, hidden objects, or poorly drawn curves. A proper vector file makes those issues much easier to see and correct.
Which File Format Do Print Shops Actually Prefer?
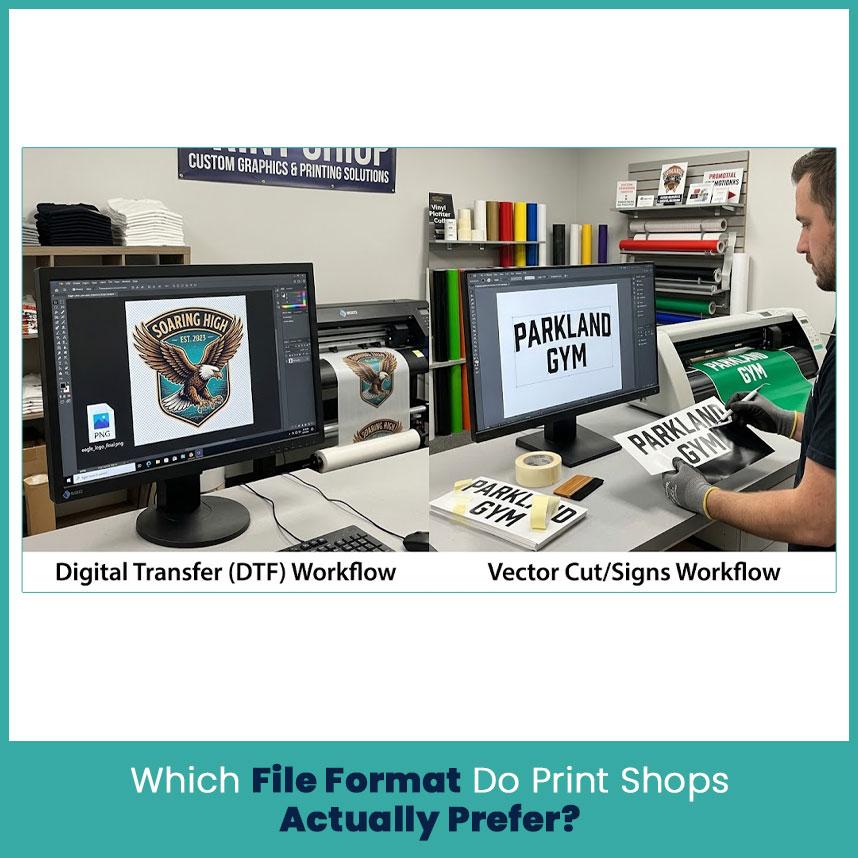
There is no universal answer here. A print shop asks for a vector file for one design and a high resolution PNG for another.
The printing method, final size, artwork details, and equipment all matter.
If a shop gives you a specific file requirement, follow that first. The person handling your artwork knows what their particular workflow needs.
When a PNG Is Good Enough
A PNG can be completely fine when the image has enough resolution for its final size.
For instance, a customer may have a large, clean PNG prepared specifically for a DTF shirt print. There may be no reason to rebuild that artwork just because it is a PNG.
PNG can work well for:
-
DTF transfers.
-
Digital printing.
-
Smaller printed graphics.
-
Artwork with transparent backgrounds.
-
Images that contain photographs.
-
Designs that will stay close to their original size.
The key is the quality of the original file.
A screenshot is not the same thing as the original PNG. Neither is a small image downloaded from social media. Compression and resizing can remove details before the print shop ever receives the artwork.
When You Definitely Need a Vector File
A vector file makes more sense when the artwork needs to change size, color, or shape during preparation.
I would normally want vector artwork for things such as:
-
Large signs
-
Vinyl lettering
-
Cut decals
-
Many screen printing designs
-
Business logos
-
Simple artwork with solid colors
-
Designs that need frequent resizing
There is another reason I like having the vector original: it gives me something I can actually edit.
Suppose a customer wants a white logo changed to black and also wants the lettering slightly larger. With clean vector artwork, that can be a simple edit. With a flattened PNG, I may have to rebuild parts of the design first.
Print Method Matters: Screen Printing, DTF, Vinyl, and Embroidery
Each method reads your artwork differently. Here is the quick version:
|
Method |
Best File |
Why It Matters |
|
Screen printing |
Vector (AI, EPS, PDF) |
The shop separates colors into screens and needs clean edges |
|
DTF |
High-res PNG or vector |
It prints pixels, so it needs 300 DPI at final size |
|
Vinyl |
Vector (SVG, AI, EPS) |
The cutter follows paths, not pixels |
|
Embroidery |
Clean image or vector, then digitized |
The machine reads stitch commands, not images |
What Happens When You Send the Wrong File Type?
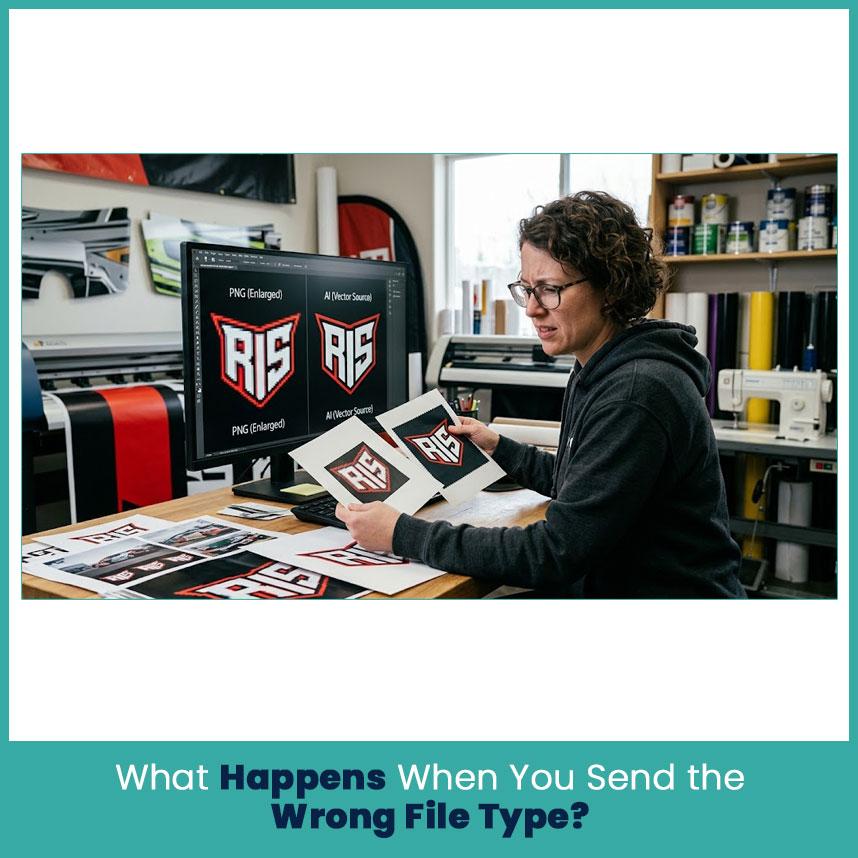
Usually, nobody is going to panic because you sent a PNG instead of an AI file. The real issue is what the designer has to do with it afterward.
Sometimes the file is perfectly usable. Other times, the designer has to spend extra time fixing things that could have been avoided with better source artwork.
Blurry Edges and Pixelated Prints
This is probably the easiest problem to recognize.
A small PNG can look sharp when viewed at its original size. Enlarge it enough, though, and the curves start looking rough. Letter edges lose their clean shape, and small details may disappear.
This shows up quickly on:
-
Large signs
-
Banners
-
Vehicle graphics
-
Enlarged logos
-
Large apparel artwork
I always check the artwork at the size it will actually be printed. Looking at it only at 100% on a computer screen can give you the wrong impression.
Extra Setup Fees and Delays
Poor artwork does not fix itself.
Someone has to clean it, redraw it, separate it, or rebuild it. That takes time.
A shop may need to:
-
Remove a poor background
-
Recreate missing shapes
-
redraw lettering
-
clean rough edges
-
separate colors
-
rebuild parts of a logo
A simple logo may take only a short time to repair. A detailed illustration can take considerably longer.
This is one reason I tell customers to send the original artwork whenever they have it. Even if they think the file looks “too basic,” the original can save a lot of unnecessary work.
Color Mismatches and Lost Details
Colors can also cause trouble.
A logo copied from a website may not contain the exact color information the original designer used. A screenshot makes the situation even less reliable.
Small details can disappear too. A thin outline may become too weak to print clearly, while a narrow gap between letters can close after the artwork gets enlarged.
Those details may seem minor on screen. Once they appear on a large printed surface, they become much more noticeable.
How to Prepare Your Artwork File Before Sending It to a Print Shop
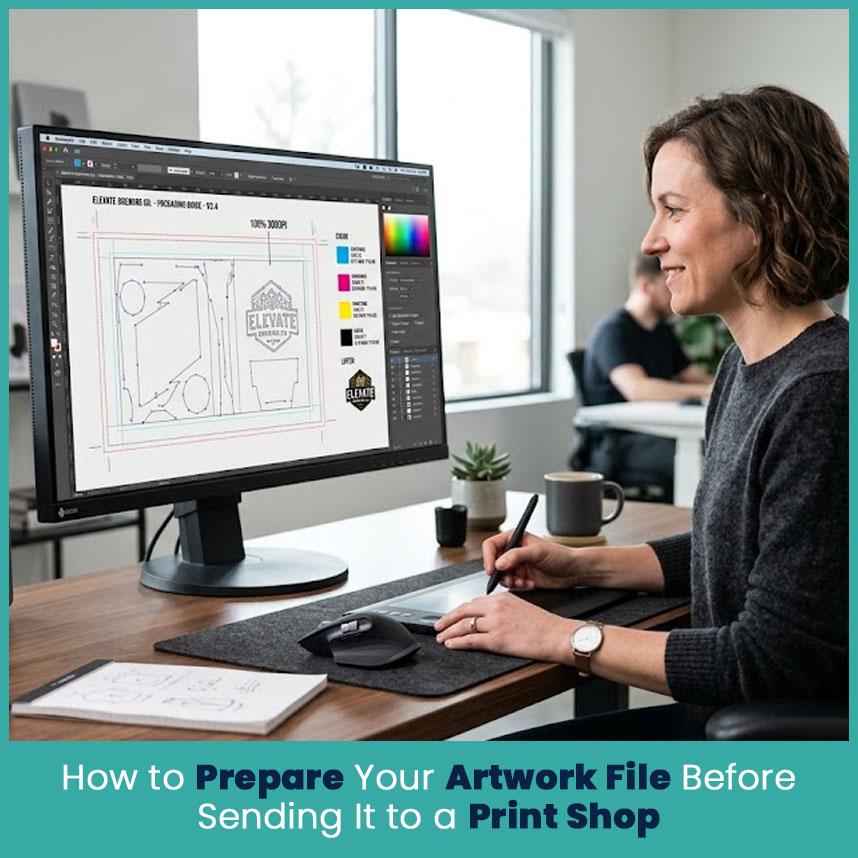
You can save yourself a lot of back and forth by checking the artwork before sending it.
I look at 4 things first:
- final size
- image quality
- text
- file format
Check Resolution and Size (300 DPI Minimum for PNG)
For many print projects, 300 DPI is a common target for raster artwork at its final size.
But there is an important detail here: changing a file's DPI setting does not create new artwork detail.
If you have a tiny blurry image and simply change the setting to 300 DPI, the image does not suddenly become sharp.
Check the actual pixel dimensions.
If the print will be large, ask the shop what resolution they want before preparing the final file. Requirements can vary depending on the printing process.
For a PNG, I recommend:
-
Start with the original file.
-
Check its pixel dimensions.
-
Match the image to the final print size.
-
Keep important details away from unnecessary edges.
-
Avoid screenshots.
-
Avoid repeatedly compressing the same image.
Convert Text to Outlines and Keep Layers Clean
Text creates a surprisingly common problem with vector files.
If you send a file that depends on a particular font and the print shop does not have that font, the lettering may change when the file opens on another computer.
Converting the text into outlines turns the letters into vector shapes.
Before sending the file, also check for:
-
Hidden artwork
-
Duplicate objects
-
Extra clipping paths
-
Stray points
-
Unwanted backgrounds
-
Incorrect colors
-
Unused layers
You don’t need to make the file complicated. A clean file is usually easier for another designer to understand.
Best File Types to Send: AI, EPS, SVG, PDF, and PNG
Each format has its place.
AI works well when the original artwork comes from Adobe Illustrator.
EPS remains useful for exchanging vector logos and other artwork between design programs.
SVG works well for scalable artwork and many cutting or digital applications.
PDF can be useful when it contains actual vector artwork rather than a low resolution image placed inside the PDF.
PNG is a practical choice when the job calls for raster artwork, especially when transparency matters.
If you are not sure which one to send, ask the print shop before exporting the file. It takes less than a minute and can prevent a lot of unnecessary file changes.
How to Convert a PNG to Vector (and When It Is Worth It)
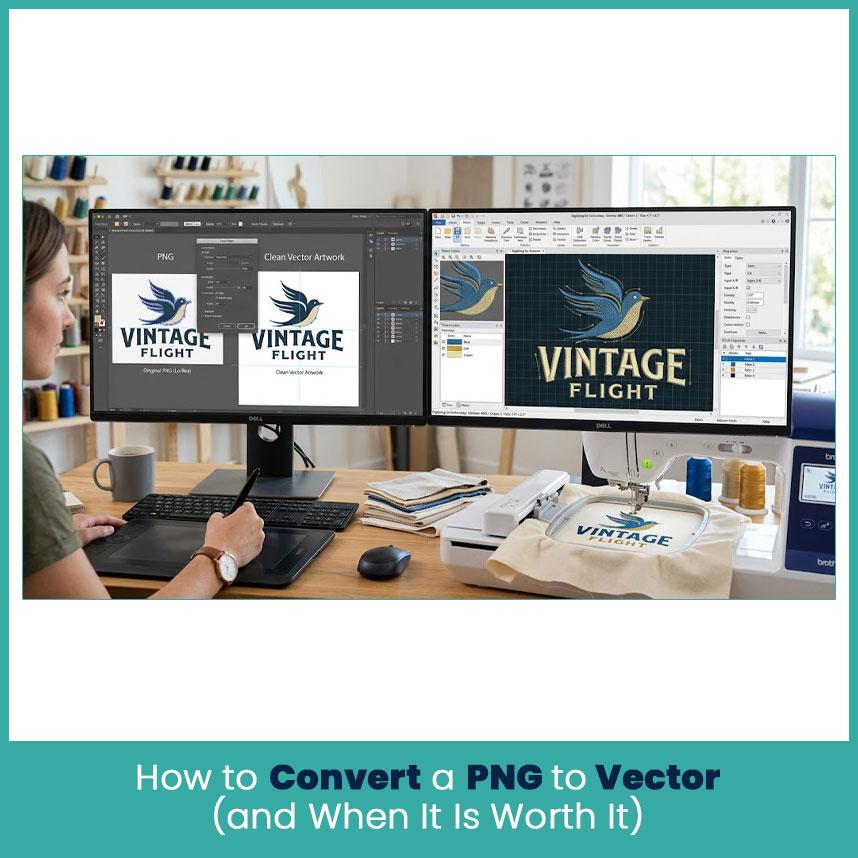
Sometimes there is no original vector file. The customer only has a PNG, and that PNG may be the only copy of an old logo.
That does not mean the artwork is unusable. Convert png to vector when the design needs clean, scalable paths for printing, editing, or other artwork requirements.
The question is how complicated the artwork is and how clean the source image is.
Auto Trace vs Manual Redrawing
Automatic tracing can be useful for simple artwork.
A bold logo with a few solid colors can trace fairly well. A photograph, rough screenshot, or detailed illustration is another story.
Automatic tracing may create hundreds of unnecessary points. Curves can become uneven, corners can look strange, and small marks from the original image can turn into unwanted shapes.
Manual redrawing takes more attention, but it gives the designer control over the actual artwork.
For a logo, I normally pay close attention to:
-
Smooth curves
-
Letter spacing
-
Line thickness
-
Corners
-
Shape proportions
-
Color areas
-
Small gaps between elements
I have seen automatic traces that technically looked like vectors but still needed considerable cleanup before they were useful. Having a vector extension on the file does not automatically make the artwork professionally rebuilt.
Why Embroidery Needs Digitizing, Not Just Vector Conversion
This is where print artwork and embroidery artwork part ways.
A vector file tells us what the design looks like. An embroidery file needs instructions for how that design should be stitched.
That difference matters.
A digitizer has to look at the artwork and decide things such as:
-
Which areas should use satin stitches
-
Which sections need fill stitches
-
Where underlay should go
-
How much stitch density the fabric can handle
-
How the design may pull or push
-
Which direction the stitches should follow
-
How small lettering can be
-
Where the stitching should begin and end
For example, a thin vector line may look perfectly clean on screen. If it is too narrow for the selected embroidery size, stitching that line exactly as drawn may create a weak or messy result.
The digitizer has to interpret the artwork for thread and fabric rather than simply copy its appearance.
That is why a clean vector file helps with embroidery, but digitizing remains a separate step.
FAQs
1. Can I send a PNG file to a print shop?
Yes. A good resolution PNG works for many printing designs, especially when you keep the final size within the image's capabilities.
2. Is a vector file always better than a PNG for printing?
Nope. Vector works better for scalable logos, lettering, and shapes, while PNG works well for photographs and many raster based printing jobs.
3. What file format do print shops ask for most often?
It depends on the shop and printing method. AI, EPS, SVG, PDF, and high resolution PNG are all commonly used.
4. Can I turn a low-quality PNG into a vector file myself?
Yes, you can try an automatic tracing tool for simple artwork. For a detailed or poor-quality logo, manual redrawing usually gives a cleaner result.
Author BioMatthew DavisSenior Embroidery Digitizer
I'm Matthew Davis, a skilled embroidery digitizer with more than 15 years of practical experience. I specialize in logo digitizing, 3D puff embroidery designs, applique digitizing, custom embroidery digitizing, and working with difficult fabrics. Over the years, I have worked with different fashion brands and production teams worldwide. I always share simple tips and useful techniques to help both beginners and businesses improve their embroidery work.
- Make-up and SFX
- Art & Design
- Comedy
- Crafts
- Fashion and Style
- Educación
- Entertainment
- Movies and Animation
- E-Sport & Gaming
- Game Development & Modding
- Live Style
- Natural
- Blades & Guns
- Development & Coding
- Pets and Animals
- Get it 100% for free
- Science and Technology
- Music
- Travel and Events
- Shopping
- Sports
- Theater
 Spanish
 English
 French
 Deutsch