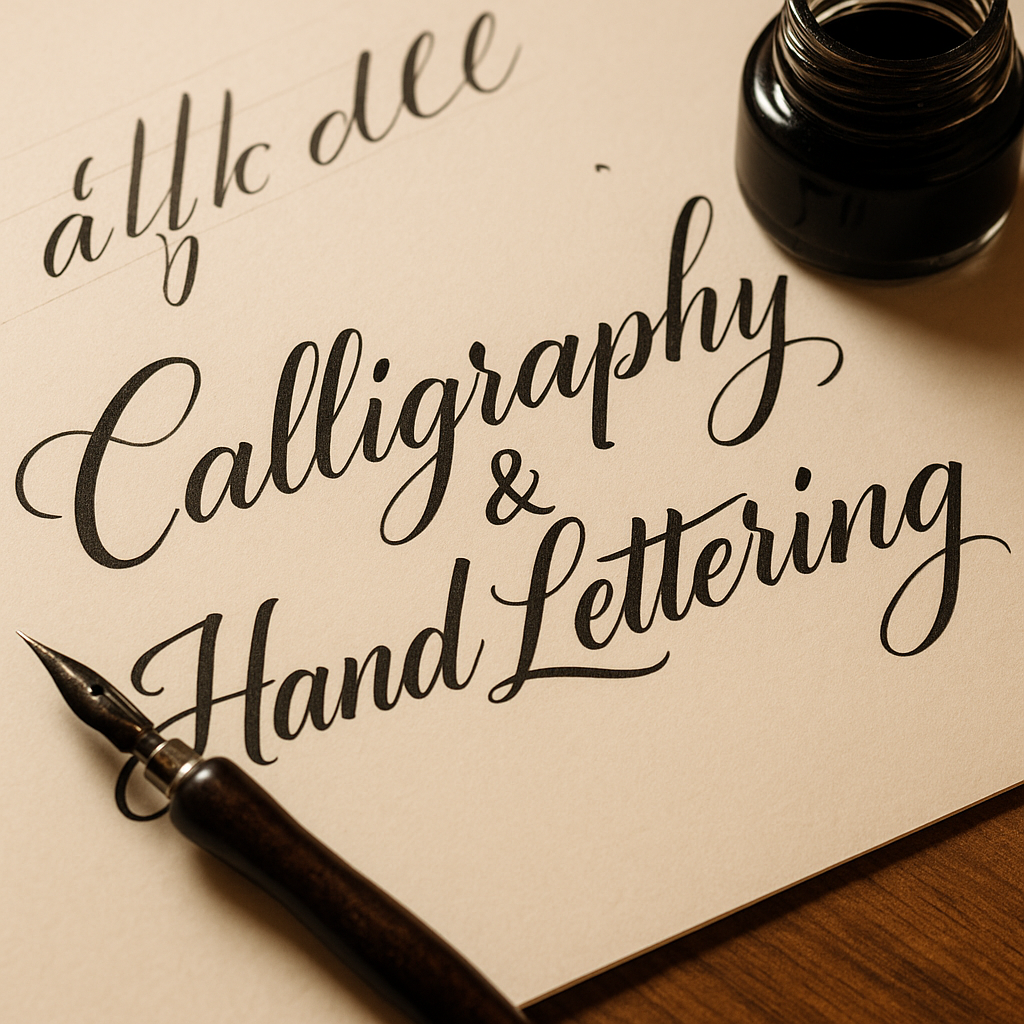
• Title: Calligraphy & Hand Lettering – Drawing Letters with Personality


    Calligraphy isn’t just writing – it’s the art of giving letters rhythm, weight, and soul. Whether you're aiming for classic copperplate scripts or playful modern lettering, this hobby combines fine motor skills with expressive design.


    Let’s dive into how you can get started with calligraphy and hand lettering:


    1. Know the difference.

    Calligraphy is about writing – you use tools like nib pens or brushes to form letters in real time, with variation in pressure and stroke.

    Hand lettering is about drawing letters – each shape is crafted like an illustration.

    Both are deeply artistic and often overlap in style and technique.


    2. Start with basic tools.
    For beginners:

    Calligraphy: a dip pen + nib + ink (or brush pens for ease)

    Hand lettering: pencils, fineliners, and brush pens (Tombow, Fudenosuke, etc.)

    Smooth paper that won’t bleed or feather

    Digital tools like the Apple Pencil + Procreate are also great alternatives.


    3. Learn the strokes, not just the alphabet.
    Practice basic strokes: upstrokes (light), downstrokes (heavy), loops, ovals. Master these before you form letters – they’re the building blocks of every script.


    4. Focus on spacing and balance.
    Beautiful lettering is more about consistency than perfection. Watch for even spacing, similar angles, and good rhythm between letters.


    5. Use guidelines.
    Draw pencil guides for baseline, x-height, ascenders, and descenders. It’s not cheating – it’s essential.


    6. Don’t rush.
    Speed kills style. Take your time. Breath, write slowly, and enjoy the flow. Good calligraphy feels meditative.


    7. Explore different styles.
    Try gothic blackletter, italic, Roman capitals, modern script… or create your own. Mixing styles can add personality to your projects.


    Pro Tip: Post your progress and practice sheets on net-twin.de
    – our creative community loves beautiful lines, mindful craft, and expressive inkwork.

    #Calligraphy #HandLettering #ModernScript #CreativeWriting #InkArt #nettwin


    Kind regards, Andy

    -----------------------------------
    Advertising that's really worth it for you!

    Get it now: Get a €100 voucher from Temu (new customers only)!

    Step 1 - Use my voucher link: https://temu.to/m/uwsjqkbzhhl
    Step 2 - Enter the following code in the search field at Temu to secure your €100!
    The Code: tar37925
    Title: Calligraphy & Hand Lettering – Drawing Letters with Personality Calligraphy isn’t just writing – it’s the art of giving letters rhythm, weight, and soul. Whether you're aiming for classic copperplate scripts or playful modern lettering, this hobby combines fine motor skills with expressive design. Let’s dive into how you can get started with calligraphy and hand lettering: 1. Know the difference. Calligraphy is about writing – you use tools like nib pens or brushes to form letters in real time, with variation in pressure and stroke. Hand lettering is about drawing letters – each shape is crafted like an illustration. Both are deeply artistic and often overlap in style and technique. 2. Start with basic tools. For beginners: Calligraphy: a dip pen + nib + ink (or brush pens for ease) Hand lettering: pencils, fineliners, and brush pens (Tombow, Fudenosuke, etc.) Smooth paper that won’t bleed or feather Digital tools like the Apple Pencil + Procreate are also great alternatives. 3. Learn the strokes, not just the alphabet. Practice basic strokes: upstrokes (light), downstrokes (heavy), loops, ovals. Master these before you form letters – they’re the building blocks of every script. 4. Focus on spacing and balance. Beautiful lettering is more about consistency than perfection. Watch for even spacing, similar angles, and good rhythm between letters. 5. Use guidelines. Draw pencil guides for baseline, x-height, ascenders, and descenders. It’s not cheating – it’s essential. 6. Don’t rush. Speed kills style. Take your time. Breath, write slowly, and enjoy the flow. Good calligraphy feels meditative. 7. Explore different styles. Try gothic blackletter, italic, Roman capitals, modern script… or create your own. Mixing styles can add personality to your projects. 🎯 Pro Tip: Post your progress and practice sheets on net-twin.de – our creative community loves beautiful lines, mindful craft, and expressive inkwork. 📌 #Calligraphy #HandLettering #ModernScript #CreativeWriting #InkArt #nettwin Kind regards, Andy 🤩 ----------------------------------- Advertising that's really worth it for you! Get it now: Get a €100 voucher from Temu (new customers only)! Step 1 - Use my voucher link: https://temu.to/m/uwsjqkbzhhl Step 2 - Enter the following code in the search field at Temu to secure your €100! The Code: tar37925
    Wow
    1
    0 Commentarios 0 Acciones 2K Views 0 Vista previa
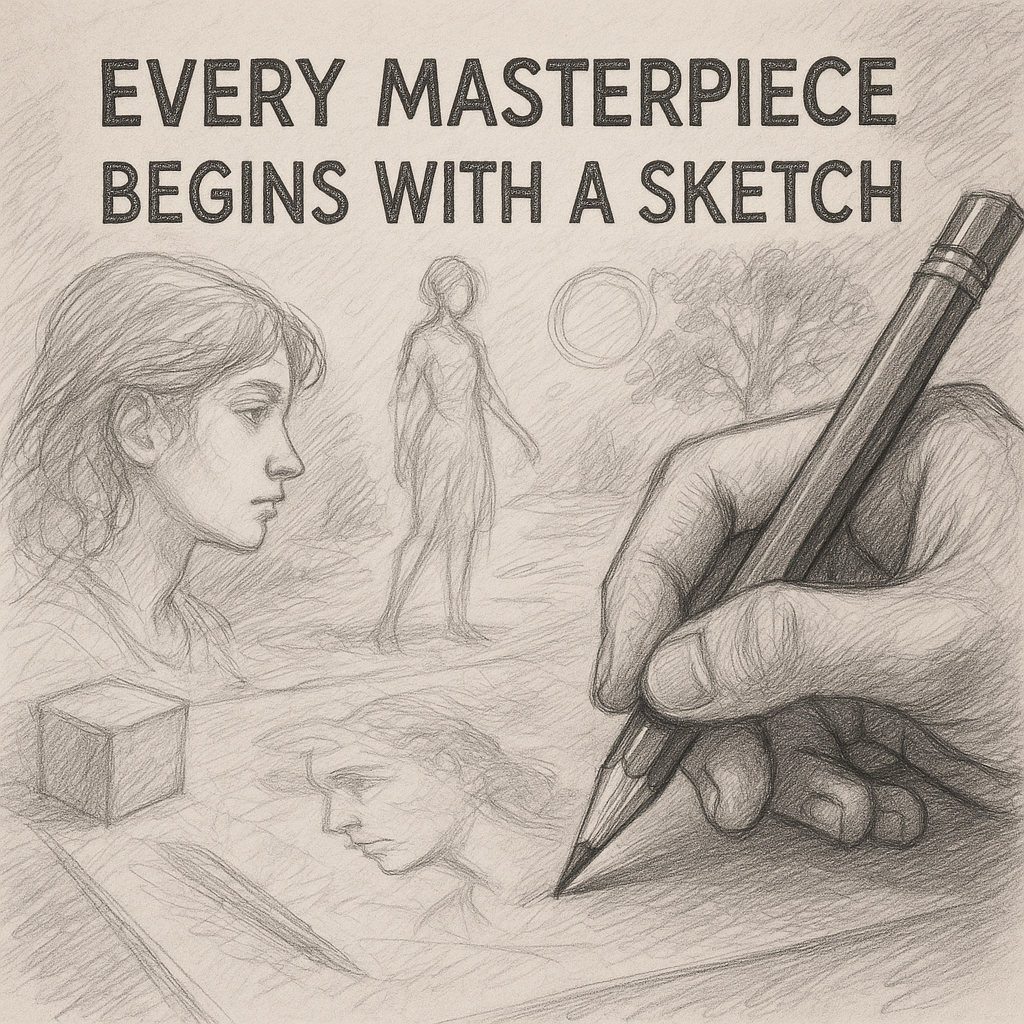
  • Title: Sketching for Creatives – Build Ideas with Pencil and Paper

    Sketching isn’t just drawing. It’s thinking visually. It’s planning, experimenting, and feeling your way into a creative idea. Whether you dream of digital painting, comics, design, or just want to relax – sketching sharpens your skills and imagination.


    Here’s a deeper guide to getting started:

    1. Get comfortable with imperfection.
    Sketching is not about making perfect art. It’s raw, quick, and sometimes messy. That’s its charm. Don’t erase every line – learn to embrace construction lines and looseness.


    2. Choose the right tools.
    A basic HB or 2B pencil and a sketchbook with decent paper are enough. Add a kneaded eraser and a fineliner later, but don’t overthink your materials.


    3. Warm-up before you draw.
    Like musicians, artists benefit from warm-ups. Fill a page with circles, lines, or shapes. This gets your hand used to motion and builds control.


    4. Master gesture drawing.
    Gesture sketches capture movement and flow in under 30 seconds. They train you to see the action, not the detail. Use real-life people, photos, or animals as references.


    5. Study form and perspective.
    Learn to break down complex objects into simple 3D shapes: cubes, spheres, cones. This will help you draw from imagination later on. Perspective (1-point, 2-point) is a game-changer for environments and depth.


    6. Build a daily habit.
    Even 10 minutes a day makes a huge difference. Draw your coffee mug. Sketch people on the train. Keep it light and enjoyable. Improvement comes through consistency, not pressure.


    7. Capture ideas on the go.
    Your sketchbook is also your idea vault. Jot down concepts, weird creatures, sword hilts, fantasy armor – whatever pops into your head. No censorship, no perfectionism.


    Pro Tip: Share your sketches on net-twin.de – feedback from fellow creatives can give you new eyes for your own work.

    And don’t forget: Every epic artwork once looked like a weird little doodle!

    Kind regards, Andy
    Title: Sketching for Creatives – Build Ideas with Pencil and Paper Sketching isn’t just drawing. It’s thinking visually. It’s planning, experimenting, and feeling your way into a creative idea. Whether you dream of digital painting, comics, design, or just want to relax – sketching sharpens your skills and imagination. Here’s a deeper guide to getting started: 1. Get comfortable with imperfection. Sketching is not about making perfect art. It’s raw, quick, and sometimes messy. That’s its charm. Don’t erase every line – learn to embrace construction lines and looseness. 2. Choose the right tools. A basic HB or 2B pencil and a sketchbook with decent paper are enough. Add a kneaded eraser and a fineliner later, but don’t overthink your materials. 3. Warm-up before you draw. Like musicians, artists benefit from warm-ups. Fill a page with circles, lines, or shapes. This gets your hand used to motion and builds control. 4. Master gesture drawing. Gesture sketches capture movement and flow in under 30 seconds. They train you to see the action, not the detail. Use real-life people, photos, or animals as references. 5. Study form and perspective. Learn to break down complex objects into simple 3D shapes: cubes, spheres, cones. This will help you draw from imagination later on. Perspective (1-point, 2-point) is a game-changer for environments and depth. 6. Build a daily habit. Even 10 minutes a day makes a huge difference. Draw your coffee mug. Sketch people on the train. Keep it light and enjoyable. Improvement comes through consistency, not pressure. 7. Capture ideas on the go. Your sketchbook is also your idea vault. Jot down concepts, weird creatures, sword hilts, fantasy armor – whatever pops into your head. No censorship, no perfectionism. 🎯 Pro Tip: Share your sketches on net-twin.de – feedback from fellow creatives can give you new eyes for your own work. And don’t forget: Every epic artwork once looked like a weird little doodle! Kind regards, Andy 🤩
    Love
    1
    0 Commentarios 0 Acciones 2K Views 0 Vista previa
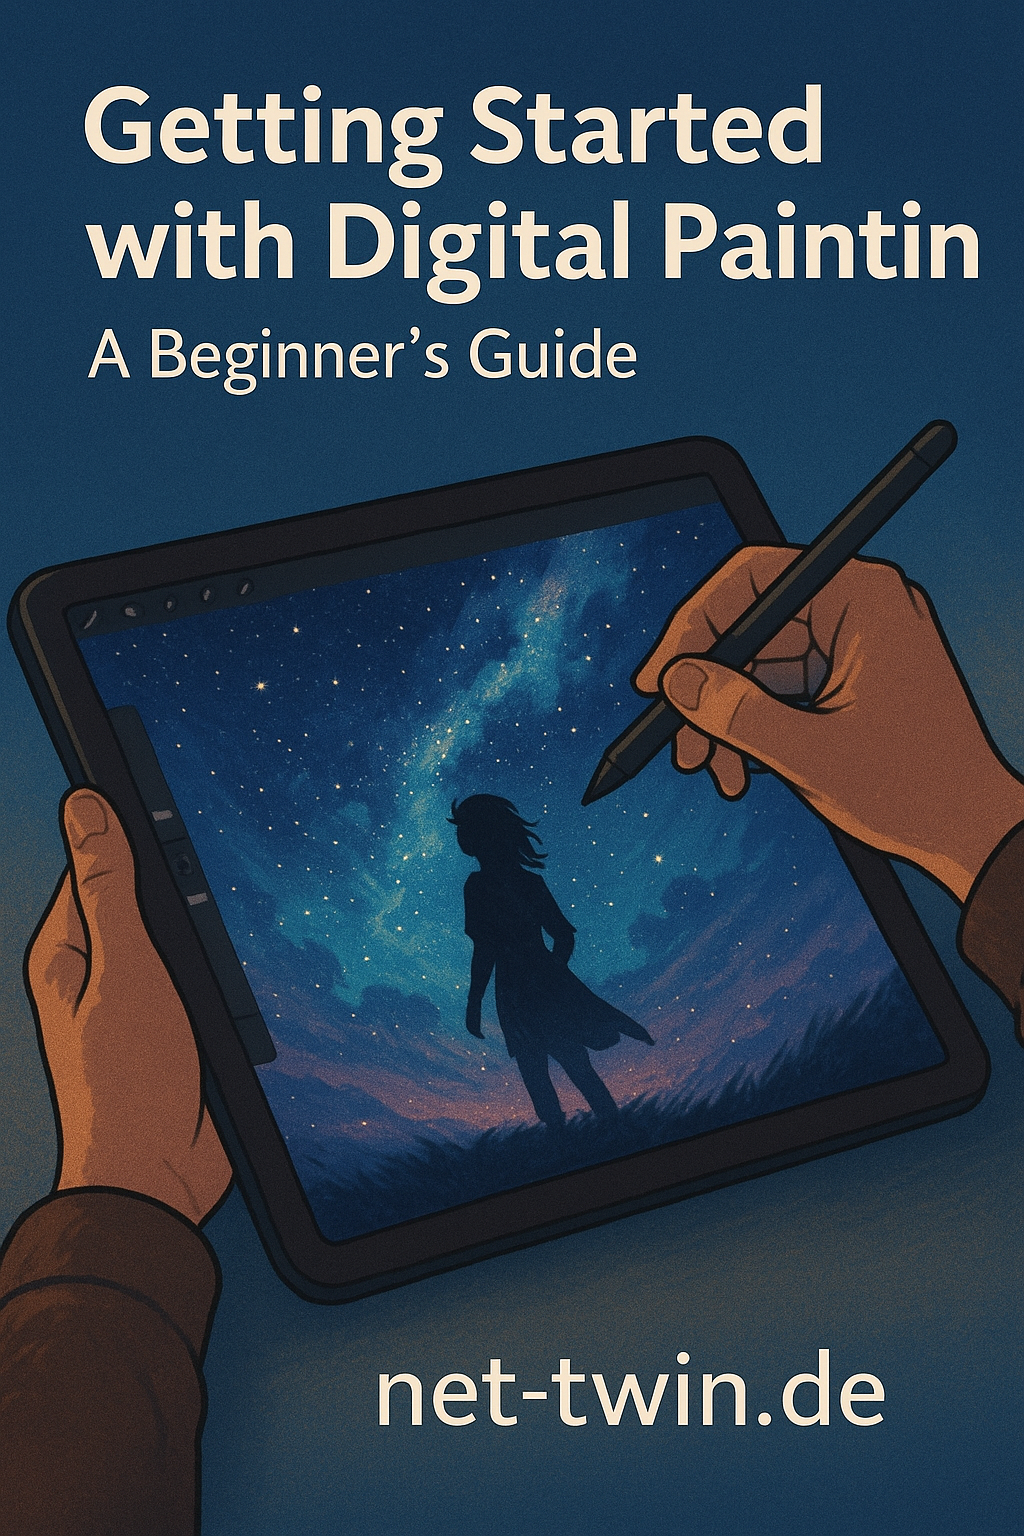
  • Title: Getting Started with Digital Painting – A Beginner’s Guide

    So, you want to paint digitally? Great choice. Digital painting combines the freedom of traditional art with the power of modern tools. Here's how to get started:

    Choose your software.
    Beginners often go with Procreate (iPad), Krita (free), or Photoshop (pro-grade). Pick one that feels intuitive.

    Get a stylus and tablet.
    A drawing tablet (like Wacom or XP-Pen) is essential for pressure sensitivity and precision. iPad with Apple Pencil works wonders too.

    Start with sketching.
    Rough outlines help you build composition. Use basic pencil or ink brushes, and don’t aim for perfection yet.

    Add color in layers.
    Use separate layers for shadows, highlights, and midtones. That way you can tweak things later without a mess.

    Experiment, undo, repeat.
    The best part of digital art? No ruined canvases. Use Ctrl+Z, play with brushes, and discover your style.

    Tip: Share your progress on net-twin.de and get feedback from other artists. Creativity grows when it’s shared!

    Kind regards, Andy
    Title: Getting Started with Digital Painting – A Beginner’s Guide So, you want to paint digitally? Great choice. Digital painting combines the freedom of traditional art with the power of modern tools. Here's how to get started: Choose your software. Beginners often go with Procreate (iPad), Krita (free), or Photoshop (pro-grade). Pick one that feels intuitive. Get a stylus and tablet. A drawing tablet (like Wacom or XP-Pen) is essential for pressure sensitivity and precision. iPad with Apple Pencil works wonders too. Start with sketching. Rough outlines help you build composition. Use basic pencil or ink brushes, and don’t aim for perfection yet. Add color in layers. Use separate layers for shadows, highlights, and midtones. That way you can tweak things later without a mess. Experiment, undo, repeat. The best part of digital art? No ruined canvases. Use Ctrl+Z, play with brushes, and discover your style. 🎯 Tip: Share your progress on net-twin.de and get feedback from other artists. Creativity grows when it’s shared! Kind regards, Andy 🤩
    Wow
    1
    0 Commentarios 0 Acciones 1K Views 0 Vista previa
  • Do you like a bit crazy techno music? Please like and share with your friends to support the artist. Here you go:

    https://on.soundcloud.com/Oo64XB68EHhZIsoX2V
    Do you like a bit crazy techno music? Please like and share with your friends to support the artist. Here you go: https://on.soundcloud.com/Oo64XB68EHhZIsoX2V
    Wow
    1
    0 Commentarios 0 Acciones 691 Views 0 Vista previa
  • **How to Create Effective AI Image Prompts**

    Creating high-quality image prompts for AI image generators requires a mix of clarity, detail, and creativity. AI models interpret text descriptions to generate images, so crafting the perfect prompt is essential for getting the desired results. Here’s how to create the best AI image prompts:


    ### 1. Be Specific and Detailed
    AI models perform better when given detailed descriptions. Instead of writing "a house," describe it more precisely: *"A cozy wooden cabin in a snowy forest with smoke coming from the chimney and warm glowing windows."* This ensures the AI captures the exact vision you have in mind.


    ### 2. Use Descriptive Adjectives
    Adjectives add depth and texture to your prompt. Words like "vibrant," "mystical," "ancient," "futuristic," or "serene" help define the mood and aesthetic of the image.


    ### 3. Mention the Style and Medium
    If you want a specific artistic style or medium, include it in your prompt. For example:

    - *"A cyberpunk city at night, neon lights glowing, in a digital painting style."*
    - *"A hand-drawn pencil sketch of a medieval knight in armor."*


    ### 4. Include Perspective and Composition
    Specifying angles, lighting, and framing can make a big difference. Consider:

    - *"Close-up portrait of a wise old man with a long white beard, dramatic lighting."*
    - *"Aerial view of a tropical island with crystal-clear waters and palm trees."*

    ### 5. Avoid Ambiguous or Contradictory Terms
    Conflicting descriptions can confuse the AI. For example, "a small, towering castle" is contradictory. Instead, clarify: "A towering castle in the distance, appearing small due to perspective."


    ### 6. Experiment and Iterate
    AI image generation is not always perfect on the first attempt. Experiment with variations and tweak your prompt until you achieve the desired outcome.


    ### 7. Use Keywords Smartly
    Some AI models work well with keyword-driven prompts, like: *"hyper-realistic, ultra-detailed, 8K resolution, dramatic lighting."* Using relevant keywords can significantly enhance the output.


    ### 8. Specify a Time Period or Setting
    If your image should reflect a particular era or setting, include it:

    - *"A Victorian-era ballroom with elegantly dressed dancers."*
    - *"A futuristic space station orbiting a distant planet."*


    ### Conclusion
    Crafting effective AI image prompts is an art in itself. The key is to be as specific, descriptive, and structured as possible while leaving room for AI interpretation. With practice, you can refine your prompts to consistently produce stunning AI-generated images.

    ---
    Try experimenting with different styles and descriptions to discover the full potential of AI image generation!

    Kind regards, Andreas
    **How to Create Effective AI Image Prompts** Creating high-quality image prompts for AI image generators requires a mix of clarity, detail, and creativity. AI models interpret text descriptions to generate images, so crafting the perfect prompt is essential for getting the desired results. Here’s how to create the best AI image prompts: ### 1. Be Specific and Detailed AI models perform better when given detailed descriptions. Instead of writing "a house," describe it more precisely: *"A cozy wooden cabin in a snowy forest with smoke coming from the chimney and warm glowing windows."* This ensures the AI captures the exact vision you have in mind. ### 2. Use Descriptive Adjectives Adjectives add depth and texture to your prompt. Words like "vibrant," "mystical," "ancient," "futuristic," or "serene" help define the mood and aesthetic of the image. ### 3. Mention the Style and Medium If you want a specific artistic style or medium, include it in your prompt. For example: - *"A cyberpunk city at night, neon lights glowing, in a digital painting style."* - *"A hand-drawn pencil sketch of a medieval knight in armor."* ### 4. Include Perspective and Composition Specifying angles, lighting, and framing can make a big difference. Consider: - *"Close-up portrait of a wise old man with a long white beard, dramatic lighting."* - *"Aerial view of a tropical island with crystal-clear waters and palm trees."* ### 5. Avoid Ambiguous or Contradictory Terms Conflicting descriptions can confuse the AI. For example, "a small, towering castle" is contradictory. Instead, clarify: "A towering castle in the distance, appearing small due to perspective." ### 6. Experiment and Iterate AI image generation is not always perfect on the first attempt. Experiment with variations and tweak your prompt until you achieve the desired outcome. ### 7. Use Keywords Smartly Some AI models work well with keyword-driven prompts, like: *"hyper-realistic, ultra-detailed, 8K resolution, dramatic lighting."* Using relevant keywords can significantly enhance the output. ### 8. Specify a Time Period or Setting If your image should reflect a particular era or setting, include it: - *"A Victorian-era ballroom with elegantly dressed dancers."* - *"A futuristic space station orbiting a distant planet."* ### Conclusion Crafting effective AI image prompts is an art in itself. The key is to be as specific, descriptive, and structured as possible while leaving room for AI interpretation. With practice, you can refine your prompts to consistently produce stunning AI-generated images. --- Try experimenting with different styles and descriptions to discover the full potential of AI image generation! Kind regards, Andreas 🤩
    Love
    1
    0 Commentarios 0 Acciones 3K Views 0 Vista previa
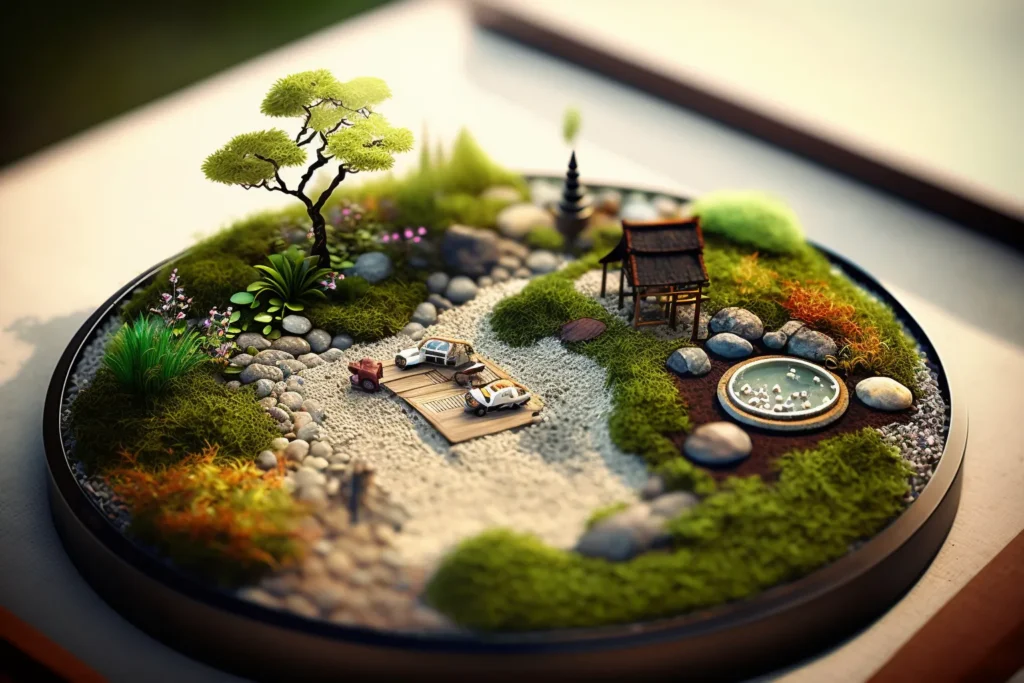
  • How to Create a Miniature Zen Garden for Relaxation

    Unleash your creativity and bring tranquility to your space with this simple, artistic project!

    Step 1: Gather Your Materials
    You’ll need:

    A shallow container (wooden, ceramic, or glass).
    Fine sand (white or colored).
    Small stones, pebbles, or crystals.
    Miniature rake (or make one with toothpicks and glue).
    Optional: small plants, figurines, or shells for decoration.


    Step 2: Prepare the Base

    Fill your container with fine sand to create a flat, even surface.
    Shake the container gently to level the sand or smooth it with your hand.


    Step 3: Arrange the Stones

    Place stones or pebbles in your sand to represent islands or mountains.
    Experiment with groupings to achieve balance and harmony.


    Step 4: Add Decorative Elements (Optional)

    Include small air plants, moss, or figurines like a Buddha or animal to personalize your garden.
    Ensure the design feels calming and uncluttered.


    Step 5: Create Patterns

    Use the miniature rake or a fork to draw patterns in the sand.
    Experiment with swirls, straight lines, or concentric circles around the stones.
    Smooth and redraw as often as you like—it’s part of the Zen process!


    Step 6: Find the Perfect Spot

    Place your Zen garden in a quiet area where you can interact with it.
    Use it to relax, focus, or find inspiration during your day.


    Why It’s Amazing:

    A miniature Zen garden is not only a creative project but also a meditative tool that helps you unwind and spark new ideas. Plus, it’s a beautiful addition to any desk or shelf!

    I hope you like my tutorial.
    Kind regards and have a nice day,

    Andy

    How to Create a Miniature Zen Garden for Relaxation Unleash your creativity and bring tranquility to your space with this simple, artistic project! Step 1: Gather Your Materials You’ll need: A shallow container (wooden, ceramic, or glass). Fine sand (white or colored). Small stones, pebbles, or crystals. Miniature rake (or make one with toothpicks and glue). Optional: small plants, figurines, or shells for decoration. Step 2: Prepare the Base Fill your container with fine sand to create a flat, even surface. Shake the container gently to level the sand or smooth it with your hand. Step 3: Arrange the Stones Place stones or pebbles in your sand to represent islands or mountains. Experiment with groupings to achieve balance and harmony. Step 4: Add Decorative Elements (Optional) Include small air plants, moss, or figurines like a Buddha or animal to personalize your garden. Ensure the design feels calming and uncluttered. Step 5: Create Patterns Use the miniature rake or a fork to draw patterns in the sand. Experiment with swirls, straight lines, or concentric circles around the stones. Smooth and redraw as often as you like—it’s part of the Zen process! Step 6: Find the Perfect Spot Place your Zen garden in a quiet area where you can interact with it. Use it to relax, focus, or find inspiration during your day. Why It’s Amazing: A miniature Zen garden is not only a creative project but also a meditative tool that helps you unwind and spark new ideas. Plus, it’s a beautiful addition to any desk or shelf! I hope you like my tutorial. Kind regards and have a nice day, Andy 😆
    Love
    1
    0 Commentarios 0 Acciones 3K Views 0 Vista previa
  • Hello friends, great news and a big thank you to you!

    Patience is slowly paying off, I often asked myself "should I continue with Net-Twin or not", because there was simply not enough interest or far to less chances to make Net-Twin more popular.

    Today I am glad of my patience because things are slowly improving rapidly. More people are slowly daring to register, and our efforts to make Net-Twin better known on Twitter-X are paying off. We have many hundreds of visitors a day. All that is missing is for visitors to dare to simply register and join us.

    Either way, we are on the right track and I, "Andreas", would just like to say thank you for giving a voluntary platform like ours a chance.

    Have courage, use Net-Twin, write cool posts or show what you can do - create good content and feel free to invite all your friends.

    Net-Twin will remain voluntary and will not become a commercial community (there are already far too many of those). Net-Twin belongs "to us", the artists and the people with cool hobbies and interests, and it will stay that way.

    Greetings and thanks,

    Your Andreas
    Hello friends, great news and a big thank you to you! Patience is slowly paying off, I often asked myself "should I continue with Net-Twin or not", because there was simply not enough interest or far to less chances to make Net-Twin more popular. Today I am glad of my patience because things are slowly improving rapidly. More people are slowly daring to register, and our efforts to make Net-Twin better known on Twitter-X are paying off. We have many hundreds of visitors a day. All that is missing is for visitors to dare to simply register and join us. 🤩 Either way, we are on the right track and I, "Andreas", would just like to say thank you for giving a voluntary platform like ours a chance. 😍🥰😍 Have courage, use Net-Twin, write cool posts or show what you can do - create good content and feel free to invite all your friends. Net-Twin will remain voluntary and will not become a commercial community (there are already far too many of those). Net-Twin belongs "to us", the artists and the people with cool hobbies and interests, and it will stay that way. Greetings and thanks, Your Andreas
    Love
    2
    0 Commentarios 0 Acciones 2K Views 0 Vista previa
  • I created a free animated header images (gif) and a video (mp4) for you
    use it like you want, but if you sell it then show some love and donate a coffee for me the poor artist
    I created a free animated header images (gif) and a video (mp4) for you 🤩 use it like you want, but if you sell it then show some love and donate a coffee for me the poor artist 🤣😂🤣
    Love
    1
    0 Commentarios 0 Acciones 2K Views 0 Vista previa
  • Here you can make use of my recent created artist portfolio website theme as a template (for free):

    https://webcrew.my.canva.site/john-donit-portfolio
    Here you can make use of my recent created artist portfolio website theme as a template (for free): https://webcrew.my.canva.site/john-donit-portfolio
    John Donit - Portfolio
    Just a concept art demo website design to showcase a personal portfolio of digital art.
    Love
    1
    0 Commentarios 0 Acciones 1K Views 0 Vista previa
  • You can join me at: https://civitai.com/user/WebCrew

    At Civit AI you can create outstanding #AI generated images, but #Creativity is also necessary here because every #picture that you want to have created requires a precise written description beforehand and that is not as easy as you think. I'm actually a classic artist who likes to draw with pens and watercolors, but I also have fun with AI generated images. What about you - show us your creations please and dont be shy

    Kind regards, Andreas :)

    You can join me at: https://civitai.com/user/WebCrew At Civit AI you can create outstanding #AI generated images, but #Creativity is also necessary here because every #picture that you want to have created requires a precise written description beforehand and that is not as easy as you think. I'm actually a classic artist who likes to draw with pens and watercolors, but I also have fun with AI generated images. What about you - show us your creations please and dont be shy 🤩 Kind regards, Andreas :)
    Wow
    1
    0 Commentarios 0 Acciones 3K Views 0 Vista previa
Resultados de la búsqueda