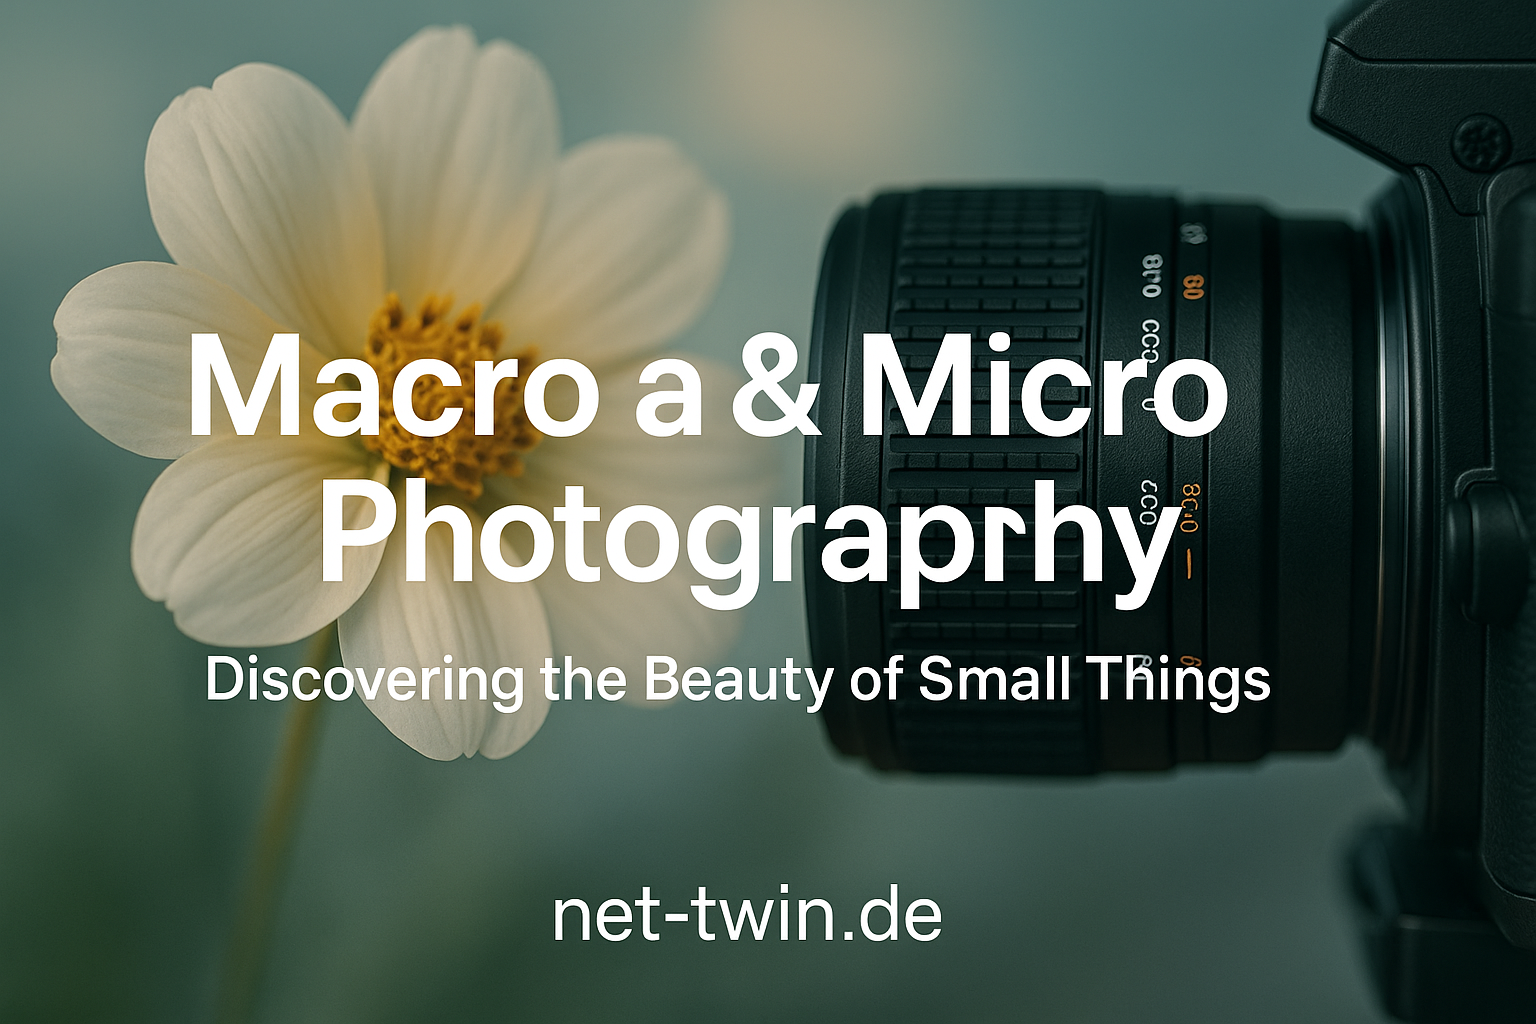
Title: Macro & Micro Photography – Discovering the Beauty of Small Things
There’s an entire universe just below the threshold of the naked eye – textures, patterns, creatures, and structures most people overlook. Macro and micro photography bring this world into focus, one detail at a time.
Here’s how you can start exploring it with your lens:
1. Know the difference.
Macro photography deals with small subjects at close range – like insects, textures, or plants – usually at a 1:1 magnification or higher.
Micro photography (or photomicrography) involves microscopes to photograph what’s otherwise invisible – like crystals, cells, or microfibers.
2. Start with what you have.
Many smartphones today offer decent macro modes. Clip-on macro lenses are inexpensive and can produce surprising results. For DSLRs or mirrorless cameras, a dedicated macro lens (like a 100mm f/2.8) is ideal.
3. Stabilization is key.
At this scale, even the tiniest movement ruins the shot. Use a tripod, remote shutter, and delay timer. For extreme close-ups, consider a focusing rail for precision.
4. Light your subject well.
Natural light can work, but artificial light gives you control. Use LED rings, soft diffused light, or even a flashlight with a diffuser. Avoid harsh shadows and reflections.
5. Mind your depth of field.
At macro scale, depth of field is razor thin. Shoot at f/8–f/16, and use focus stacking (multiple shots with different focus points) to get your entire subject sharp.
6. Subject ideas to start with:
Textures: leaves, fabrics, wood grain
Water droplets
Bugs and insects (if they stay still!)
Everyday objects like salt, match heads, coins
Crystals, sand, spices, feathers
7. Edit with care.
Sharpening, contrast, and color adjustments can enhance details – but don’t overdo it. Highlight the natural beauty of the micro world.
🎯 Pro Tip: Upload your discoveries to net-twin.de
– whether it’s a bug’s eye or a dew-covered thread, your lens reveals what others miss.
📌 #MacroPhotography #MicroWorlds #CloseUpMagic #CreativeVision #TinyDetails #nettwin
Kind regards, Andy 🤩
-----------------------------------
Advertising that's really worth it for you!
Get it now: Get a €100 voucher from Temu (new customers only)!
Step 1 - Use my voucher link: https://temu.to/m/uwsjqkbzhhl
Step 2 - Enter the following code in the search field at Temu to secure your €100!
The Code: tar37925
Title: Macro & Micro Photography – Discovering the Beauty of Small Things
There’s an entire universe just below the threshold of the naked eye – textures, patterns, creatures, and structures most people overlook. Macro and micro photography bring this world into focus, one detail at a time.
Here’s how you can start exploring it with your lens:
1. Know the difference.
Macro photography deals with small subjects at close range – like insects, textures, or plants – usually at a 1:1 magnification or higher.
Micro photography (or photomicrography) involves microscopes to photograph what’s otherwise invisible – like crystals, cells, or microfibers.
2. Start with what you have.
Many smartphones today offer decent macro modes. Clip-on macro lenses are inexpensive and can produce surprising results. For DSLRs or mirrorless cameras, a dedicated macro lens (like a 100mm f/2.8) is ideal.
3. Stabilization is key.
At this scale, even the tiniest movement ruins the shot. Use a tripod, remote shutter, and delay timer. For extreme close-ups, consider a focusing rail for precision.
4. Light your subject well.
Natural light can work, but artificial light gives you control. Use LED rings, soft diffused light, or even a flashlight with a diffuser. Avoid harsh shadows and reflections.
5. Mind your depth of field.
At macro scale, depth of field is razor thin. Shoot at f/8–f/16, and use focus stacking (multiple shots with different focus points) to get your entire subject sharp.
6. Subject ideas to start with:
Textures: leaves, fabrics, wood grain
Water droplets
Bugs and insects (if they stay still!)
Everyday objects like salt, match heads, coins
Crystals, sand, spices, feathers
7. Edit with care.
Sharpening, contrast, and color adjustments can enhance details – but don’t overdo it. Highlight the natural beauty of the micro world.
🎯 Pro Tip: Upload your discoveries to net-twin.de
– whether it’s a bug’s eye or a dew-covered thread, your lens reveals what others miss.
📌 #MacroPhotography #MicroWorlds #CloseUpMagic #CreativeVision #TinyDetails #nettwin
Kind regards, Andy 🤩
-----------------------------------
Advertising that's really worth it for you!
Get it now: Get a €100 voucher from Temu (new customers only)!
Step 1 - Use my voucher link: https://temu.to/m/uwsjqkbzhhl
Step 2 - Enter the following code in the search field at Temu to secure your €100!
The Code: tar37925